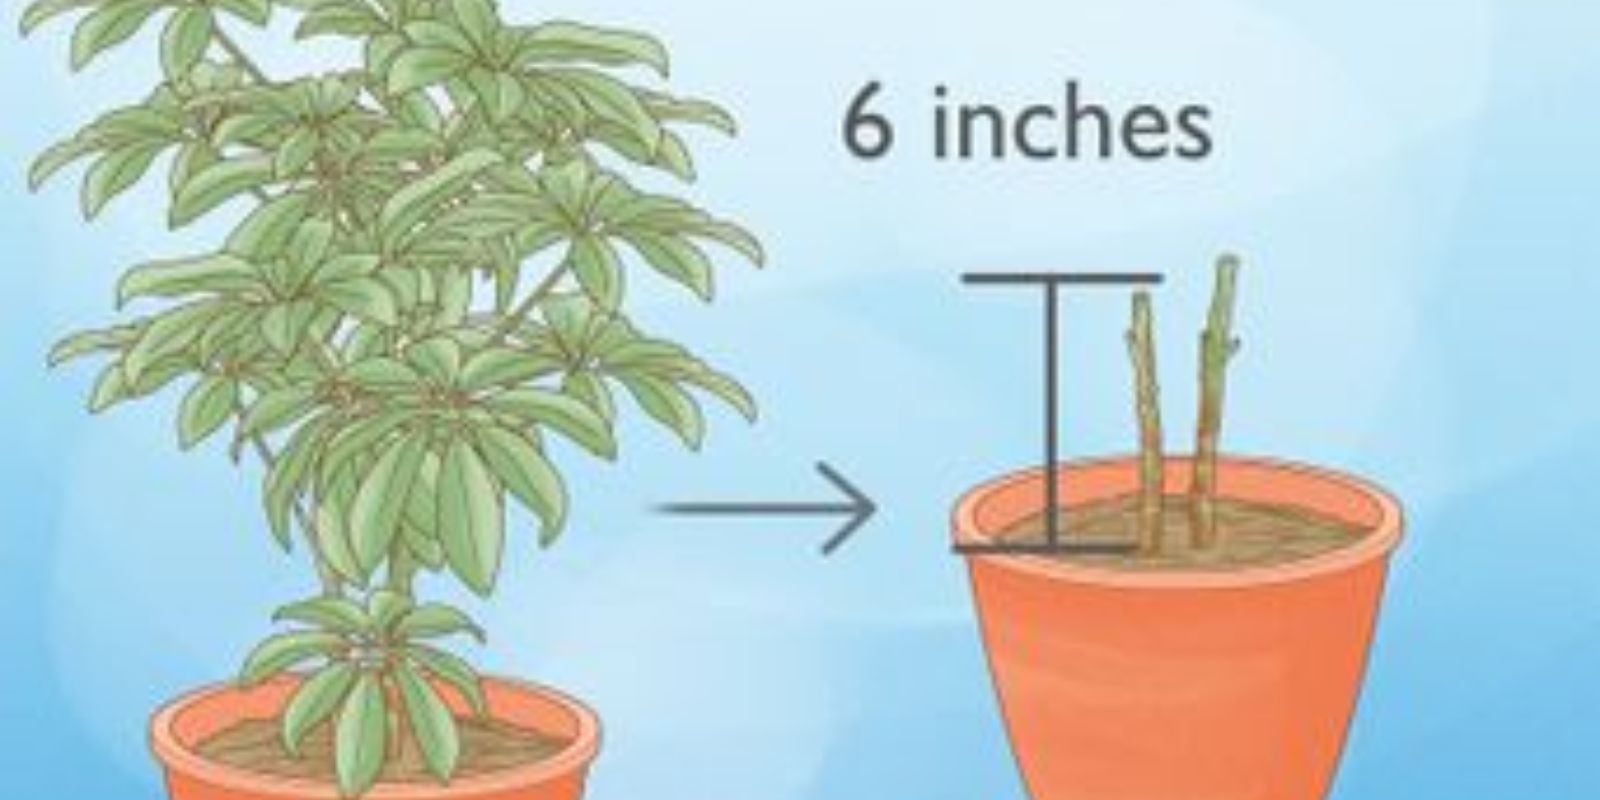
Yews (Taxus spp.) are elegant and versatile evergreens that add structure and beauty to gardens and landscapes. Known for their rich green foliage and adaptability, yews are often used as hedges, foundation plantings, or standalone focal points. However, without regular pruning, they can become overgrown and lose their desired shape.
This detailed guide will walk you through the art of pruning yews in eight simple steps, ensuring your plants remain healthy, vibrant, and well-maintained.
Why Prune Yews?
Pruning is essential for maintaining the health and appearance of yews. Proper pruning offers several benefits:
- Encourages Healthy Growth: Removing dead or diseased branches prevents problems from spreading and allows the plant to focus energy on new growth.
- Shapes the Plant: Yews are highly malleable and can be pruned into various shapes to complement your landscape design.
- Prevents Overgrowth: Regular pruning keeps yews manageable and prevents them from overshadowing nearby plants.
- Improves Airflow and Sunlight Penetration: Thinning out dense growth reduces the risk of fungal diseases and encourages even growth.
The Right Time to Prune Yews
Timing is crucial when pruning yews to avoid damaging the plant:
- Best Time: Late winter or early spring, just before new growth begins. Pruning during dormancy minimizes stress and allows cuts to heal quickly.
- Light Pruning: You can also perform light pruning in mid-summer to tidy up the plant.
- Avoid Fall Pruning: Pruning in fall may stimulate new growth that won’t harden off before winter, making it vulnerable to frost damage.
Tools You’ll Need
Having the right tools makes pruning more efficient and ensures clean cuts that promote healing:
- Pruning Shears: For small branches.
- Loppers: For medium-sized branches.
- Pruning Saw: For thick or old branches.
- Gloves and Protective Gear: To protect your hands from sharp tools and sap.
- Disinfectant: Clean tools between cuts to prevent the spread of disease.
Step-by-Step Guide to Pruning Yews
Step 1: Choose the Right Season
Plan your pruning session for late winter or early spring. During this dormant period, the plant experiences minimal stress, and cuts heal more quickly when growth resumes.
Step 2: Inspect the Plant
Before making any cuts, take a good look at your yew. Identify areas that need attention, such as:
- Dead or diseased branches.
- Overgrown or misshapen areas.
- Crowded or crossing branches.
Step 3: Use Sharp and Clean Tools
Ensure your pruning tools are sharp to make clean cuts. Dull tools can tear branches, leaving jagged edges that are prone to disease. Disinfect your tools with rubbing alcohol or a diluted bleach solution before and after pruning to prevent the spread of pathogens.
Step 4: Start with Dead or Diseased Wood
Remove dead, damaged, or diseased branches first. Cut these back to healthy wood or to the base of the plant. This step not only improves the plant’s appearance but also prevents further damage or disease spread.
Step 5: Shape the Yew
Decide on the shape you want—rounded, conical, or a formal hedge. Yews respond well to shaping, so take your time to trim evenly. Always cut slightly above a bud or leaf node to encourage new growth in the desired direction.
Step 6: Avoid Cutting Into Old Wood
Yews do not regenerate well from old wood (branches without green foliage). When pruning, ensure you leave some foliage on each branch to allow for new growth. Cutting too deeply into the plant can leave bare patches that may not recover.
Step 7: Thin Out Dense Areas
If your yew is overly dense, selectively remove branches to improve air circulation and sunlight penetration. This not only promotes healthy growth but also reduces the risk of fungal diseases.
Step 8: Step Back and Assess
Periodically step back to evaluate your progress. This helps maintain symmetry and ensures you’re achieving the desired shape. Adjust your cuts as needed to create a balanced appearance.
Aftercare Tips
- Watering: After pruning, water your yew thoroughly to reduce stress and support recovery.
- Fertilizing: Apply a balanced fertilizer in early spring to encourage new growth. Avoid over-fertilizing, as this can lead to weak, leggy growth.
- Mulching: Add a layer of mulch around the base to retain moisture and regulate soil temperature.
Common Mistakes to Avoid
- Over-Pruning: Removing too much foliage can stress the plant and slow its recovery.
- Pruning in Hot Weather: This can lead to sunscald on exposed branches.
- Cutting Into Old Wood: Yews may not regenerate from old wood, so avoid overzealous trimming.
- Using Dirty Tools: Unclean tools can introduce diseases to your yew.
Pruning for Specific Goals
- For a Formal Hedge: Use a string line to guide your cuts for a clean, straight edge. Regularly trim the top and sides to maintain the desired shape.
- For a Natural Look: Focus on removing dead or overcrowded branches while preserving the plant’s natural form.
- For Rejuvenation: If your yew is overgrown, rejuvenate it by gradually reducing its size over multiple seasons rather than pruning heavily all at once.
Why Yews Are Worth the Effort
Yews are long-lived, low-maintenance evergreens that can thrive for decades with proper care. Their adaptability and ability to recover from light pruning make them a favorite among gardeners. By following these pruning steps, you can keep your yews healthy, attractive, and an enduring part of your landscape.
Engage with Your Garden
Are your yews in need of a trim? Share your pruning journey or ask questions in the comments! Let’s make your garden lush and thriving together. 🌿✂️
#PruningTips #YewCare #GardeningHacks #EvergreenPlants #HealthyGardening #GreenThumb #SeasonalGardening #GardenMaintenance

