Introduction:
Water propagation is an accessible and rewarding method for growing new plants from cuttings, offering an efficient way to expand your plant collection without the need for soil. This technique not only provides a visually satisfying process but also helps you learn more about plant growth and care. Whether you’re a seasoned gardener or a beginner, understanding how to propagate plants in water can enhance your gardening skills and contribute to a flourishing indoor or outdoor garden. In this guide, we’ll explore the steps, tips, and benefits of water propagation to help you achieve success with this innovative method.
What Is Water Propagation?
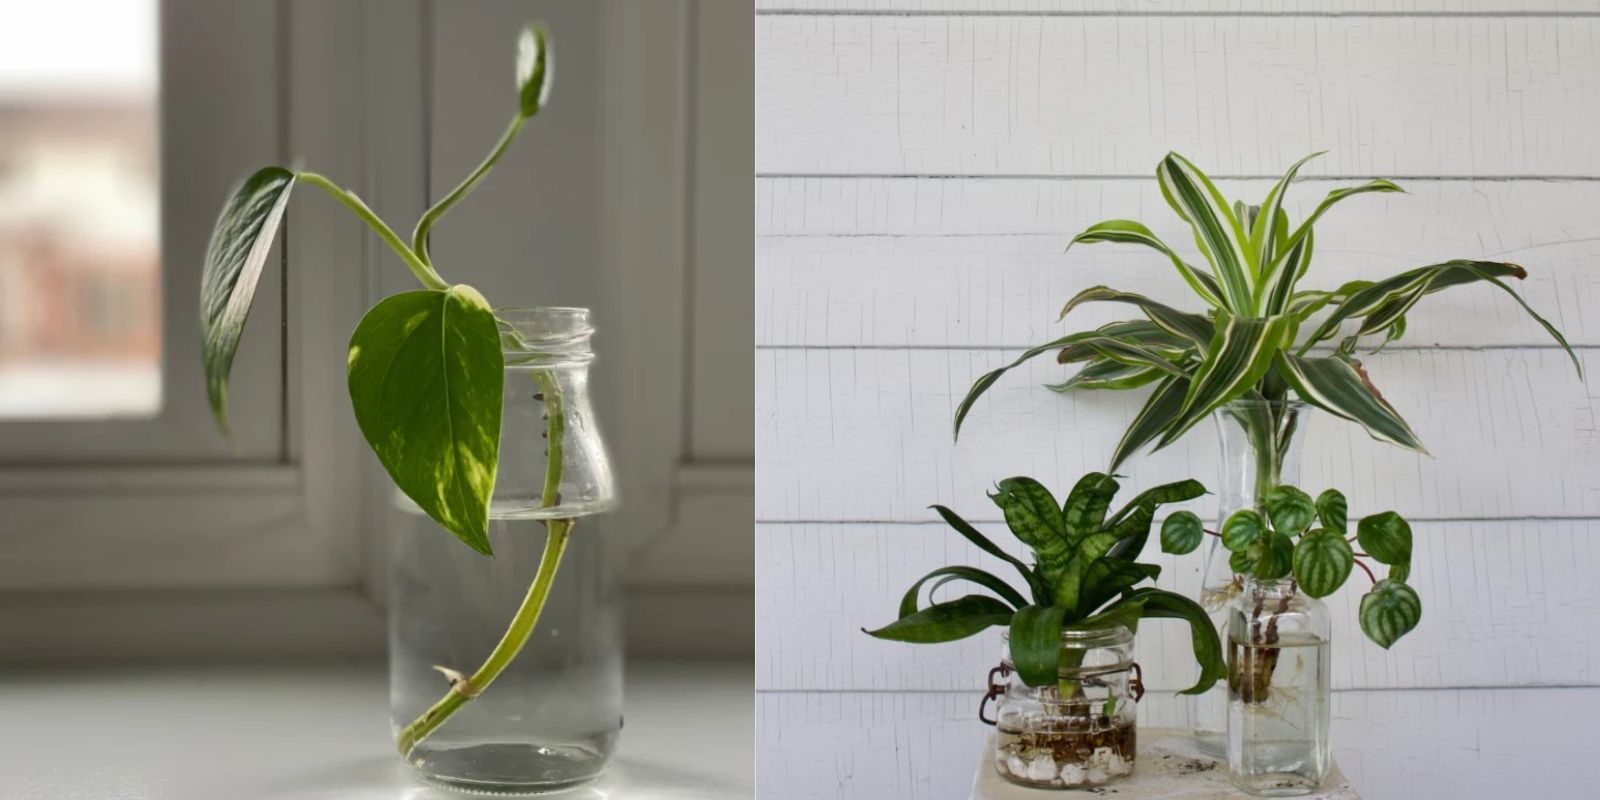
Water propagation involves growing plant cuttings in a container of water until they develop roots, which can then be transferred to soil or kept in water as a permanent growing medium. This method is particularly useful for plants that root easily in water, such as pothos, philodendrons, and certain herbs.
Step 1: Selecting Healthy Cuttings
Choosing the right cuttings is crucial for successful water propagation:
- Choose a Healthy Plant: Start with a healthy, mature plant that shows no signs of disease or pest infestation.
- Cutting Size: Take cuttings that are 4-6 inches long. Ensure that each cutting has at least one leaf node—the small bump or swelling on the stem where roots will form.
- Tools: Use clean, sharp scissors or pruning shears to make a clean cut just below the leaf node.
Tip: The best time to take cuttings is during the plant’s active growing season, usually spring or summer, when the plant is most likely to root successfully.
Step 2: Preparing the Cuttings
Proper preparation of the cuttings helps them establish roots more effectively:
- Remove Lower Leaves: Strip off any leaves from the lower half of the cutting to expose the node. This prevents the leaves from rotting in the water.
- Trim Excess: Trim any excess or damaged parts of the cutting to focus the plant’s energy on root development.
Tip: If the cutting is too long, you can trim it to a manageable size, but always ensure that at least one node is submerged in water.
Step 3: Placing the Cuttings in Water
Proper placement and care of your cuttings in water are essential for successful propagation:
- Choose a Container: Use a clear glass or plastic container to monitor root growth easily. Ensure it’s clean and free from residues.
- Submerge the Node: Place the cuttings in the container, ensuring that only the node and part of the stem are submerged in water. Keep the leaves above the waterline to avoid rot.
- Water Quality: Use room-temperature, distilled, or filtered water to avoid introducing chemicals that could harm the cuttings.
Tip: For added stability, you can use a propagation station with built-in supports to keep the cuttings in place.
Step 4: Positioning for Optimal Growth
Creating the right environment for your cuttings enhances their chances of successful rooting:
- Light: Place the container in a location with bright, indirect sunlight. Avoid direct sunlight, which can cause overheating and algae growth.
- Temperature: Maintain a consistent temperature between 65-75°F (18-24°C). Sudden temperature fluctuations can stress the cuttings.
Tip: If you don’t have a suitable natural light source, consider using a grow light to provide the necessary light for root development.
Step 5: Changing the Water Regularly
Maintaining clean water is crucial for preventing mold, bacteria, and algae growth:
- Change Water: Replace the water every 2-3 days to keep it fresh and oxygenated. This also helps prevent any buildup of harmful substances.
- Clean Container: Periodically clean the container to remove any residue or algae that may form.
Tip: If you notice any signs of algae or cloudiness in the water, clean the container immediately and replace the water.
Step 6: Waiting for Roots to Form
Patience is key as you wait for roots to develop:
- Root Development: Most cuttings will start to grow roots within 2-4 weeks. The roots should be at least 1-2 inches long before transplanting.
- Observation: Monitor the cuttings regularly for signs of root growth. Healthy roots should appear white or light brown and be free of rot.
Tip: If roots are slow to develop, ensure the water quality and environmental conditions are optimal. Some cuttings may take longer to root.
Step 7: Transplanting to Soil or Keeping in Water
Once your cuttings have developed a healthy root system, you can decide the next step:
- Transplanting: If you wish to move your cuttings to soil, prepare a pot with well-draining potting mix. Gently remove the cutting from the water, plant it in the soil, and water it thoroughly.
- Keeping in Water: Some plants, like pothos, can thrive indefinitely in water. If you choose this option, continue to change the water regularly and monitor the plant’s health.
Tip: If transplanting, gradually acclimate the cutting to soil conditions by transferring it to a pot with a mix of soil and water for a few weeks before fully transitioning to soil.
Benefits of Water Propagation
Water propagation offers several advantages:
- Ease of Monitoring: Clear containers make it easy to observe root development and overall health.
- No Soil Mess: Avoids the need for soil, reducing mess and simplifying the process.
- Educational: Provides insight into plant growth and root development, enhancing your gardening knowledge.
Conclusion
Water propagation is an accessible and gratifying method for growing new plants from cuttings. By selecting healthy cuttings, preparing them properly, maintaining optimal conditions, and monitoring their progress, you can successfully propagate a wide range of plants. Whether you’re expanding your indoor garden or sharing plants with friends, water propagation is a valuable technique that enhances your gardening experience.
Motivation:
Start your water propagation journey today and enjoy the simple pleasure of watching new plants grow from cuttings, all while adding beauty and greenery to your space! 🌱💦

