
Introduction
Mulch is more than just an aesthetic addition to your garden; it’s a fundamental component that can dramatically enhance the health and productivity of your plants. Whether you’re aiming to conserve moisture, suppress weeds, or improve soil fertility, understanding how to use mulch effectively can make all the difference in achieving a vibrant and thriving garden. This comprehensive guide will delve into the best practices for using mulch to create a flourishing garden environment.
1. Understanding Mulch and Its Benefits
What is Mulch?
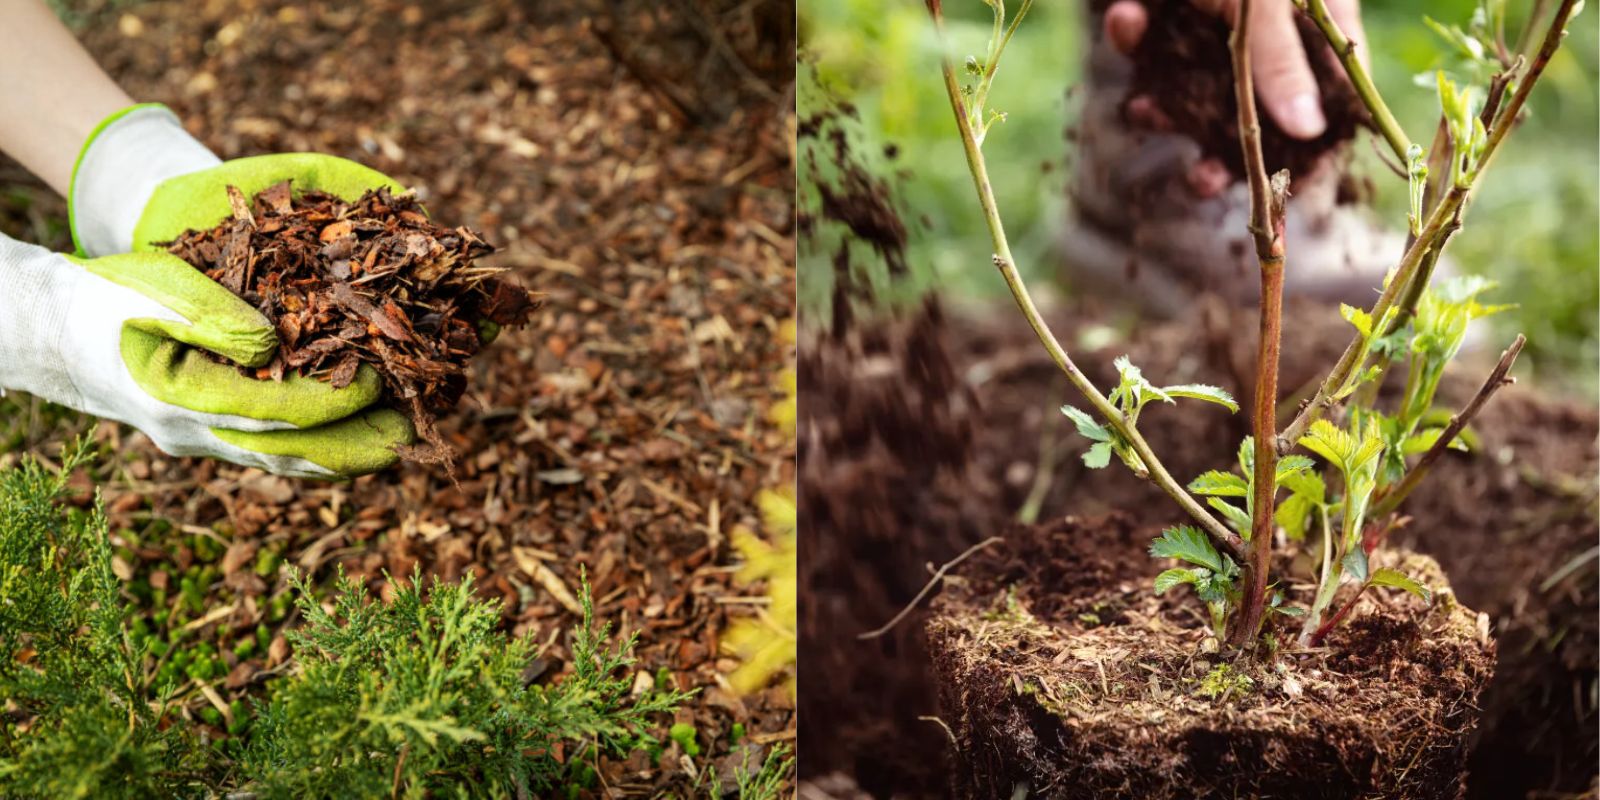
Mulch is any material spread over the soil’s surface to enhance soil quality and plant growth. It can be organic, such as wood chips or straw, or inorganic, like gravel or plastic.
Benefits of Mulch:
- Moisture Retention: Mulch helps retain soil moisture by reducing evaporation, which is crucial during dry spells.
- Weed Suppression: A layer of mulch prevents weeds from growing by blocking sunlight and hindering seed germination.
- Temperature Regulation: Mulch insulates the soil, keeping it cooler in summer and warmer in winter, which benefits plant roots.
- Soil Enrichment: Organic mulches decompose over time, adding essential nutrients to the soil and improving its structure.
- Erosion Control: Mulch helps prevent soil erosion by reducing the impact of rainfall on the soil surface.
2. Choosing the Right Mulch for Your Garden
Organic Mulches:
- Wood Chips and Bark: Ideal for garden beds and pathways. They break down slowly and add nutrients to the soil.
- Straw and Hay: Excellent for vegetable gardens and around newly planted shrubs. They decompose quickly, enriching the soil.
- Grass Clippings: Nutrient-rich and useful for vegetable gardens. Be sure to use clippings from untreated grass to avoid chemical residues.
- Leaves: A free and effective mulch. Shred them before applying to prevent them from matting together.
Inorganic Mulches:
- Gravel and Pebbles: Durable and low-maintenance, great for pathways and around drought-tolerant plants.
- Rubber Mulch: Made from recycled tires, it’s long-lasting and helps with moisture retention, though it doesn’t improve soil fertility.
- Landscape Fabric: Helps suppress weeds while allowing water to penetrate the soil.
3. Preparing Your Garden for Mulching
Step 1: Clear the Area
Remove any weeds, grass, or debris from the garden bed. This ensures that the mulch can be applied directly to the soil and prevents competition for nutrients.
Step 2: Loosen the Soil
Lightly till or loosen the top layer of soil. This improves soil aeration and allows the mulch to mix with the soil more effectively.
Step 3: Add a Layer of Organic Matter
For added benefits, incorporate a layer of compost or aged manure before applying mulch. This boosts soil fertility and provides a richer environment for plant roots.
4. Applying Mulch: Techniques and Tips
Step 1: Spread the Mulch
Distribute mulch evenly across the garden bed. Aim for a depth of 2-4 inches. Too thin a layer will not provide adequate benefits, while too thick a layer can inhibit water and air penetration.
Step 2: Keep Mulch Away from Plant Stems
Ensure that mulch is kept a few inches away from plant stems or trunks. This prevents moisture from accumulating around the base, which can lead to rot.
Step 3: Edge the Mulch
Create a defined edge around the mulched area to keep the mulch contained and prevent it from spilling onto pathways or other areas.
Step 4: Water After Applying
Water the garden thoroughly after applying mulch. This helps settle the mulch into place and ensures that it starts working immediately to retain soil moisture.
5. Maintaining Your Mulch
Step 1: Replenish as Needed
Mulch breaks down over time and may need to be replenished. Check the mulch layer regularly and add more as necessary to maintain the desired depth.
Step 2: Avoid Over-Mulching
While mulch is beneficial, too much can lead to problems such as reduced water infiltration and root rot. Keep the mulch layer consistent and remove any excess.
Step 3: Monitor for Pests and Diseases
Occasionally inspect the mulch for signs of pests or diseases. Remove any contaminated mulch and replace it with fresh material to prevent the spread of issues.
6. Advanced Mulching Tips
Create a Mulch Ring for Trees:
Form a mulch ring around trees, extending to the drip line (the area directly beneath the outer canopy of the tree). This helps retain moisture and reduce competition from grass and weeds.
Use Different Mulch Types for Different Areas:
Combine different types of mulch based on their specific benefits. For example, use wood chips in garden beds and gravel in pathways.
Composting Your Mulch:
If you use organic mulch, consider setting up a compost pile with any leftover mulch and garden waste. This will create nutrient-rich compost that can be used to further enhance your garden.
Conclusion
Mastering the art of mulching is a valuable skill for any gardener. By choosing the right type of mulch, applying it correctly, and maintaining it properly, you can significantly improve your garden’s health, appearance, and productivity. Embrace the power of mulch to create a thriving, vibrant garden that flourishes throughout the seasons.
Motivational Sentence:
Unleash the full potential of your garden with the power of mulch! 🌿✨ Share your mulching success stories and tips with us! #GardenMagic #MulchMastery #ThrivingGarden #EcoFriendlyGardening #GardenGoals