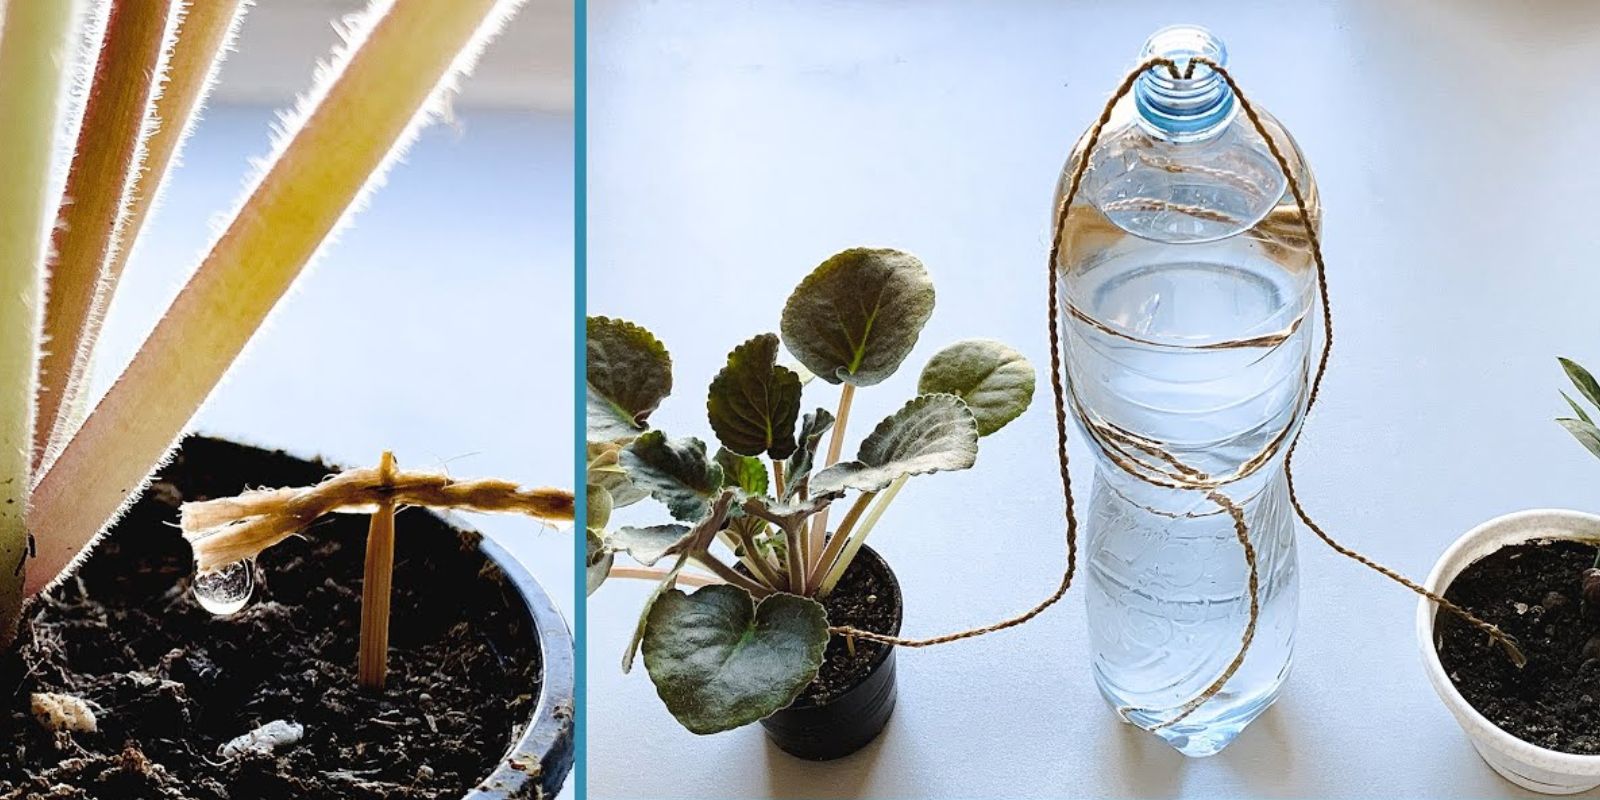
In the world of gardening, efficient water management is crucial for the health and productivity of your plants. Traditional watering methods can be wasteful and labor-intensive, but a drip irrigation system offers a precise, water-saving alternative. By creating your own DIY drip irrigation system, you can enhance your garden’s productivity, conserve water, and reduce the time spent on watering chores. This comprehensive guide will walk you through the steps to build an effective drip irrigation system using readily available materials.
Why Choose Drip Irrigation?
Drip irrigation systems deliver water directly to the plant roots, minimizing evaporation and runoff. Here are some of the benefits:
- Water Efficiency: Drip irrigation delivers water precisely where it’s needed, reducing waste and conserving water.
- Improved Plant Health: By providing a consistent moisture level, drip irrigation helps plants thrive and reduces the risk of diseases caused by overwatering.
- Time Savings: With a drip system, you can spend less time watering and more time enjoying your garden.
- Reduced Weeds: Since the water is delivered directly to the plants, less water is available for weed growth.
- Customization: You can adjust the flow rate and coverage to suit different types of plants and garden layouts.
Materials Needed
Before starting your DIY project, gather the following materials:
- PVC Pipes or Tubing: Mainline pipes to deliver water to various parts of your garden.
- Emitters: Devices that control the flow of water to each plant.
- Connectors: Fittings to join pipes and tubes together.
- Stakes: To hold the tubing in place.
- Filter: To prevent debris from clogging the emitters.
- Pressure Regulator: To ensure consistent water pressure.
- Hose Adapter: To connect the system to your water source.
- Teflon Tape: For sealing connections and preventing leaks.
Step-by-Step Guide to Building a DIY Drip Irrigation System
1. Plan Your System
Start by planning your drip irrigation system. Consider the following:
- Garden Layout: Map out your garden and identify where each plant is located. Determine the best path for the mainline and where emitters will be placed.
- Water Requirements: Different plants have varying water needs. Plan the emitter flow rates accordingly.
- Water Source: Decide how you will connect the system to your water source, whether it’s a garden hose, faucet, or another water supply.
Create a sketch of your garden with the planned layout of the irrigation system. This will help guide you through the installation process.
2. Gather Materials
Collect all the necessary materials:
- PVC Pipes or Tubing: Depending on your garden’s size, you may need various lengths of pipe or tubing.
- Emitters: Choose emitters with flow rates that match your plants’ needs.
- Connectors: Various connectors will be needed to piece together the system.
- Filter: Install a filter to keep debris out of the system.
- Pressure Regulator: To maintain consistent water pressure throughout the system.
- Hose Adapter: To connect to your water supply.
- Teflon Tape: For sealing connections and preventing leaks.
3. Install the Main Line
- Connect the Mainline: Attach the PVC pipes or tubing to your water source using a hose adapter. Run the mainline through your garden, positioning it where it will deliver water efficiently.
- Secure the Mainline: Use stakes to secure the pipes or tubing in place. Ensure the mainline is level and positioned correctly according to your garden plan.
4. Set Up Emitters
- Determine Placement: Decide where emitters will go based on your garden layout and plant spacing. Each plant should have an emitter placed at its base.
- Attach Emitters: Install emitters along the tubing or pipes. Use connectors to attach the emitters to the mainline. Ensure each emitter is properly secured and positioned.
- Adjust Flow Rates: Set the flow rate for each emitter according to the water requirements of your plants. Some emitters have adjustable flow settings, while others may require different models for varying flow rates.
5. Secure and Test
- Secure Tubing: Use stakes or clips to hold the tubing or pipes in place, ensuring that they don’t move or get displaced.
- Test the System: Turn on the water and check for proper water distribution. Make sure each emitter is functioning correctly and providing the right amount of water. Look for any leaks or clogs in the system.
- Adjust as Needed: Make any necessary adjustments to emitter placements or flow rates to ensure even coverage and efficient watering.
6. Adjust and Maintain
- Regular Maintenance: Check the system regularly for clogs, leaks, or other issues. Clean the filter and emitters as needed to maintain optimal performance.
- Seasonal Adjustments: Adjust the system based on seasonal changes in weather and plant needs. You may need to increase or decrease the watering frequency depending on the time of year.
- Monitor Plants: Observe your plants for signs of overwatering or underwatering. Adjust the system if necessary to meet the changing needs of your plants.
Additional Tips
- Use Mulch: Mulch around plants can help retain moisture and reduce evaporation, complementing the benefits of your drip irrigation system.
- Gravity Systems: If you prefer not to use a pressure regulator, you can set up a gravity-fed system with a water tank placed higher than the garden beds.
- DIY Kits: If you prefer a simpler approach, consider using a DIY drip irrigation kit, which includes pre-cut tubing, emitters, and connectors.
Conclusion
Building a DIY drip irrigation system is a practical and eco-friendly way to efficiently water your garden. By following these steps and using recycled or repurposed materials, you can create a system that conserves water, saves time, and supports healthy plant growth. Whether you’re a seasoned gardener or a beginner, this guide provides the tools and knowledge you need to get started on your own drip irrigation project.
Engage: Have you built a DIY drip irrigation system for your garden? Share your experiences, tips, or questions in the comments below! Let’s help each other create thriving, water-efficient gardens.

