
Creating a garden that stands out and catches everyone’s eye is the dream of many gardeners. If you want to achieve a lush, vibrant garden that will have your neighbors asking for your secret, look no further than natural plant fertilizers. These homemade solutions not only enrich the soil but also provide essential nutrients to your plants. This article will guide you through creating a powerful natural fertilizer that will elevate your garden to new heights.
Why Choose Natural Fertilizers?
Natural fertilizers, often made from kitchen scraps and organic materials, offer numerous benefits compared to synthetic options:
- Eco-Friendly: They reduce waste by recycling kitchen and garden scraps, and they are free from harmful chemicals.
- Soil Health: Natural fertilizers improve soil structure and promote beneficial microbial activity.
- Cost-Effective: Using materials you already have at home can save you money on commercial fertilizers.
- Nutrient-Rich: They provide a balanced mix of essential nutrients tailored to the needs of your plants.
Ingredients for Your Natural Fertilizer
To make an effective natural fertilizer, you’ll need a few key ingredients:
- Vegetable Scraps: Includes peelings, stems, and other leftover parts from fruits and vegetables.
- Coffee Grounds: Rich in nitrogen, coffee grounds help improve soil fertility.
- Eggshells: High in calcium, eggshells help strengthen plant cell walls and prevent blossom end rot.
- Animal Manure: Provides essential nutrients like nitrogen, phosphorus, and potassium. Use well-aged manure from herbivores like cows, horses, or chickens.
Step-by-Step Guide to Making Your Natural Fertilizer
Step 1: Gather Ingredients
Collect the following items:
- Vegetable Scraps: Save peelings, cores, and trimmings from your kitchen.
- Coffee Grounds: Collect used coffee grounds from your morning brew.
- Eggshells: Rinse and crush eggshells from your kitchen.
- Animal Manure: Obtain well-aged manure from local farms or garden centers.
Step 2: Prepare the Compost
- Create a Compost Pile: Choose a spot in your garden for the compost pile or use a compost bin. The compost pile should be in a well-drained area that gets some sunlight.
- Mix Ingredients: Layer the vegetable scraps, coffee grounds, eggshells, and animal manure in the compost pile. Aim for a balanced mix of green (nitrogen-rich) and brown (carbon-rich) materials. For instance, combine coffee grounds and vegetable scraps (greens) with eggshells and dried leaves or straw (browns).
- Maintain Balance: Keep the compost pile well-balanced by adding more browns if it’s too wet or more greens if it’s too dry. The ideal compost pile should have a mix of about two parts brown to one part green.
Step 3: Maintain Moisture
- Check Moisture Levels: The compost should be kept slightly damp but not soggy. Too much moisture can lead to anaerobic conditions and a smelly compost pile, while too little moisture will slow down the decomposition process.
- Turn the Compost: Use a pitchfork or shovel to turn the compost pile every few weeks. This aerates the pile, speeds up decomposition, and helps maintain an even temperature throughout.
Step 4: Let it Decompose
- Decomposition Process: Allow the compost pile to decompose over several weeks to months. The time required will depend on factors such as temperature, moisture levels, and the size of the compost pile.
- Monitor Progress: As the compost breaks down, it will become darker and crumbly. The pile should eventually turn into a rich, dark, soil-like material with a pleasant earthy smell.
Step 5: Apply to Your Garden
- Harvest the Compost: Once the compost has fully decomposed, sift through it to remove any large, undecomposed materials. The finished compost should be dark, crumbly, and have a rich, earthy aroma.
- Apply to Soil: Spread a layer of compost around your plants or mix it into the soil. A good rule of thumb is to apply 1-2 inches of compost to the soil surface or mix it in to a depth of 6-8 inches.
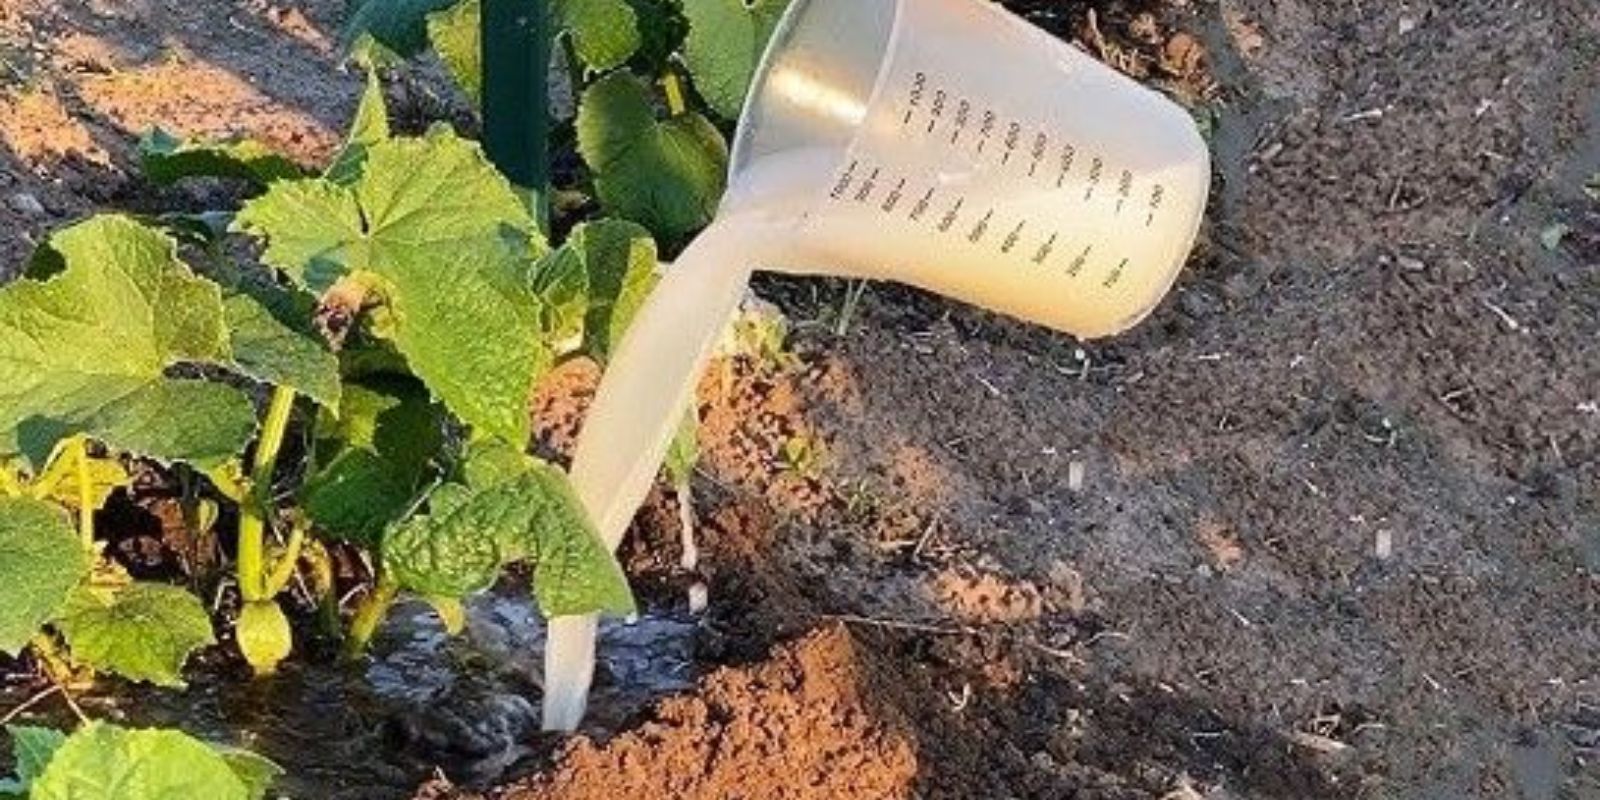
- Water the Area: After applying the compost, water the garden thoroughly to help the nutrients seep into the soil and reach the plant roots.
Additional Tips for Using Natural Fertilizers
- Composting Location: If space is limited, consider using a compost bin or tumbler to manage kitchen scraps and yard waste efficiently.
- Avoid Over-Fertilizing: Too much compost can lead to nutrient imbalances. Stick to the recommended application rates to ensure healthy plant growth.
- Seasonal Application: Apply compost in the spring before planting and again in the fall to replenish nutrients and improve soil structure.
- Pest Control: Use compost in combination with other pest control methods to maintain a healthy garden. Regularly check for pests and diseases.
Common Challenges and Solutions
1. Odor Issues
Cause: Unpleasant odors often indicate excess moisture or inadequate aeration.
Solution: Ensure proper aeration by turning the compost regularly and adjusting moisture levels. If the compost becomes too wet, add more brown materials to absorb excess moisture.
2. Slow Decomposition
Cause: Slow decomposition can result from a lack of heat, moisture, or a poor mix of materials.
Solution: Increase the compost pile’s temperature by turning it more frequently, adding more green materials, or adjusting the moisture levels.
3. Pest Problems
Cause: Pests such as rodents or insects can be attracted to compost piles.
Solution: Keep the compost pile covered, and avoid adding meat or dairy products that attract pests. Using a closed compost bin can also help deter unwanted animals.
Conclusion
Creating and using a natural plant fertilizer is an excellent way to enhance your garden’s health and beauty while making an eco-friendly choice. By following these steps, you can transform kitchen and garden scraps into a rich, nourishing compost that will help your plants thrive. With a bit of effort and patience, you’ll achieve a vibrant garden that will not only make your neighbors envious but also provide you with a rewarding gardening experience. Happy composting!