Introduction
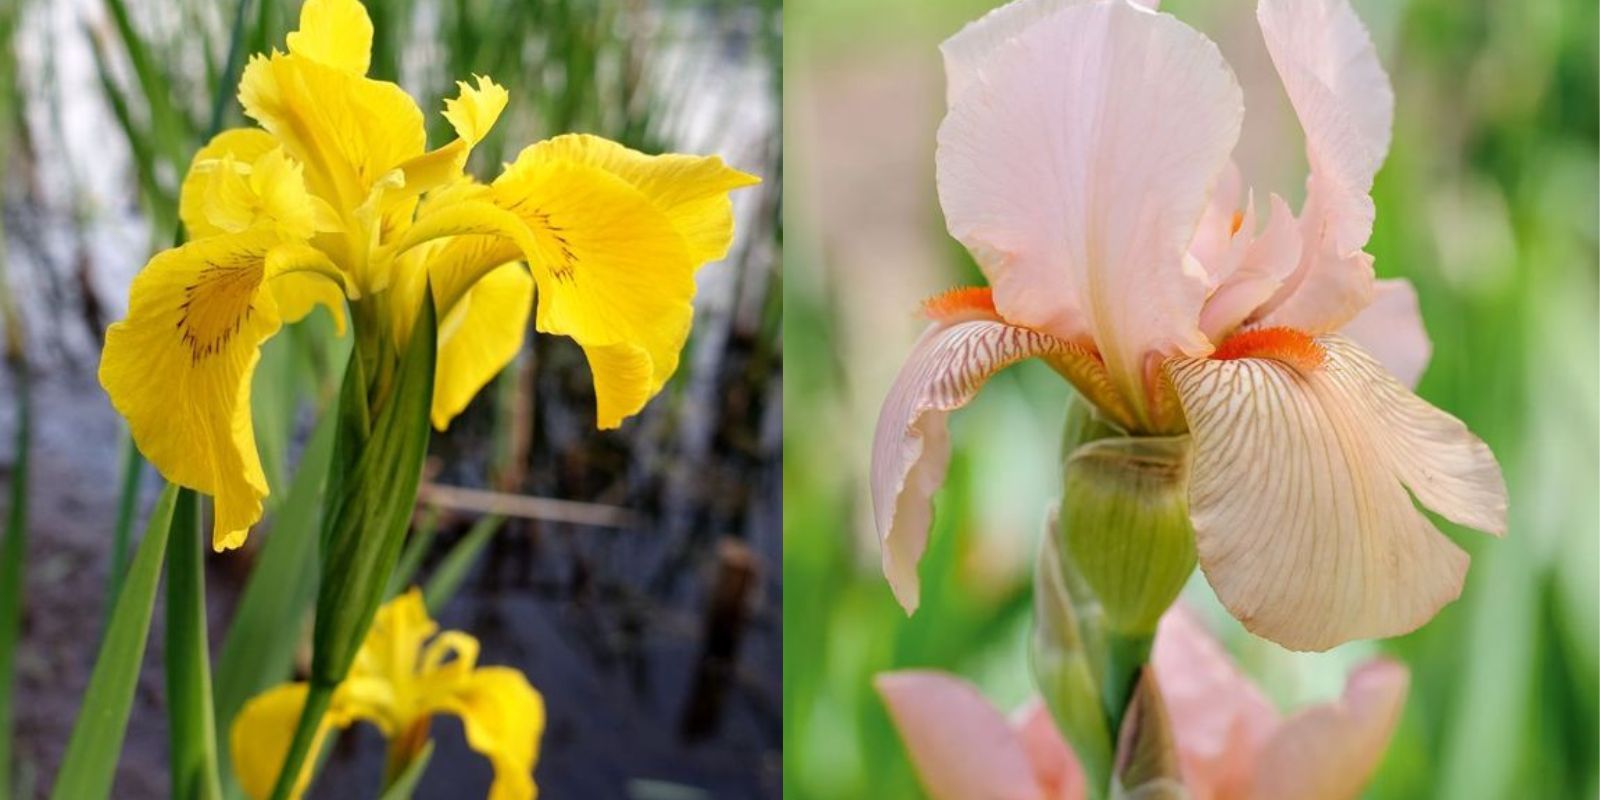
Irises are a quintessential garden flower, admired for their striking beauty and variety of colors. These elegant blooms bring a sense of sophistication and charm to any garden. Whether you’re an experienced gardener or just starting out, understanding how to cultivate and care for irises will ensure a garden full of vibrant, flourishing flowers. This guide will walk you through the essential steps to achieve a successful iris blooming season, from planting to maintenance.
Choosing the Right Location
Sunlight and Soil
Irises thrive in locations that offer full sun to partial shade. Ideally, they need at least 6 hours of direct sunlight per day to bloom at their best. However, in hotter climates, some afternoon shade can be beneficial to protect the plants from the harsh midday sun.
When it comes to soil, irises prefer well-drained soil that is rich in organic matter. Heavy, clayey soils or those that retain too much moisture can lead to rhizome rot, so it’s essential to ensure good drainage. If your soil is heavy, consider amending it with compost or sand to improve its texture and drainage capabilities.
Preparing the Soil
Enriching the Soil
Before planting irises, prepare the soil by enriching it with compost or well-rotted manure. This adds essential nutrients and improves soil structure, promoting healthy root development. Work the compost into the top 6-8 inches of soil to create a fertile, well-aerated planting bed.
Testing Soil pH
Irises generally prefer a slightly acidic to neutral soil pH, ranging from 6.0 to 7.0. Conduct a soil test to determine your soil’s pH level. If necessary, adjust the pH with lime to raise it or sulfur to lower it, based on the results of your test.
Planting Irises
Timing
The best time to plant irises is in late summer to early fall. This timing allows the rhizomes to establish themselves before the onset of winter and will result in vigorous growth and blooming the following spring.
Planting Process
- Prepare the Planting Site: Clear the area of weeds and debris. Dig a hole or trench that is about 6-8 inches deep and wide enough to accommodate the rhizomes.
- Plant Rhizomes: Place the iris rhizomes horizontally in the hole with the top of the rhizome exposed and the roots spread out beneath it. Space the rhizomes 12-18 inches apart to allow for their growth and expansion.
- Backfill and Water: Gently backfill the hole with soil, ensuring that the top of the rhizome is slightly above the soil surface. Water thoroughly to help settle the soil around the roots.
Watering and Fertilizing
Watering
Irises prefer to be watered regularly but not excessively. Water the plants deeply to encourage deep root growth, but allow the soil to dry out between waterings. Overwatering can lead to rhizome rot and other fungal diseases. In general, water irises once a week during the growing season, adjusting based on weather conditions.
Fertilizing
Irises benefit from fertilization, particularly in early spring when new growth begins. Use a balanced, all-purpose fertilizer or one specifically formulated for flowering plants. Apply the fertilizer according to the manufacturer’s instructions, typically around the time new shoots appear. Avoid fertilizing late in the growing season, as this can encourage excessive foliage growth at the expense of blooms.
Pruning and Deadheading
Removing Dead Flowers
Deadheading, or removing spent flowers, helps promote further blooming and keeps the plant looking tidy. As the flowers fade, cut the flower stalks back to the base of the plant. Avoid cutting the foliage, as it is essential for the plant’s overall health and energy storage.
Foliage Care
In the fall, after the flowering season, you may notice that the foliage begins to yellow and die back. This is a natural part of the plant’s life cycle. Cut back the dead foliage to about 6 inches above the soil line, but avoid cutting back any green leaves, as they are crucial for photosynthesis and storing energy for the next growing season.
Managing Pests and Diseases
Common Pests
Irises are generally hardy plants but can occasionally be susceptible to pests such as aphids, spider mites, and iris borers. Regularly inspect your plants for signs of pests and address infestations promptly. For aphids and spider mites, a gentle spray of water or insecticidal soap can be effective. Iris borers may require more targeted treatments, such as removing affected leaves and applying specific insecticides.
Diseases
Irises are prone to a few diseases, including bacterial soft rot, fungal leaf spot, and rhizome rot. To prevent diseases, ensure proper spacing and good air circulation around your plants. Avoid overhead watering, which can encourage fungal growth. If you notice signs of disease, such as yellowing leaves or rotting rhizomes, take action promptly. Remove affected plant parts and treat with appropriate fungicides or bactericides as needed.
Winter Care
Preparing for Winter
In colder climates, irises may need protection during the winter months. After the foliage dies back, apply a layer of mulch or straw around the base of the plants to insulate the rhizomes and protect them from frost. In areas with mild winters, irises can often survive without additional protection.
Conclusion
Growing irises from bulbs or rhizomes can be a fulfilling gardening experience, resulting in beautiful and vibrant blooms that brighten up any garden. By following the steps outlined—choosing the right location, preparing the soil, planting correctly, and providing ongoing care—you can enjoy a thriving iris garden that will captivate with its elegance and color.
Motivation
Dive into the world of iris cultivation and transform your garden with these stunning and timeless flowers. With a bit of care and attention, you’ll enjoy a garden that bursts into beautiful bloom each season, adding a touch of sophistication and joy to your outdoor space! 🌺🌿

