
Butter, a staple in kitchens worldwide, adds richness and flavor to countless dishes, from baked goods to savory recipes. While store-bought butter is convenient, making your own at home offers a fresher, healthier alternative without additives or preservatives. This article guides you through the process of crafting homemade butter using just one ingredient, highlighting its benefits, and providing tips to ensure success in your culinary endeavors.
Why Make Homemade Butter?
Homemade butter stands out for several reasons:
- Healthier Choice: By making butter at home, you control the ingredients, ensuring it’s free from artificial additives, preservatives, and excessive salt.
- Enhanced Flavor: Freshly churned butter has a richer, creamier flavor compared to store-bought varieties.
- Cost-effective: Homemade butter can be more economical, especially if you have access to affordable heavy cream or can buy cream in bulk.
The Basic Ingredients
To make homemade butter, you only need one main ingredient:
- Heavy Cream: Opt for high-quality heavy cream, ideally with a high fat content (at least 36%), which ensures a better yield of butter.
Optional:
- Salt: For seasoning, you can add salt to taste after churning.
Step-by-Step Guide to Making Homemade Butter
Step 1: Preparation
- Choose Quality Cream: Select fresh heavy cream with a high fat content for optimal results.
- Optional: Add Salt: If desired, sprinkle a small amount of salt into the cream for seasoning.
Step 2: Churning the Cream
- Whip the Cream: Pour the heavy cream into a mixer or food processor. Start whipping at medium to high speed.
- Monitor Progress: As you whip, the cream will go through several stages:
- Whipped Cream: Initially, the cream will thicken and form whipped cream, similar to what you might use as a topping for desserts.
- Separation: Keep whipping until the fat separates from the liquid (buttermilk). This typically takes 10-15 minutes, depending on the speed and equipment used.
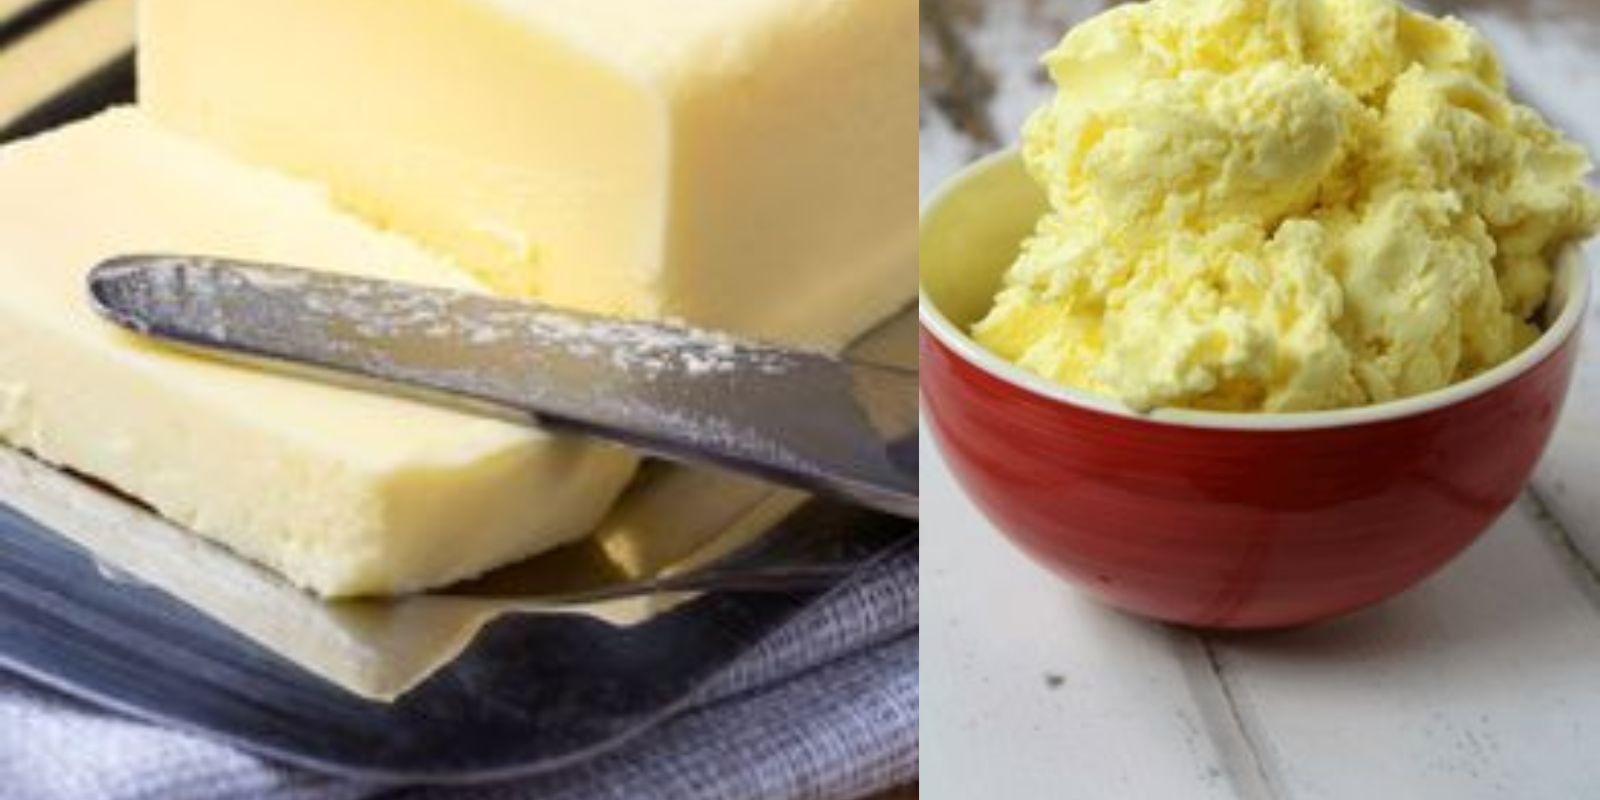
- Formation of Butter: The fat will start to clump together, forming small butter granules surrounded by buttermilk.
Step 3: Washing and Shaping the Butter
- Drain the Buttermilk: Pour off the buttermilk from the butter solids. Save the buttermilk for other recipes if desired.
- Wash the Butter: Rinse the butter under cold water to remove any remaining buttermilk. This step is crucial as it helps prevent the butter from spoiling quickly.
- Optional: Knead and Shape: If desired, knead the butter to remove excess water and shape it into a block, log, or use molds for decorative shapes.
Step 4: Storing Homemade Butter
- Airtight Container: Store the homemade butter in an airtight container or wrap it tightly in wax paper or parchment paper.
- Refrigeration: Keep the butter refrigerated to maintain freshness. Homemade butter can typically last for about 1-2 weeks in the refrigerator.
Benefits of Homemade Butter
1. Quality Control
Homemade butter allows you to choose the quality of ingredients, ensuring you create a product free from artificial additives or excess salt.
2. Fresher Flavor
The fresh, creamy taste of homemade butter enhances the flavor of both sweet and savory dishes, making it a preferred choice for discerning cooks.
3. Cost Efficiency
Depending on the cost of heavy cream in your area, making butter at home can be more economical than purchasing premium butter brands, especially organic or artisan varieties.
Ways to Use Homemade Butter
- Cooking and Baking: Substitute homemade butter in recipes that call for butter, from cakes and cookies to sauces and sautés.
- Spreads and Toppings: Enjoy homemade butter on freshly baked bread, pancakes, or toast for a delicious breakfast or snack.
- Flavor Infusions: Customize your butter by adding herbs, spices, or honey during the churning process to create flavored butter spreads.
Tips for Success
- Temperature Control: Use cold cream and keep equipment and hands cool to prevent the butter from melting prematurely.
- Patience: Churning butter takes time; be patient and allow the process to fully separate the fat from the buttermilk.
Conclusion
Making homemade butter is not only a rewarding culinary experience but also a healthier and more flavorful choice for your kitchen. By following these simple steps and understanding the benefits of homemade butter, you can elevate your cooking and baking while enjoying the satisfaction of creating a staple ingredient from scratch. Whether you’re a seasoned chef or a novice in the kitchen, homemade butter offers a delightful way to enhance your meals and embrace the joys of homemade goodness.
Embrace the art of homemade butter-making and savor the rich, creamy flavors it brings to your dishes—delight in the simplicity and freshness of homemade butter with every spread and every bite.
This article provides a detailed guide to making homemade butter, highlighting its benefits, versatility, and practical tips for achieving success in the kitchen, encouraging readers to explore the joys of creating this essential ingredient at home.