
Starting seeds indoors can be a game-changer for gardeners looking to get a head start on the growing season. One essential tool that can significantly improve germination rates and seedling health is a seedling heat mat. This simple device provides the warmth needed to stimulate seed germination, especially for heat-loving plants like tomatoes, peppers, and eggplants. In this guide, we’ll cover everything you need to know about using a seedling heat mat, from setup to troubleshooting common issues, ensuring your seedlings thrive from day one.
Why Use a Seedling Heat Mat?
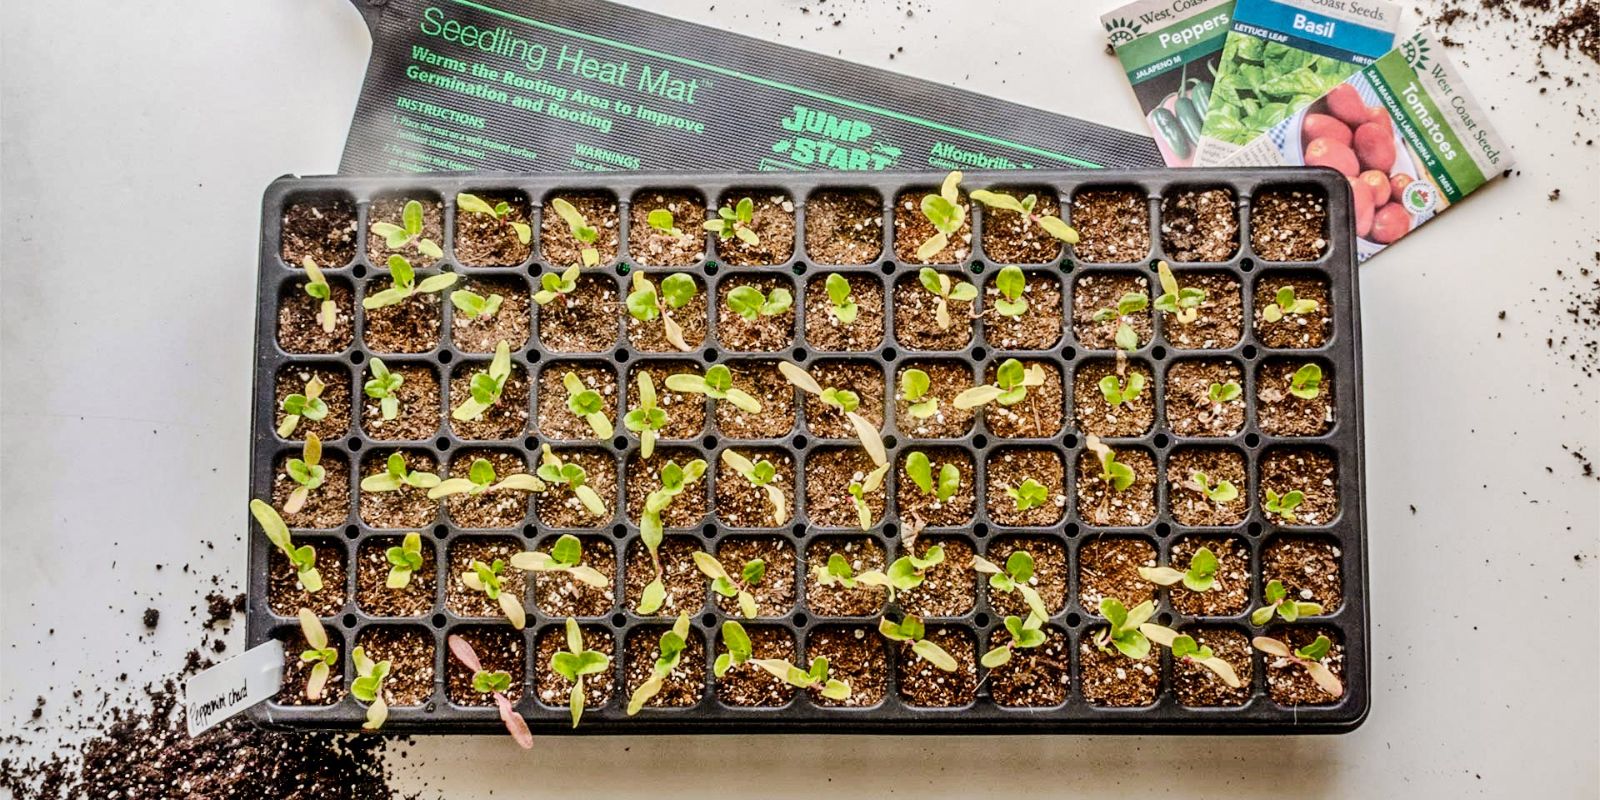
A seedling heat mat is designed to provide consistent bottom heat, mimicking the warmth that seeds would naturally get in warmer soil outdoors. Many seeds, particularly those from warm-season crops, require soil temperatures between 70-85°F (21-29°C) to germinate efficiently. Without adequate warmth, germination can be slow and uneven. Benefits of using a heat mat include:
- Faster Germination: Many seeds sprout in half the time compared to unheated conditions.
- Higher Germination Rates: More seeds successfully germinate when provided with optimal warmth.
- Stronger Seedlings: Consistent warmth helps produce robust, healthy seedlings.
- Extended Growing Season: You can start seeds earlier in the year, giving plants a head start before outdoor planting.
Step-by-Step Guide to Using a Seedling Heat Mat
1. Choose the Right Heat Mat
Seedling heat mats come in different sizes, so select one that matches your seed tray or growing area. Many mats also have an optional thermostat for precise temperature control, which is ideal for maintaining a consistent environment.
2. Set Up on a Flat, Stable Surface
Place the heat mat on a sturdy, flat surface where it won’t be disturbed. If possible, use it on a waterproof or moisture-resistant surface to protect against accidental spills.
3. Place the Seed Tray or Pots on the Mat
After filling your seed tray or individual pots with a light, well-draining seed-starting mix, position them directly on top of the heat mat. The heat will be transferred through the bottom, warming the soil evenly.
4. Plug in the Mat and Adjust the Temperature
If your heat mat has an adjustable thermostat, set the temperature according to the specific needs of the seeds you are growing. Refer to seed packet instructions to determine the ideal germination temperature.
5. Monitor Soil Temperature
Use a soil thermometer to check the temperature regularly. The goal is to maintain the soil at the ideal range for the seeds you’re growing. If it’s too hot, lower the thermostat setting or turn off the mat periodically.
6. Keep Soil Moist But Not Soggy
Warm soil dries out faster, so regularly check moisture levels. Keep the soil consistently moist by misting with water or using a humidity dome to retain moisture.
7. Remove the Heat Mat Once Seeds Germinate
Once your seeds have sprouted and seedlings begin to grow, remove the heat mat to prevent overheating and leggy growth. Move seedlings to a bright location under grow lights or a sunny window to encourage healthy development.
Common Mistakes and Troubleshooting Tips
Even though seedling heat mats are easy to use, there are a few common mistakes to avoid:
- Overheating the Soil: If the soil temperature gets too high, seeds can dry out or fail to germinate. Always monitor with a thermometer and use a thermostat if available.
- Leaving the Mat On Too Long: Keeping seedlings on the heat mat after sprouting can lead to weak, leggy growth. Once germination occurs, move the seedlings to a well-lit area.
- Not Using a Humidity Dome: A humidity dome can help retain moisture, preventing seeds from drying out too quickly.
- Neglecting Watering: Warmer soil dries out faster, so check daily and keep moisture levels consistent.
Frequently Asked Questions
1. Can I Use a Seedling Heat Mat Without a Thermostat?
Yes, but a thermostat provides better control, preventing overheating. If you don’t have one, monitor the temperature closely with a soil thermometer.
2. How Long Should I Leave the Heat Mat On Each Day?
Heat mats should generally be left on 24/7 until seeds germinate. Once sprouted, remove the mat and transition seedlings to a well-lit area.
3. Do All Seeds Need a Heat Mat?
No. While warm-season crops like tomatoes, peppers, and melons benefit from bottom heat, cool-season crops like lettuce and peas do not require extra warmth to germinate.
4. Can I Use a Regular Heating Pad Instead of a Seedling Heat Mat?
Household heating pads are not designed for continuous use and can overheat or pose safety risks. Seedling heat mats are built specifically for plant growth and provide consistent, safe warmth.
Final Thoughts
Using a seedling heat mat is one of the easiest ways to ensure fast, healthy germination for your indoor seedlings. By following the steps above, you can improve germination rates, strengthen seedlings, and extend your growing season.
🔥 Have you tried using a seedling heat mat? Share your experience and tips in the comments below! 🌱👇
#SeedStarting #GardeningHacks #IndoorGardening #GrowYourOwnFood #OrganicGardening #GardeningTips