
Seed stratification is a crucial process for many seeds to break dormancy and germinate effectively. Mimicking natural conditions, stratification helps seeds overcome their dormancy period and prepares them for successful sprouting. This comprehensive guide will walk you through the steps of seed stratification, why it’s important, and tips to ensure your seeds have the best chance of thriving.
What is Seed Stratification?
Seed stratification involves exposing seeds to specific conditions that mimic their natural winter environment. This process is essential for seeds that have evolved to germinate only after experiencing cold temperatures, which signals the end of winter and the arrival of spring. By stratifying seeds, you enhance their ability to germinate and grow into healthy plants.
Why is Stratification Important?
Stratification is important because it:
- Breaks Dormancy: Many seeds have built-in dormancy mechanisms that prevent them from germinating immediately. Stratification helps break these mechanisms by simulating winter conditions.
- Improves Germination Rates: Proper stratification can significantly increase the likelihood of seed germination, leading to healthier and more robust plants.
- Enhances Seedling Growth: Seeds that undergo stratification often produce stronger seedlings, which are better able to withstand environmental stresses.
Seeds That Need Stratification
Not all seeds require stratification, but many benefit from it. Common examples include:
- Perennials: Many perennial plants, such as coneflowers and black-eyed Susans, need stratification.
- Trees: Certain trees, like maple and oak, also require cold treatment.
- Herbs: Some herbs, like lavender and sage, can benefit from stratification.
Step-by-Step Guide to Stratify Seeds
1. Select Seeds
Start by selecting seeds that require stratification. Check the seed packet or do a bit of research to confirm if stratification is necessary. If you’re unsure, stratifying seeds that are known to benefit from it is a good practice.
2. Prepare the Seeds
Prepare your seeds by moistening a medium that will facilitate the stratification process. This can be:
- Paper Towel: Dampen a paper towel with water and place the seeds in a single layer on the towel. Fold the towel over to cover the seeds.
- Sand or Vermiculite: Mix seeds with moist sand or vermiculite. This medium helps maintain the right moisture level and provides good air circulation.
3. Refrigerate the Seeds
Place the prepared seeds in a sealed plastic bag or container. Label the container with the seed type and date. Store the container in the refrigerator for the required stratification period, which typically ranges from 4 to 8 weeks. The exact duration depends on the seed type, so check specific recommendations for your seeds.
- Tip: Keep the seeds away from fruits and vegetables in the refrigerator, as these can produce ethylene gas, which may inhibit germination.
4. Check Regularly
During the stratification period, periodically check the seeds for signs of sprouting or mold. If you notice any mold, remove the affected seeds and replace the medium with fresh, damp material. Ensure that the seeds remain moist but not soggy.
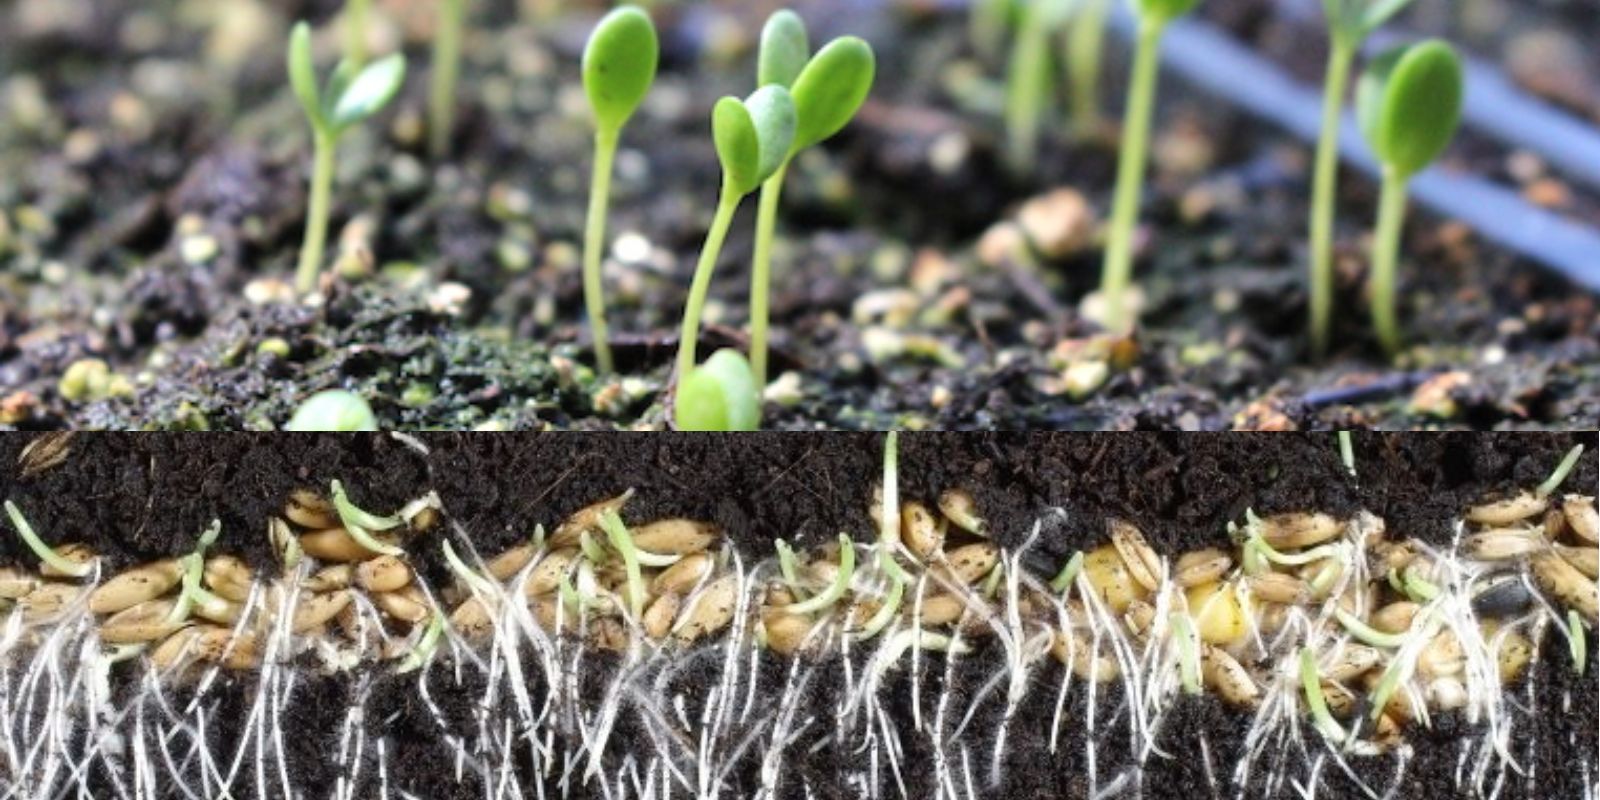
5. Sow the Seeds
After the stratification period is complete, remove the seeds from the refrigerator. Prepare your planting area or pots with fresh, well-draining soil. Sow the seeds according to the depth recommended on the seed packet.
- Tip: Some seeds may need light for germination, so check the specific requirements for each seed type.
6. Maintain Moisture
Once planted, keep the soil consistently moist but not waterlogged. Covering the pots or planting area with a clear plastic dome can help retain moisture and create a mini-greenhouse effect.
- Tip: Place your seeds in a warm, bright location or under grow lights to encourage germination.
7. Transplant Seedlings
When seedlings have grown large enough and developed a few sets of true leaves, they can be transplanted to their permanent location or larger pots. Ensure they are hardened off before planting outside to acclimate them to outdoor conditions.
Tips for Successful Seed Stratification
- Label Everything: Clearly label all containers with the seed type and stratification dates. This helps keep track of what you’re growing and when to expect germination.
- Use Fresh Seeds: Old seeds may have lower germination rates. Using fresh seeds increases the likelihood of successful germination.
- Monitor Temperature: Maintain a consistent refrigerator temperature to avoid fluctuations that can affect seed viability.
- Keep Records: Maintain records of your stratification process, including seed types, stratification times, and planting dates. This helps in refining your technique for future planting.
Common Problems and Solutions
- Mold Growth: If you encounter mold, it’s often due to excess moisture. Reduce humidity and ensure good air circulation. Replace the medium if necessary.
- No Germination: If seeds don’t germinate, check if they were properly stratified and if they were sown at the correct depth. Double-check the specific requirements for each type of seed.
- Slow Germination: Some seeds naturally have a slower germination rate. Patience is key, and maintaining optimal conditions will improve your chances of success.
Conclusion
Stratifying seeds is a vital process for ensuring successful germination and growing healthy plants. By following these steps—selecting seeds, preparing and refrigerating them, and then sowing them correctly—you can effectively break seed dormancy and enhance your gardening efforts. Whether you’re growing perennials, trees, or herbs, proper stratification will give your seeds the best start in life.
Embrace the process and enjoy the rewarding experience of nurturing your plants from seed to maturity. Happy gardening! 🌱❄️ #SeedStratification #GardeningTips #PlantCare #GreenThumb #GrowYourOwn #SeedStarting