
Starting seeds indoors is a rewarding process that allows gardeners to get a head start on the growing season, especially in warm climates where the outdoor temperatures can become too intense for tender seedlings. Whether you’re looking to grow vegetables, herbs, or flowers, starting seeds indoors provides more control over the growing environment, leading to stronger and healthier plants. This guide will walk you through the steps of starting seeds indoors in warm climates, ensuring your plants thrive when it’s time to transplant them outdoors.
Understanding Warm Climates and Their Challenges
Warm climates are characterized by higher temperatures, particularly during the summer months. While these conditions can be ideal for certain crops, they can also pose challenges for young seedlings. High temperatures can cause seedlings to grow too quickly, become leggy, or even succumb to heat stress before they are ready to be transplanted outdoors.
By starting seeds indoors, gardeners can manage these challenges by creating a controlled environment that allows seedlings to develop at a steady pace, with protection from the extremes of outdoor weather.
1. Choosing the Right Seeds
The first step in successfully starting seeds indoors in warm climates is selecting the right seeds. Not all plants thrive in hot weather, so it’s important to choose heat-tolerant varieties that are well-suited to your climate. Some plants that perform well in warm climates include:
- Tomatoes: Varieties like ‘Roma’ and ‘Celebrity’ are well-suited to warm climates.
- Peppers: Both sweet and hot peppers thrive in heat.
- Basil: This herb loves warmth and grows vigorously in warm conditions.
- Squash and Zucchini: Heat-tolerant and quick-growing, these are excellent choices for warm climates.
When selecting seeds, also consider the length of your growing season. In warm climates, the growing season can be extended, allowing for multiple plantings and harvests. Choose seeds that match your gardening goals and the specific conditions of your area.
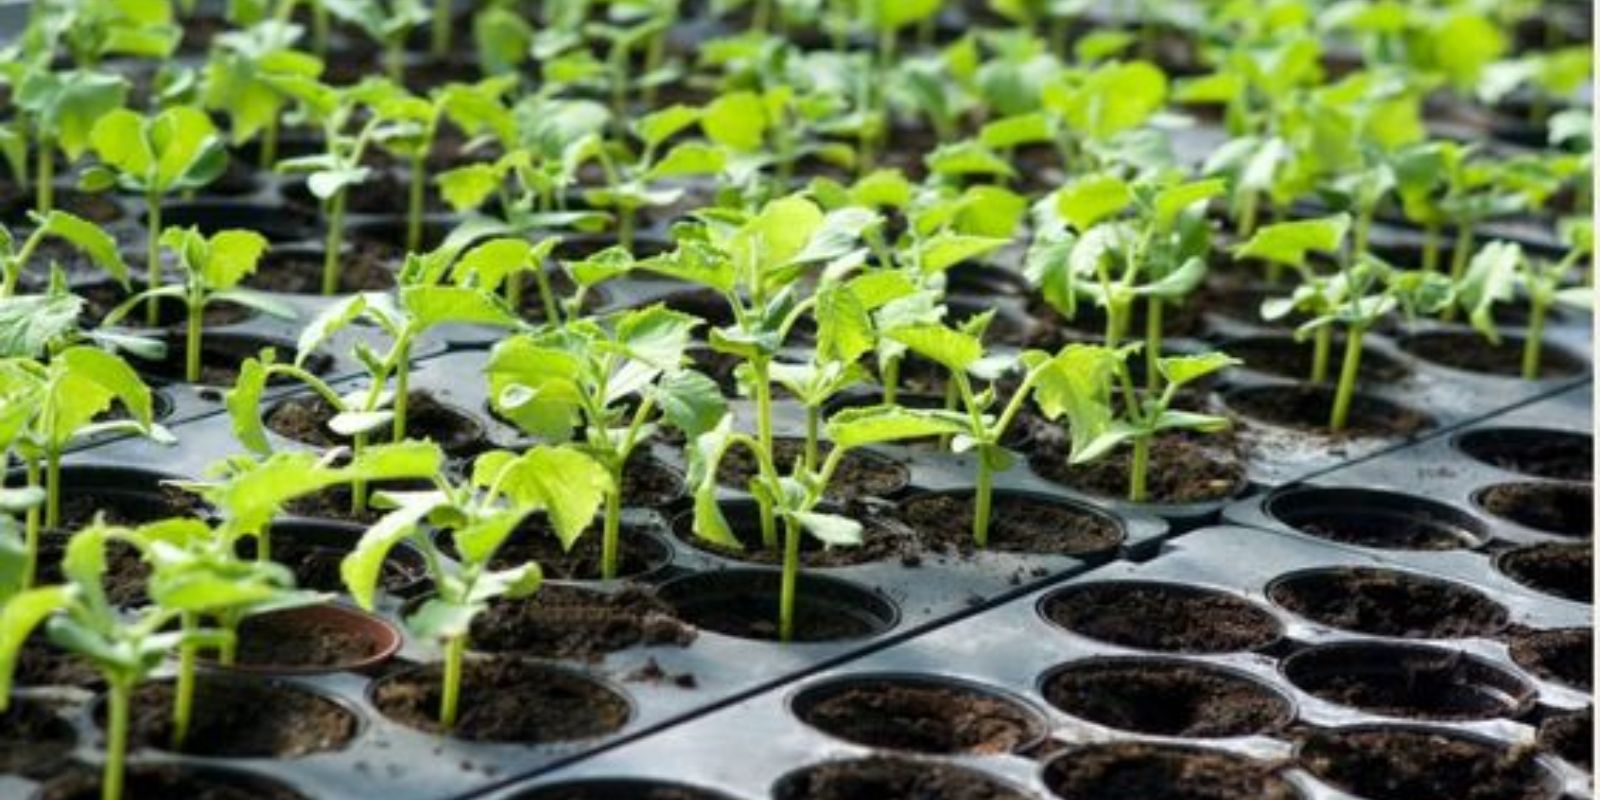
2. Preparing Seed Trays
Once you have selected your seeds, the next step is to prepare your seed trays. Seed trays provide a compact and efficient way to start multiple seeds in a controlled environment. Here’s how to prepare your seed trays:
- Choose the Right Containers: You can use plastic seed trays, peat pots, or even recycled containers like egg cartons. Ensure they have drainage holes to prevent waterlogging.
- Fill with Seed-Starting Mix: Use a high-quality seed-starting mix that is light, well-draining, and sterile. Avoid using garden soil, which can be too heavy and may contain pests or diseases.
- Moisten the Soil: Before planting, lightly moisten the seed-starting mix. The soil should be damp but not waterlogged, providing the right environment for seeds to germinate.
3. Sowing Seeds Properly
Sowing seeds at the correct depth is crucial for successful germination. Each type of seed has specific planting depth requirements, so it’s important to follow the instructions on the seed packet. Here are some general guidelines:
- Small Seeds: Lightly press small seeds into the surface of the soil, covering them with a thin layer of soil or vermiculite. Examples include basil and lettuce.
- Larger Seeds: Larger seeds, such as squash or beans, should be planted deeper, typically about 1/4 to 1/2 inch below the soil surface.
Once the seeds are sown, lightly press the soil down to ensure good seed-to-soil contact, which helps with moisture absorption and root development.
4. Providing Adequate Light
Light is one of the most important factors in growing strong, healthy seedlings. In warm climates, the days can be long and bright, but indoor seedlings may not receive enough natural light. To ensure your seedlings get the light they need:
- Use Grow Lights: If natural light is insufficient, use grow lights to provide the necessary light intensity. Place the lights about 2-4 inches above the seedlings and keep them on for 14-16 hours a day.
- Natural Light: If using natural light, place the seed trays in a south-facing window where they can receive at least 6-8 hours of direct sunlight each day. Rotate the trays daily to ensure even light exposure.
Adequate light prevents seedlings from becoming leggy, a condition where they grow tall and spindly due to insufficient light.
5. Maintaining Optimal Temperature and Humidity
Maintaining the right temperature and humidity levels is crucial for seed germination and seedling growth. Most seeds germinate best in temperatures between 70-75°F (21-24°C). Here’s how to manage temperature and humidity:
- Room Temperature: Keep the room where you’re starting seeds warm and stable. Avoid placing seed trays near drafts or in areas with fluctuating temperatures.
- Humidity Domes: Use humidity domes or plastic covers to retain moisture and create a greenhouse effect, which helps seeds germinate faster. Once seeds germinate, remove the covers to prevent mold and allow air circulation.
- Air Circulation: Ensure good air circulation to prevent fungal diseases. A small fan placed nearby can help with airflow.
6. Watering Carefully
Watering is another critical factor in seedling care. Seedlings need consistent moisture to grow, but overwatering can lead to damping-off, a fungal disease that causes seedlings to collapse and die. Here are some tips for proper watering:
- Bottom Watering: Water from the bottom by placing seed trays in a shallow tray of water. The soil will absorb moisture through the drainage holes, ensuring even watering without disturbing the seeds.
- Misting: If you water from above, use a spray bottle to mist the soil gently. Avoid drenching the soil, as this can displace seeds and lead to overwatering.
- Monitor Moisture: Check the soil daily to ensure it remains consistently moist but not waterlogged. Allow the top layer of soil to dry slightly between waterings.
7. Hardening Off Seedlings
Before transplanting your seedlings outdoors, they need to be hardened off—gradually acclimated to outdoor conditions. This process helps prevent transplant shock, which can occur when seedlings are suddenly exposed to the harsher outdoor environment.
- Start Indoors: Begin the hardening-off process by placing seedlings in a sheltered outdoor area for a few hours each day. Start with just a couple of hours in the shade, gradually increasing the time and exposure to sunlight over 7-10 days.
- Reduce Watering: As you harden off the seedlings, slightly reduce watering to encourage them to develop stronger roots.
- Transplanting: Once the seedlings are hardened off and outdoor temperatures are consistently warm, they are ready to be transplanted into the garden. Choose a cool, cloudy day or transplant in the evening to minimize transplant shock.
Conclusion
Starting seeds indoors in warm climates is a great way to jumpstart your garden and ensure a successful growing season. By choosing the right seeds, providing adequate light and temperature, and carefully managing watering, you can grow strong, healthy seedlings ready for transplant. The process requires attention to detail, but the reward of seeing your seedlings thrive in your garden makes it all worthwhile.
Call to Action
Are you ready to start your seeds indoors? Share your experiences, ask questions, or offer tips in the comments below. Let’s grow together and make this gardening season a success!