
Orchids are celebrated for their stunning blooms and intricate beauty, but their care requires attention to detail, especially when it comes to repotting. Repotting orchids is a crucial task to ensure their continued health and vitality, but it can be a delicate process. The key to a successful repotting lies in handling the plant’s roots with care. In this guide, we’ll walk you through the steps to repot your orchids without damaging their roots, ensuring a smooth transition to their new pot.
1. Understanding When to Repot Orchids
Orchids generally need repotting every 1-2 years, depending on their growth and potting mix condition. Repotting is essential for several reasons:
- Growth: As orchids grow, their root system expands, often outgrowing the current pot.
- Potting Mix Degradation: Orchid potting mixes break down over time, losing their ability to provide adequate aeration and drainage.
- Disease Prevention: Repotting helps remove any diseased or rotting roots and refreshes the plant’s growing environment.
Signs It’s Time to Repot:
- Roots are growing out of the drainage holes.
- The potting mix has broken down into a mushy or compacted state.
- The orchid is not producing new growth or blooms as expected.
2. Preparing for Repotting
Before you start repotting, gather the necessary materials and prepare your workspace. Proper preparation is key to a successful repotting process.
Materials Needed:
- New Orchid Pot: Choose a pot that is 1-2 inches larger in diameter than the current one. Ensure it has adequate drainage holes.
- Orchid Potting Mix: Select a mix designed for orchids, such as a blend of bark, sphagnum moss, and perlite, which provides good aeration and drainage.
- Sterilized Tools: Use clean scissors or pruning shears to trim roots and a sterile spatula or knife to assist with removing the plant from its pot.
- Water: Have room-temperature water on hand for watering the orchid after repotting.
3. Removing the Orchid from Its Current Pot
Careful removal of the orchid from its pot is crucial to avoid damaging the roots.
Steps:
- Prepare the Work Area: Lay down a clean surface and gather all your materials.
- Loosen the Potting Mix: Gently tap the sides of the pot to loosen the potting mix. You can also use a spatula or knife to carefully loosen the edges.
- Ease the Orchid Out: Hold the base of the orchid plant and gently ease it out of the pot. Avoid pulling on the plant to prevent root damage. If the plant is stuck, gently tap the sides or use a tool to release it.
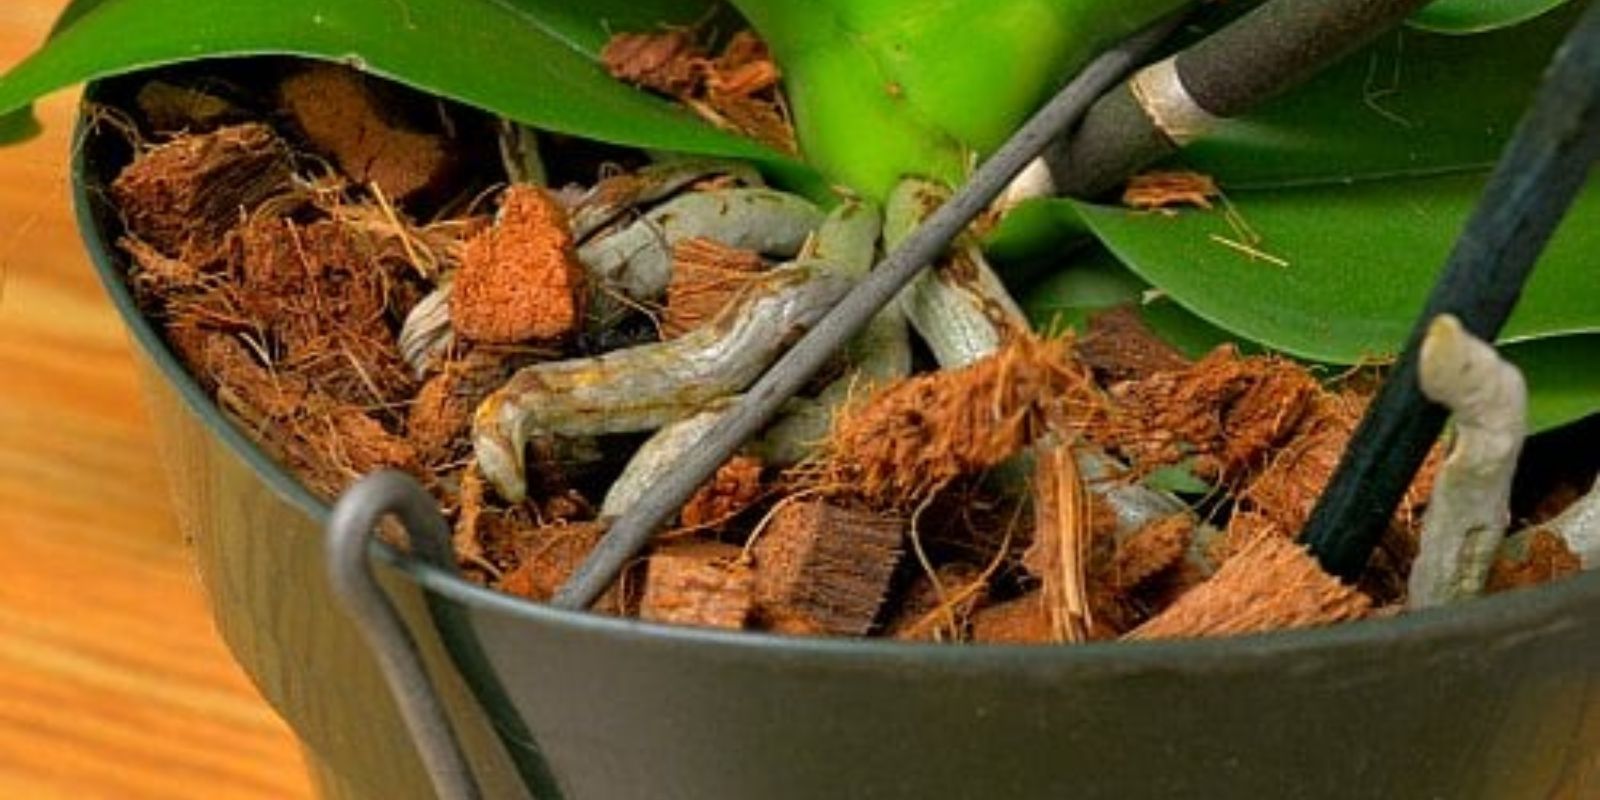
4. Examining and Trimming Roots
Once the orchid is out of its pot, inspect the root system for health and damage.
Steps:
- Inspect the Roots: Look for any signs of rot, disease, or dead roots. Healthy roots are firm and white or light green, while unhealthy roots are brown, black, or mushy.
- Trim Unhealthy Roots: Using sterilized scissors or pruning shears, trim away any damaged or dead roots. Make clean cuts to avoid leaving jagged edges that could lead to infection.
- Rinse the Roots: Rinse the remaining roots gently with water to remove any old potting mix and debris.
5. Repotting the Orchid
With the roots prepared, you’re ready to repot the orchid into its new container.
Steps:
- Prepare the New Pot: Place a layer of fresh orchid potting mix at the bottom of the new pot.
- Position the Orchid: Place the orchid in the center of the new pot. Ensure that the plant is positioned at the same depth as it was in the old pot.
- Add Potting Mix: Gradually add the new potting mix around the roots, gently packing it in to eliminate air pockets. Avoid compacting the mix too tightly, as orchids need good aeration for their roots.
- Ensure Stability: Make sure the orchid is stable in the pot and not wobbling. Adjust the position and add more mix if needed to keep the plant upright.
6. Post-Repotting Care
After repotting, your orchid will need special care to adjust to its new environment.
Steps:
- Water Lightly: Water the orchid lightly after repotting to help settle the potting mix. Ensure that the pot has good drainage to prevent waterlogging.
- Avoid Direct Sunlight: Place the repotted orchid in a location with bright, indirect light. Avoid direct sunlight, which can stress the plant.
- Maintain Humidity: Orchids thrive in a humid environment. Use a humidity tray or a room humidifier to maintain adequate humidity levels.
- Monitor for Stress: Watch for signs of stress, such as wilting or yellowing leaves. Adjust watering and light conditions as needed to support recovery.
7. Troubleshooting Common Issues
Even with careful repotting, you may encounter issues. Here’s how to address common problems:
7.1 Root Rot: If you notice signs of root rot after repotting, it may be due to overwatering or poor drainage. Ensure the potting mix is well-draining and adjust your watering routine.
7.2 Leaf Yellowing: Yellowing leaves can be a sign of over-fertilization or inadequate light. Review your care routine and make necessary adjustments.
7.3 Lack of New Growth: If the orchid is not showing new growth, it may be adjusting to the new pot. Be patient and continue to provide proper care.
8. Conclusion
Repotting orchids is a delicate task that requires attention to detail, especially when it comes to their roots. By understanding the right time to repot, using the appropriate materials, and following careful procedures, you can ensure a smooth transition for your orchids to their new pot. Proper post-repotting care is also essential to help your orchids recover and thrive. Embrace these techniques, and your orchids will reward you with continued beauty and vibrant blooms.
Motivation to Interact:
Ready to give your orchids a fresh start? Share your repotting experiences or ask for advice in the comments below! 🌿🌸 #OrchidRepotting #OrchidCare #GardeningTips #GreenThumb #PlantCare #FloweringOrchids