
Wood ashes are often overlooked in the gardening world, but they offer a wealth of benefits to your garden soil. Instead of discarding them, many gardeners are now rethinking their waste disposal methods and turning wood ashes into a valuable resource. With the right approach, wood ashes can significantly improve the quality of your soil, boost plant health, and even help reduce pests in your garden.
In this article, we’ll explore how to recharge your garden with wood ashes, the benefits of using them, and some essential tips to ensure you’re applying them correctly to get the best results.
Understanding Wood Ashes as a Garden Resource
Wood ashes are the byproduct of burning wood. The ashes that remain after combustion contain essential nutrients such as potassium, calcium, magnesium, and trace elements that can be incredibly beneficial for plant growth. When used properly, wood ashes can help maintain a healthy garden environment and improve soil fertility.
Key Benefits of Using Wood Ashes in Your Garden
- Nutrient Boost for Plants: Wood ashes are a natural source of potassium, which is vital for plant growth. Potassium helps plants with photosynthesis, nutrient absorption, and resistance to diseases. It also helps strengthen plant cell walls and promotes fruiting in many crops like tomatoes, peppers, and fruit trees.
- Improves Soil pH: Many garden soils, especially those in areas with acidic conditions, can benefit from the alkalizing effects of wood ashes. They can raise the pH of acidic soils, making them more suitable for plants that prefer neutral to slightly alkaline conditions.
- Enhances Soil Structure: The calcium in wood ashes can help improve the structure of heavy clay soils by reducing their compactness. This makes it easier for plant roots to penetrate and access nutrients and water, leading to healthier plants.
- Natural Pest Control: Wood ashes can also be used as a natural pest deterrent. Sprinkling ashes around the base of plants can create a barrier that repels slugs, snails, and certain crawling insects. The sharp edges of the ashes irritate pests, discouraging them from crossing over and damaging plants.
- Improves Water Retention: While wood ashes are alkaline, they can help improve the water retention properties of sandy soils. This is particularly useful in dry climates or areas where irrigation may be limited. By mixing wood ashes into the soil, you can help retain moisture, which is beneficial for plants during hot spells.
Step-by-Step Guide to Using Wood Ashes in Your Garden
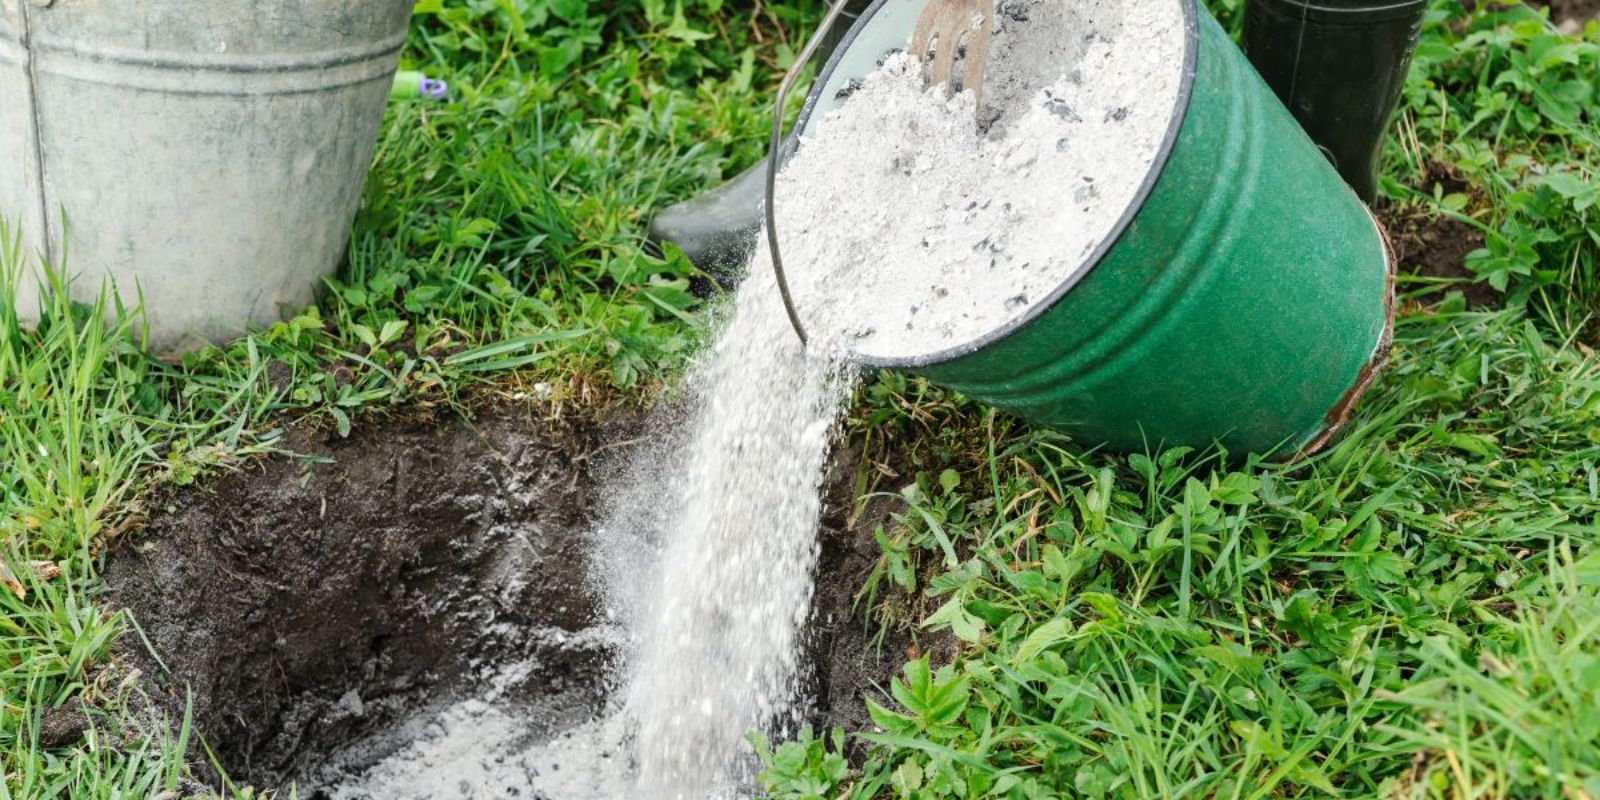
Step 1: Collect Wood Ashes
The first step in using wood ashes for your garden is to collect them. It’s essential to use ashes from untreated wood, such as hardwoods like oak, maple, or birch. Ashes from softwoods like pine are also acceptable, but they tend to be more acidic and should be used cautiously. Avoid using ashes from materials treated with chemicals, such as pressure-treated wood or painted wood, as they can introduce harmful substances into your garden soil.
When collecting ashes, allow them to cool completely to prevent the risk of fire. Store them in a dry container, as moisture can cause them to become clumpy and less effective. A metal container with a tight-fitting lid is an ideal storage solution.
Step 2: Test Your Soil’s pH
Before applying wood ashes to your garden, it’s important to test the pH of your soil. Wood ashes have an alkalizing effect, so they can raise the pH of acidic soils. While this is beneficial for many plants, too much can make the soil too alkaline, harming plants that thrive in acidic environments.
To test your soil’s pH, you can use a simple soil test kit available at garden centers or online. If your soil’s pH is already neutral or alkaline, you may want to limit the amount of ashes you use. For acidic soils (with a pH below 6.0), wood ashes are particularly useful in raising the pH to a more neutral level (around 6.5 to 7.0).
Step 3: Sprinkle Wood Ashes on Your Soil
Wood ashes should be applied lightly and evenly across your garden beds. You can either spread them by hand or use a broadcast spreader for larger areas. Be sure to avoid large piles of ashes, as this can lead to uneven distribution and result in localized changes in pH that may not be beneficial for all plants.
If you’re using wood ashes in a garden bed, apply about one to two pounds per 100 square feet of soil. For smaller garden plots, you can scale this down accordingly. For potted plants, a small teaspoon of wood ash can be mixed into the soil.
Step 4: Incorporate Ashes Into the Soil
After sprinkling the wood ashes over the soil, it’s important to mix them in. Use a rake, hoe, or garden fork to gently work the ashes into the top couple of inches of soil. This helps ensure that the nutrients are evenly distributed and accessible to plant roots.
Avoid applying wood ashes directly to plant stems, as too much ash can cause damage. Instead, focus on the soil surrounding the plants, which will allow the ashes to improve soil structure, increase fertility, and raise pH where needed.
Step 5: Water Your Garden Well
After applying wood ashes and mixing them into the soil, water your garden thoroughly. This helps the ashes dissolve and ensures that the nutrients are carried down into the root zone where they are most needed. Watering also helps to activate the natural pest-repelling properties of the ashes.
Step 6: Use Wood Ashes Sparingly
While wood ashes can be a great addition to your garden, it’s important not to overuse them. Too much ash can increase the soil’s pH excessively, creating an environment that is too alkaline for many plants to thrive. In most cases, applying wood ashes once or twice a year is sufficient.
Monitor your plants for signs of stress, such as yellowing leaves or poor growth, as this may indicate an imbalance in the soil’s pH. If this happens, stop using the wood ashes and amend the soil with organic matter, compost, or sulfur to lower the pH back to its ideal level.
Other Ways to Use Wood Ashes in the Garden
- Compost Enhancer: Wood ashes can be added to your compost pile, where they help balance the acidity of the organic material. Just be sure to add them in moderation and mix them well to avoid creating too much alkalinity.
- Mulching: Sprinkle a thin layer of wood ashes around your plants as a mulch. This not only helps with soil pH but can also deter weeds and retain moisture in the soil.
- Making Potash: Potash is a nutrient-rich substance found in wood ashes. You can make a concentrated potash solution by dissolving the ashes in water, allowing it to sit for a few days, and then using it as a liquid fertilizer.
- Pest Deterrent: As mentioned earlier, wood ashes are an effective way to keep pests like slugs and snails away from your plants. Sprinkle ashes around the base of your plants or create a small barrier around the garden to keep these pests at bay.
Conclusion: A Sustainable and Effective Solution
Wood ashes offer a sustainable and low-cost solution to improving your garden’s soil health and promoting plant growth. By following the simple steps outlined above, you can easily recharge your garden with this valuable resource. Not only will you be helping the environment by recycling wood ashes, but you’ll also be enriching your garden soil naturally, creating a healthier, more thriving garden.
So, the next time you burn wood in your fireplace or outdoor fire pit, remember to save those ashes. With a little care and knowledge, they can become an essential part of your gardening toolkit, helping you grow vibrant, healthy plants all season long.
#WoodAshes #GardenFertilizer #SustainableGardening #EcoFriendlyGarden #OrganicGardening #SoilHealth #GardenTips #NaturalPestControl #HealthySoil #GreenThumb #OrganicGardeningHacks #RecyclingWaste #GardeningWithNature