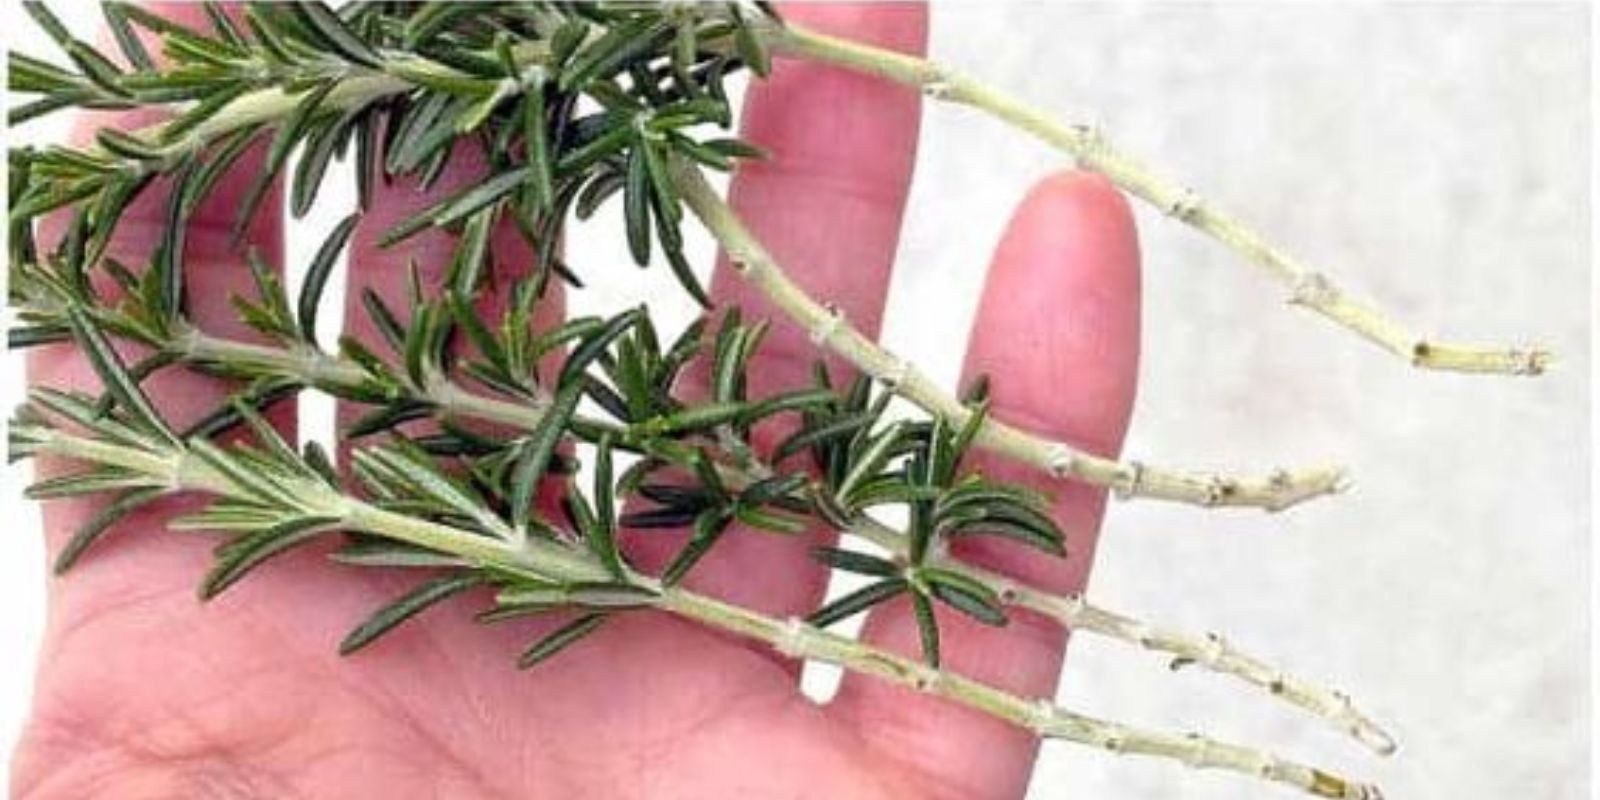
Rosemary, with its robust aroma and versatile culinary uses, is a favorite among gardeners and home cooks alike. Growing your own rosemary ensures a steady supply of this delightful herb, and propagating rosemary in water is a straightforward and efficient method to achieve this. This article provides a detailed guide on how to propagate rosemary in water, ensuring you can enjoy fresh rosemary year-round with minimal effort.
Why Propagate Rosemary in Water?
Propagating rosemary in water is an appealing choice for several reasons:
- Simplicity: The process requires only a few basic supplies and minimal gardening skills.
- Cost-Effective: You don’t need to purchase new plants; you can grow them from existing ones.
- Versatility: Water propagation can be done indoors, making it suitable for all climates.
- Healthier Plants: Growing from cuttings often results in hardier plants that are better adapted to their environment.
Supplies You’ll Need
Before starting, gather the following supplies:
- Healthy Rosemary Plant: A mature, disease-free plant to take cuttings from.
- Sterilized Scissors or Pruners: To prevent disease transmission.
- Glass or Jar: To hold the water and cutting.
- Clean Water: For rooting the rosemary.
- Indirect Light Location: A spot where the cuttings can receive gentle light.
Step-by-Step Guide to Propagate Rosemary in Water
Step 1: Select a Healthy Stem
Choose a healthy rosemary plant to take cuttings from. Look for a stem that is green and firm, not woody or overly mature. The ideal stem length is between 4-6 inches. Healthy cuttings are crucial for successful propagation, so avoid stems with signs of disease or pests.
Step 2: Cut the Stem
Using sterilized scissors or pruners, make a clean cut just below a leaf node (the point where leaves are attached to the stem). This is where the roots will eventually form. Ensure the cut is precise to avoid damaging the stem and to promote quicker rooting.
Step 3: Remove Lower Leaves
Strip the leaves from the lower part of the stem, leaving a few leaves at the top. Removing these lower leaves is essential to prevent them from rotting in the water. Only the top leaves should remain to minimize the risk of decay and allow the cutting to focus on root development.
Step 4: Place the Cutting in Water
Fill a glass or jar with clean water, enough to submerge the leaf nodes but not the leaves. Place the stem in the glass, ensuring that the leaf nodes are submerged while the leaves are above the waterline. This setup allows the stem to develop roots without the leaves being submerged, which can cause them to rot.
Step 5: Position in Indirect Light
Place the glass in a location with bright, indirect light. Direct sunlight can cause the water to overheat and the cutting to dry out. A windowsill with filtered light or a spot under fluorescent lights works well. The goal is to provide enough light to encourage rooting while avoiding excessive heat.
Step 6: Change the Water Regularly
To prevent stagnation and the growth of mold or algae, change the water every few days. Rinse the glass and refill it with fresh, clean water. Keeping the water clean and oxygenated is crucial for healthy root development.
Step 7: Wait for Roots to Develop
After 2-4 weeks, you should start to see roots forming on the stem. The time it takes for roots to appear can vary depending on the environment and the health of the cutting. Look for small, white roots emerging from the leaf nodes. Once the roots are about 1-2 inches long, the cutting is ready to be transplanted.
Step 8: Transplant the Cutting
When the roots are well-formed, it’s time to transplant the rosemary cutting into soil. Choose a pot with good drainage and fill it with a well-draining potting mix, such as a blend of peat moss and perlite. Gently remove the cutting from the water and plant it in the soil, covering the roots and leaving the top part of the cutting exposed. Water the soil lightly and place the pot in a sunny location.
Tips for Successful Rosemary Propagation
- Maintain Cleanliness: Ensure all tools and containers are clean and sterilized to prevent diseases.
- Monitor Growth: Keep an eye on the cuttings for any signs of mold or rot. Remove any affected parts promptly.
- Adjust Light: If the cuttings appear leggy or are growing too slowly, adjust the light conditions to ensure optimal growth.
- Fertilization: Once the rosemary has established in the soil, you can begin to fertilize with a balanced, water-soluble fertilizer to support healthy growth.
Common Challenges and Solutions
Root Rot
Root rot can occur if the water is not changed frequently enough or if the cutting is submerged too deeply. To prevent root rot, ensure that the water is changed regularly and that only the leaf nodes are submerged. If you notice any signs of rot, trim the affected parts and refresh the water.
Wilting
Wilting can result from underwatering or excessive exposure to direct sunlight. Ensure that the cutting is receiving sufficient water and is placed in a spot with indirect light. Adjust these conditions as needed to support healthy root development.
Slow Rooting
If rooting is slow, it may be due to inadequate light or water quality. Ensure that the cutting is in a bright location with clean water. You can also try using a rooting hormone to stimulate faster root growth.
Conclusion
Propagating rosemary in water is a simple and effective way to grow new plants from existing ones. By following the steps outlined in this guide, you can easily create a supply of fresh rosemary for your kitchen or garden. This method not only saves money but also provides the satisfaction of growing your own herbs from scratch. With a little patience and care, you’ll have a thriving rosemary collection to enjoy year-round. Happy gardening!

