
Introduction
Orchids, with their stunning and diverse blooms, are a favorite among plant enthusiasts. While they can be relatively easy to care for, propagating them successfully requires a bit more finesse. One natural and effective method involves using aloe vera and plastic bottles. This technique not only utilizes aloe vera’s beneficial properties but also creates a controlled environment for optimal root development. In this guide, we’ll explore how to propagate orchids with aloe vera in plastic bottles, providing a step-by-step approach for successful orchid propagation.
Benefits of Using Aloe Vera
Natural Root Stimulant
Aloe vera is renowned for its healing properties, and its gel contains compounds that promote root growth. Applying aloe vera gel to orchid cuttings helps stimulate root development and enhances the chances of successful propagation. The gel also has antifungal and antibacterial properties, reducing the risk of disease during the propagation process.
Ideal for Beginners
Using aloe vera and plastic bottles is an accessible method for beginners. Aloe vera is readily available and inexpensive, while plastic bottles can be easily repurposed. This method is straightforward and does not require specialized equipment or chemicals, making it an excellent choice for those new to orchid propagation.
Steps for Propagating Orchids with Aloe Vera in Plastic Bottles
1. Preparing the Orchid Cuttings
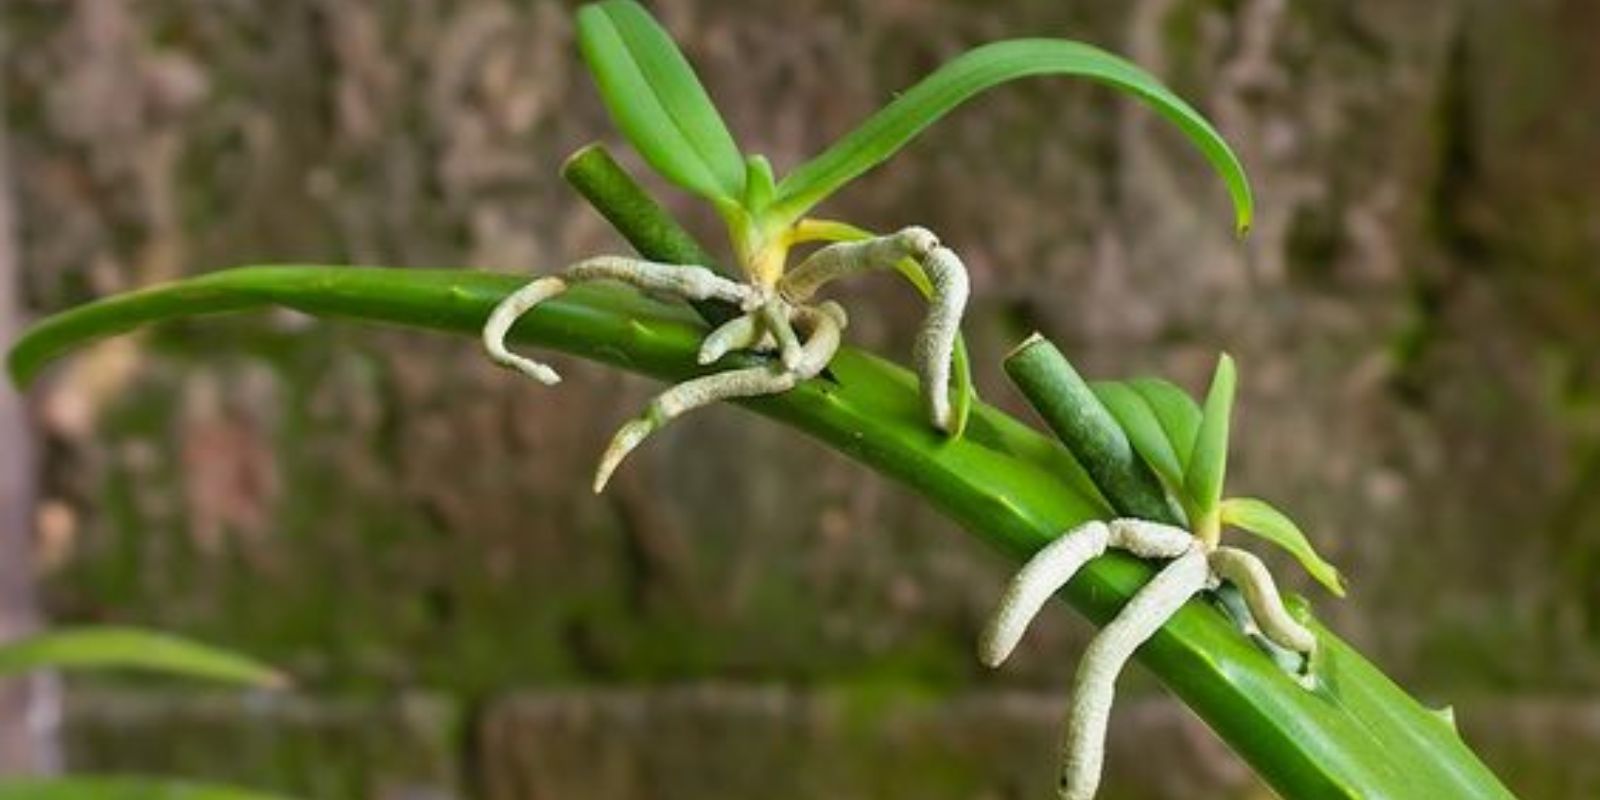
Selecting the Cutting: Choose a healthy orchid plant to take cuttings from. Select a section of the stem that has at least one node (the small bump on the stem where roots and new shoots grow) and, ideally, some aerial roots.
Making the Cut: Using a clean, sharp knife or scissors, cut a section of the orchid stem just below the node. Ensure the cutting is about 3-4 inches long to provide enough length for root development.
Cleaning the Cutting: Gently clean the cutting with water to remove any debris or old potting medium. Avoid using soap or chemicals, as they can damage the cutting.
2. Applying Aloe Vera Gel
Extracting the Gel: Cut a fresh aloe vera leaf from the plant and slice it open to extract the gel. You can use a spoon to scoop out the gel or gently squeeze the leaf.
Applying the Gel: Generously apply the aloe vera gel to the cut end of the orchid stem. Make sure the gel covers the area where the roots will develop. Aloe vera gel helps protect the cutting and encourages root formation.
Optional: Soaking: If you prefer, you can soak the cutting in a small amount of aloe vera gel for a few hours before planting. This can further enhance the rooting process.
3. Preparing the Plastic Bottle
Choosing the Bottle: Select a clean, transparent plastic bottle. The transparency allows you to monitor the root development. A standard water bottle or soda bottle works well.
Cutting the Bottle: Carefully cut the bottle in half. Use the bottom half to create a mini-greenhouse for the orchid cutting. The top half can be used as a cover.
Adding the Substrate: Fill the bottom half of the bottle with a light, well-draining substrate. Sphagnum moss is an excellent choice, but you can also use orchid potting mix or a mixture of perlite and bark. Moisten the substrate slightly before placing the cutting.
4. Planting the Cutting
Placing the Cutting: Insert the prepared orchid cutting into the substrate, ensuring the node is buried in the medium. The node is where roots will develop, so it should be in contact with the substrate.
Securing the Cutting: Gently press the substrate around the cutting to hold it in place. Make sure the cutting is upright and stable.
5. Creating a Humid Environment
Assembling the Mini-Greenhouse: Place the top half of the plastic bottle over the bottom half, creating a sealed environment. This mini-greenhouse will help maintain high humidity levels, which are essential for root development.
Ventilation: Ensure there are a few small holes in the top half of the bottle for ventilation. This helps prevent mold and mildew while still keeping the environment humid.
Placement: Position the bottle in a bright location with indirect light. Avoid direct sunlight, as it can overheat the mini-greenhouse and damage the cutting.
6. Monitoring and Maintenance
Checking Moisture: Regularly check the moisture level of the substrate. It should be consistently moist but not soggy. If the substrate becomes too dry, lightly mist it with water. Avoid overwatering, as this can lead to rot.
Observing Growth: Monitor the cutting for signs of root development. Roots should start to form within a few weeks to a couple of months. You can gently lift the cutting from the substrate to check the root growth without disturbing it too much.
Adjusting Conditions: If you notice any issues such as mold or excessive moisture, adjust the ventilation or moisture levels as needed. Maintaining a balanced environment is crucial for successful propagation.
Advantages of This Method
Simplified Propagation
Using aloe vera and plastic bottles simplifies the propagation process. Aloe vera’s natural rooting properties reduce the need for additional rooting hormones or chemicals, while the plastic bottle creates a controlled environment for the cutting.
Cost-Effective
This method is cost-effective as it utilizes readily available materials. Aloe vera is inexpensive, and plastic bottles can be repurposed, making this an affordable option for orchid enthusiasts.
Encourages Healthy Growth
The mini-greenhouse effect of the plastic bottle helps maintain optimal humidity and temperature conditions, promoting healthy root development and reducing stress on the cutting.
Conclusion
Propagating orchids with aloe vera in plastic bottles is a practical and natural method that leverages aloe vera’s beneficial properties and the controlled environment of a mini-greenhouse. By following these steps, you can successfully propagate Mini Phalaenopsis, Paphiopedilum, and Dendrobium orchids, enhancing your collection and enjoying the satisfaction of growing new plants. This technique is accessible for beginners and provides a reliable way to expand your orchid collection. Share your experiences with fellow orchid enthusiasts and celebrate the beauty of successful propagation. Happy growing!