
Introduction
The inch plant, scientifically known as Tradescantia, is a beloved houseplant renowned for its vibrant, trailing foliage and hardy nature. This beautiful plant can thrive in various conditions, making it an excellent choice for beginners and seasoned gardeners alike. Propagating inch plants from cuttings is a rewarding way to expand your indoor garden, share plants with friends, or even start a small plant business. Using coco peat as a growing medium can significantly enhance your success in propagation, as it offers excellent moisture retention and aeration. This comprehensive guide will walk you through the step-by-step process of propagating inch plants using coco peat, along with tips, care instructions, and troubleshooting.
Understanding the Inch Plant
Before diving into the propagation process, it’s helpful to understand the inch plant better.
What is an Inch Plant?
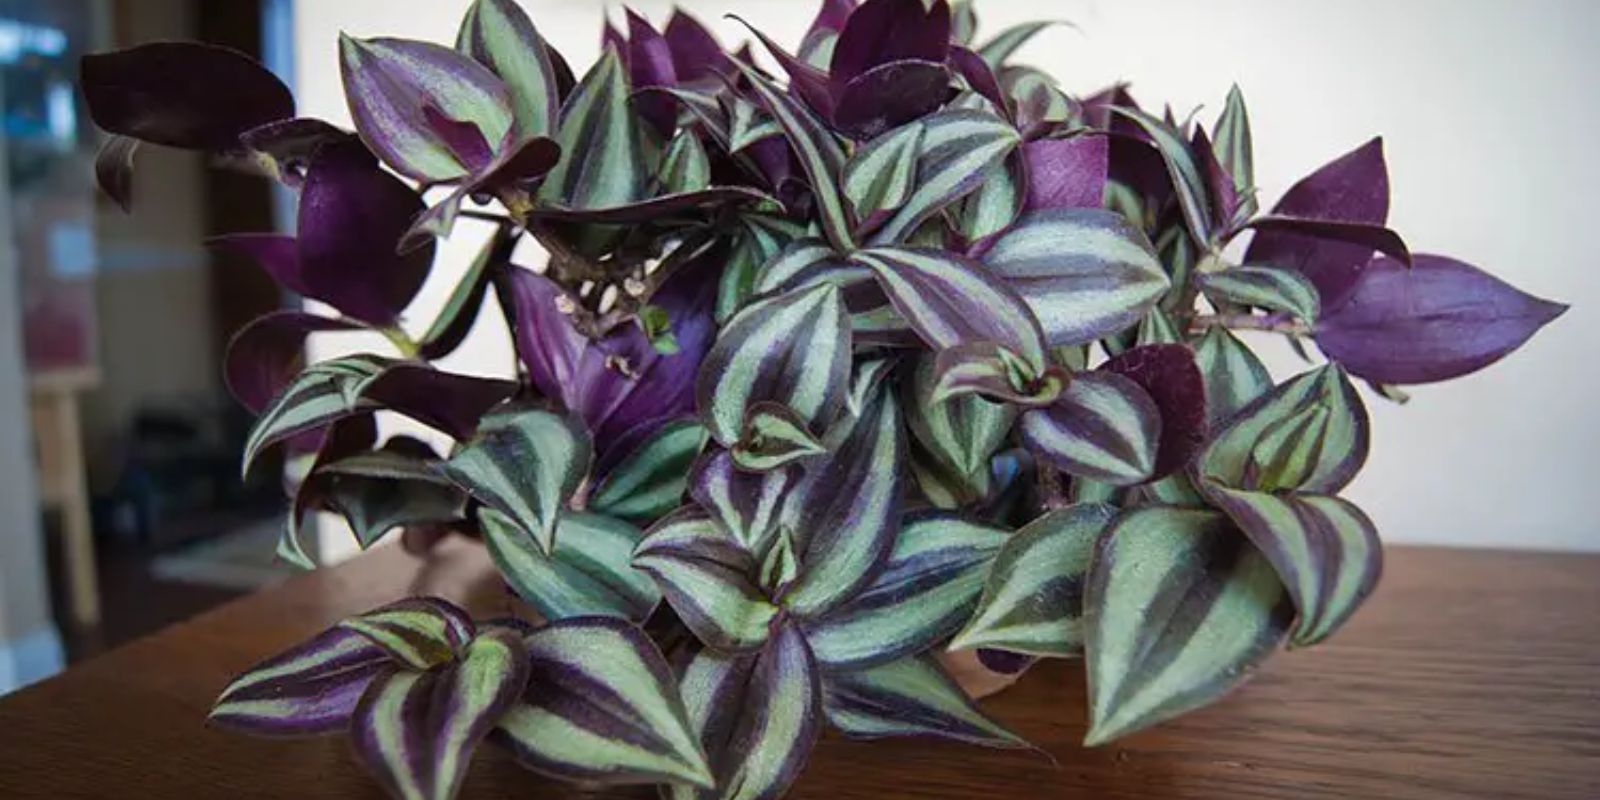
The inch plant is a perennial plant that belongs to the Commelinaceae family. It’s characterized by its striking green, purple, or variegated leaves that can create a stunning display in your home. This plant typically grows as a trailing vine, making it an excellent choice for hanging baskets or shelves.
Benefits of Propagating Inch Plants
- Cost-Effective: Instead of buying new plants, you can easily propagate your existing inch plants at no additional cost.
- Easy Process: Inch plants are forgiving and can thrive even in less-than-ideal conditions, making propagation straightforward.
- Environmental Impact: Propagating plants contributes to reducing waste and encourages a sustainable gardening approach.
Why Use Coco Peat?
Coco peat, derived from coconut husks, is an excellent growing medium for several reasons:
- Moisture Retention: Coco peat can hold moisture without becoming waterlogged, which is crucial for rooting cuttings.
- Aeration: Its fibrous texture allows for good airflow to the roots, promoting healthy growth.
- pH Neutral: Coco peat is generally pH neutral, making it suitable for a variety of plants, including inch plants.
- Sustainable: It’s an eco-friendly alternative to peat moss and other non-renewable resources.
Step-by-Step Guide to Propagating Inch Plants in Coco Peat
Step 1: Gather Your Supplies
Before you begin, make sure you have the following materials:
- Healthy inch plant
- Clean, sharp scissors or pruning shears
- Coco peat
- Small container or pot
- Water
- Optional: Rooting hormone
Step 2: Select a Healthy Cutting
Choose a healthy stem from your inch plant for propagation. Look for:
- A stem that is 4-6 inches long.
- Several healthy leaves that are free from damage or pests.
- A stem with at least one node (the point where leaves emerge).
Step 3: Cut the Cutting
Using your scissors or pruning shears:
- Make a clean cut just below a node to encourage root growth.
- Remove the lower leaves from the cutting, leaving at least two or three leaves at the top.
Step 4: Prepare the Coco Peat
- Moisten the Coco Peat: Before planting, dampen the coco peat with water. Ensure it is moist but not overly saturated.
- Fill the Container: Place the moistened coco peat into your small container or pot, leaving some space at the top.
Step 5: Plant the Cutting
- Make a Hole: Use your finger or a pencil to create a small hole in the coco peat.
- Insert the Cutting: Place the cutting into the hole, ensuring that the node is buried in the medium.
- Secure the Cutting: Gently press the coco peat around the base of the cutting to stabilize it.
Step 6: Care for the Cutting
- Placement: Place the container in a warm area with indirect sunlight. Direct sunlight may scorch the cutting.
- Watering: Keep the coco peat consistently moist but not soggy. You can mist the cutting lightly to maintain humidity.
- Humidity Dome (Optional): To increase humidity, you can cover the cutting with a clear plastic bag or a plastic dome. Just ensure it doesn’t touch the leaves to prevent rot.
Step 7: Monitor Growth
- Check for Roots: After about 2-4 weeks, gently tug on the cutting. If you feel resistance, roots are likely forming.
- Timing for Transplant: Once the cutting has developed a robust root system (about 2-3 inches long), it’s time to transplant it to a larger pot or your garden.
Troubleshooting Common Issues
- Yellowing Leaves: This may indicate overwatering. Allow the coco peat to dry out slightly before watering again.
- Wilting: If your cutting appears wilted, it may need more moisture or humidity.
- Rotting: If the cutting rots at the base, this could be due to overwatering. Ensure you are not keeping the medium too wet.
Caring for Your New Inch Plant
Once your cutting has established roots and you’ve transplanted it, here are some tips for ongoing care:
- Light Requirements: Inch plants thrive in bright, indirect light. Avoid direct sunlight, which can scorch the leaves.
- Watering: Allow the top inch of the coco peat to dry out before watering again. This will help prevent root rot.
- Fertilization: Feed your inch plant with a balanced, water-soluble fertilizer every 4-6 weeks during the growing season (spring and summer).
Conclusion
Propagating inch plants from cuttings in coco peat is a simple and fulfilling process that can enhance your indoor gardening experience. With a few easy steps, you can create beautiful new plants that can brighten your home or be shared with friends. Remember to monitor the growth of your cuttings, provide adequate care, and enjoy the process of nurturing your green thumb!
Get started on your inch plant propagation journey today, and witness the magic of plant growth! 🌱💚
Call to Action
Share your propagation journey with the community! Post pictures of your inch plants, and tell us about your experience using the hashtag #InchPlantPropagation! 🌿✨
#Houseplants #Tradescantia #CocoPeat #PlantCare #IndoorGardening #SustainableGardening