
One of the most important steps in gardening is ensuring your soil is healthy and well-prepared for planting. Soil quality directly influences the health of your plants and, ultimately, the success of your garden. Proper soil preparation is essential for providing the nutrients, drainage, and aeration your plants need to thrive. In this guide, we will walk you through the steps to prepare your garden soil for planting, offering tips and insights to help you achieve a thriving, productive garden.
Why Soil Preparation is Important
Soil serves as the foundation for all your plants. Just like a house needs a solid foundation to stand strong, plants rely on healthy soil for nourishment, structure, and growth. Without proper preparation, your soil may be compacted, lacking nutrients, or unable to provide good drainage, all of which can lead to poor plant growth, stunted development, or even plant death.
By preparing your soil, you are ensuring your garden has the best start. Healthy, well-amended soil provides your plants with the necessary nutrients, ensures good root development, and improves the ability to retain moisture. Furthermore, healthy soil supports beneficial microorganisms and earthworms, which break down organic matter and enhance soil fertility over time.
Step-by-Step Guide to Preparing Your Garden Soil
1. Test Your Soil
Before you dive into soil preparation, it’s crucial to understand the current state of your soil. A soil test will provide valuable information about your soil’s pH, nutrient levels, and overall structure. You can purchase an inexpensive soil test kit at a local garden store or online, or you can send a sample to a local extension office for a more detailed analysis.
The results of your soil test will help you determine what amendments, if any, are needed to improve your soil. For example, if your soil is too acidic or too alkaline, you can adjust the pH by adding lime or sulfur. If the test indicates a deficiency in specific nutrients like nitrogen, phosphorus, or potassium, you can add compost or other organic materials to address the imbalance.
2. Clear the Area
Once you’ve tested your soil and assessed its needs, the next step is to clear the garden bed of any debris. This includes removing any dead plant material, weeds, or rocks that may interfere with your soil preparation and planting.
Weeds are a major concern because they compete with your plants for water, sunlight, and nutrients. Removing weeds before they have a chance to grow and spread is crucial for reducing future weed problems. You can use a hoe, shovel, or hand tools to dig up the weeds, ensuring you remove their roots to prevent regrowth.
Once the weeds are cleared, use a rake to gather up any rocks, sticks, or other debris. This will provide you with a clean surface for further preparation.
3. Amend the Soil
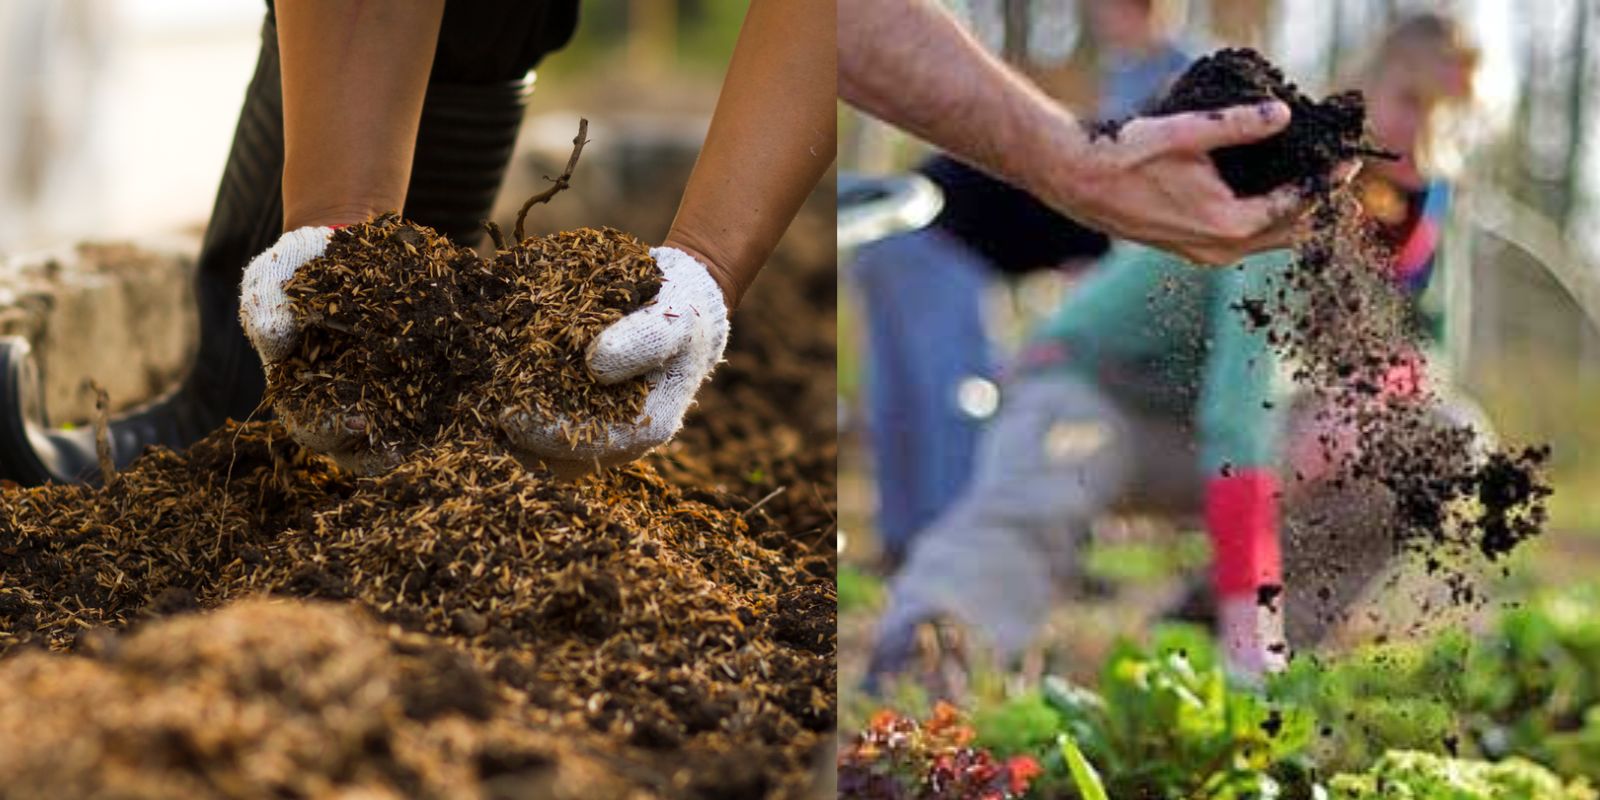
Soil amendment is the process of adding organic material or nutrients to improve the texture, fertility, and structure of the soil. Depending on your soil test results, you may need to add amendments such as compost, manure, peat moss, or sand. Adding organic material improves the soil’s ability to hold moisture, enhances nutrient content, and supports beneficial microorganisms.
Compost is one of the best amendments you can use. It enriches the soil with nutrients, improves soil structure, and helps with water retention. If you don’t have access to compost, consider using well-rotted manure, leaf mulch, or other organic matter. A 2-3 inch layer of compost spread over the soil and worked into the top 6-8 inches of soil will greatly benefit your plants.
For soils that are heavy and clay-like, adding sand or organic matter will help improve drainage. For sandy soils that drain too quickly, adding organic matter will improve water retention and nutrient-holding capacity.
4. Aerate the Soil
Aeration is the process of loosening the soil to allow air, water, and nutrients to reach the roots more easily. Soil that is compacted can become dense and impenetrable, which prevents roots from growing properly. Aerating your soil helps alleviate compaction and encourages healthy root development.
There are several ways to aerate your soil. If you have a small garden, you can use a garden fork or spade to loosen the soil. Simply insert the fork into the ground and rock it back and forth to break up the soil. For larger areas, a garden tiller can help break up compacted soil more efficiently.
Be cautious when using heavy equipment like tillers, as they can sometimes damage the soil structure by disrupting beneficial organisms. When in doubt, use hand tools or less invasive equipment to aerate the soil.
5. Level and Smooth the Soil
Once you’ve amended and aerated your soil, it’s time to level and smooth it. Rake the soil to break up any clumps and create an even surface. This step is important because it helps ensure that water will distribute evenly across the bed, and it will create a flat, level surface for planting seeds or transplanting seedlings.
Use a long, flat rake to smooth the soil, and avoid walking on it too much to prevent compacting it again. If you are preparing rows or raised beds, this is the time to shape them.
6. Mulch to Retain Moisture
After planting, adding a layer of mulch on top of the soil will help retain moisture, keep the soil temperature stable, and prevent weeds from growing. Mulch can be made from organic materials like straw, grass clippings, wood chips, or shredded leaves.
Apply a 2-3 inch layer of mulch around your plants, but avoid placing it directly against the stems of plants, as this can lead to rot. Mulching is especially important in hot, dry climates where water conservation is critical.
7. Maintain and Improve Your Soil
Soil preparation is not a one-time task but an ongoing process. To keep your soil healthy and productive, continue to add organic matter every year, maintain proper watering practices, and monitor the soil’s nutrient levels. Over time, you’ll develop a deeper understanding of your soil’s needs, and you’ll be able to adjust your practices accordingly.
Soil health can be further improved by rotating crops from year to year, avoiding over-fertilization, and practicing no-till gardening when possible. Each of these practices can help ensure that your soil remains fertile and full of life for future planting seasons.
Tips for Specific Soil Types
- Clay Soil: If your soil is clay-heavy, it’s important to add organic matter, like compost, to improve drainage and structure. Aerating the soil regularly will also help improve its texture.
- Sandy Soil: Sandy soils drain too quickly and may not retain enough nutrients for your plants. Adding organic matter can help improve water retention and nutrient-holding capacity.
- Loamy Soil: Loam is considered ideal for gardening because it holds nutrients and moisture well. If you have loamy soil, you can focus on maintaining its health by adding compost annually.
Conclusion
Properly preparing your garden soil is the key to ensuring the health and success of your plants. By following these simple steps—testing your soil, clearing the area, amending the soil, aerating, leveling, and mulching—you will create an ideal growing environment for your plants. Healthy soil provides the foundation for thriving plants, making your garden a beautiful and productive space for years to come. So get started today, and give your plants the best start possible!
Ready to prepare your soil for a bountiful harvest? Start today and share your gardening progress! 🌱 #HealthySoil #GardenPreparation #SoilAmendment #PlantingSeason #GreenThumb #GardeningTips #SoilCare #OrganicGardening