Introduction
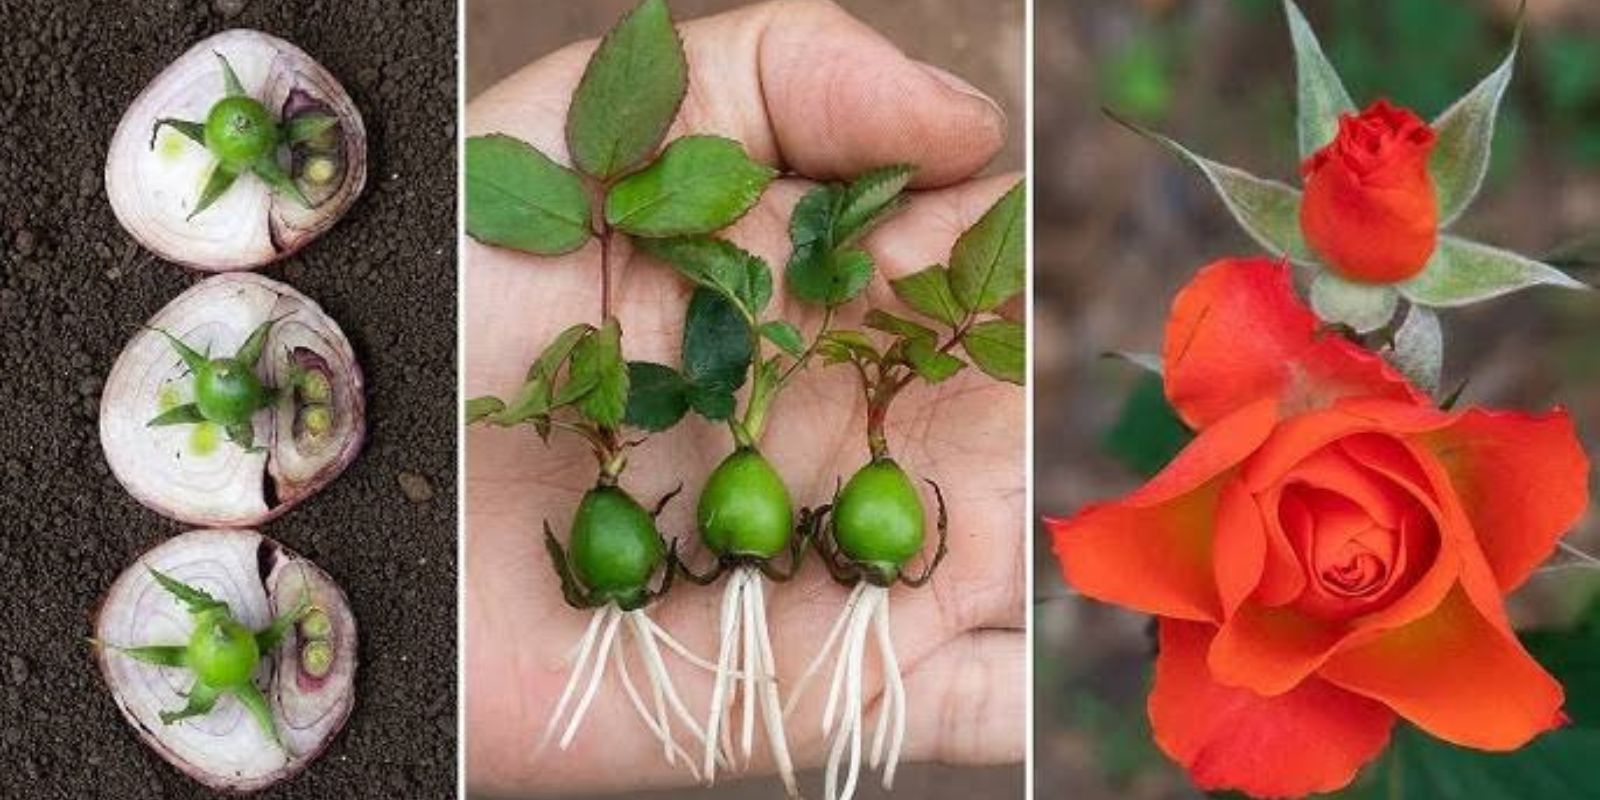
Roses are one of the most beloved and iconic flowers in the world. Their vibrant colors and fragrant blooms make them a favorite for gardeners and flower enthusiasts alike. But what if you could grow roses without starting with roots? Whether you’re looking to propagate a cherished rose or expand your garden, this method can make it possible. With the right steps and a bit of patience, you can successfully grow roses from just a stem. Let’s break down the process so that anyone can create a thriving rose bush at home.
Why Grow Roses Without Roots?
Growing roses from cuttings, rather than purchasing rooted plants, is cost-effective and rewarding. This method allows you to:
- Propagate roses you love from a neighbor’s garden or an heirloom plant.
- Experiment with gardening techniques and develop valuable skills.
- Personalize your garden with unique varieties.
- Create multiple rose plants from a single stem, saving money in the process.
Step-by-Step Guide to Plant Roses Without Roots
1. Choose the Right Stem
Start by selecting a healthy rose stem. Look for one that is:
- Green, fresh, and free of disease or damage.
- 6-8 inches long with at least three nodes (the small bumps where leaves grow).
- Cut during early morning hours for the best results.
2. Make a Precise Cut
Using sterilized pruning shears, cut the stem at a 45-degree angle just below a node. This increases the surface area for water and nutrients to absorb, promoting faster root growth.
3. Prepare the Stem
- Remove the lower leaves to expose the nodes where roots will form.
- Leave 1-2 leaves at the top to allow photosynthesis while reducing moisture loss.
- Remove any flowers or buds to direct the plant’s energy into root development.
4. Use a Rooting Hormone or Natural Alternatives
To encourage faster rooting:
- Dip the cut end of the stem into a rooting hormone powder or gel.
- Alternatively, use natural options like honey or cinnamon, which have antibacterial properties and promote root growth.
5. Prepare the Planting Medium
Choose a well-draining potting mix to prevent waterlogging. A good mix includes:
- 50% garden soil.
- 50% sand or perlite to improve aeration.
6. Plant the Stem
- Make a small hole in the prepared soil and insert the cut end of the stem about 2-3 inches deep.
- Gently press the soil around the stem to secure it in place.
7. Create a Humid Environment
Roses thrive in a humid environment when propagating:
- Cover the planted stem with a plastic bag or a plastic bottle with the bottom cut off.
- Ensure the bag doesn’t touch the stem by propping it up with sticks.
- Leave small openings for airflow to prevent mold growth.
8. Water Regularly
- Keep the soil consistently moist but not soggy. Overwatering can cause the stem to rot.
- Use a spray bottle to lightly mist the soil and leaves daily.
9. Place in the Right Spot
- Keep the pot in a warm, bright area with indirect sunlight.
- Avoid direct sunlight, as it can dry out the cutting or cause overheating under the plastic cover.
10. Wait for Roots to Develop
Patience is key when propagating roses. Roots typically begin to form within 4-6 weeks.
- Gently tug on the stem to check for resistance, indicating root growth.
- Once you see new leaves forming, it’s a sign that the cutting is successfully rooting.
Advanced Tips for Success
- Use a Potato for Extra Moisture and Nutrients
This fun hack involves inserting the rose stem into a small potato before planting it in the soil. The potato provides moisture and nutrients, giving the cutting an extra boost. - Mulch for Consistent Moisture
Add a thin layer of mulch around the base of the cutting to help retain moisture and regulate soil temperature. - Fertilize Sparingly
Once new growth appears, use a diluted liquid fertilizer to provide nutrients. Avoid over-fertilizing, as it can harm the developing roots. - Transplanting
When the roots are well-established (after 2-3 months), carefully transplant the rose cutting into your garden or a larger pot with nutrient-rich soil.
Common Mistakes to Avoid
- Overwatering: Excess water can cause the cutting to rot. Always ensure the soil is moist but not soggy.
- Using Weak or Diseased Cuttings: Only use healthy, robust stems for propagation.
- Neglecting Sterilization: Always sterilize your tools to prevent the spread of diseases.
- Skipping the Greenhouse Effect: Without proper humidity, the cutting may dry out and fail to root.
Why This Method Works
The key to successfully growing roses without roots lies in mimicking their natural growth conditions. By providing a nutrient-rich medium, adequate moisture, and protection from environmental stress, the cutting can focus its energy on producing roots.
The Joy of Growing Roses from Cuttings
Imagine turning a single stem into a thriving rose bush that adds beauty and fragrance to your garden. This technique not only saves money but also allows you to preserve and share special rose varieties.
Conclusion
Now that you know how to grow roses without roots, it’s time to get started! Whether you’re a seasoned gardener or a beginner, this 100% functional method is simple and rewarding. Transform your garden into a rose paradise and enjoy the satisfaction of watching your efforts bloom into vibrant, fragrant flowers.
💬 Have you tried this method before? Share your experience and tips below! Let’s inspire each other to grow beautiful roses.

