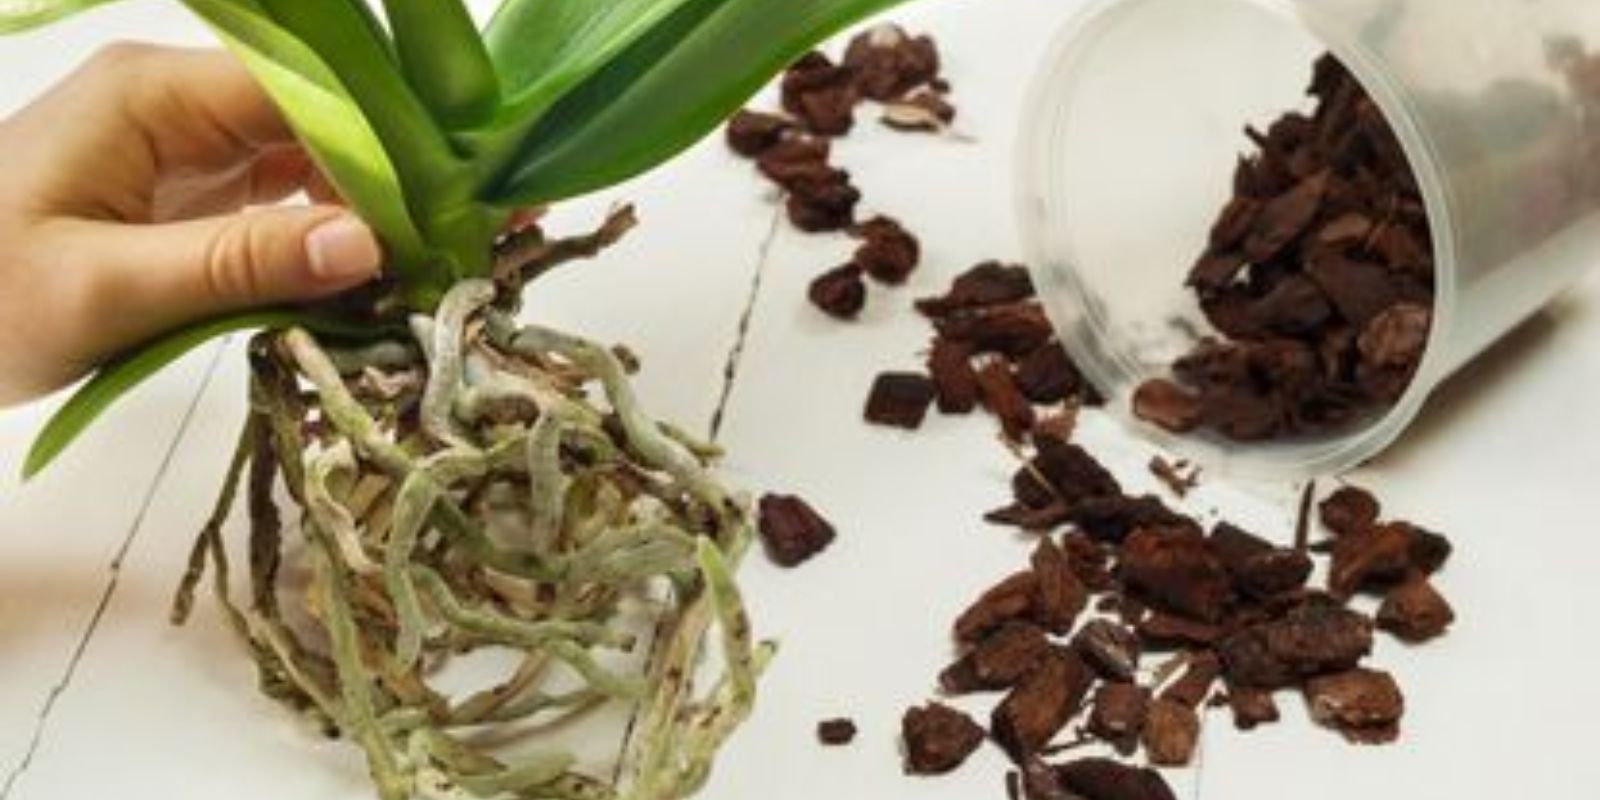
Orchids are renowned for their exquisite flowers and unique growth habits, but their stunning blooms are only possible with healthy, thriving roots. The roots of an orchid play a critical role in nutrient uptake, water absorption, and overall plant stability. Ensuring that your orchid roots are robust and well-nourished is key to achieving a thriving, beautiful plant. This comprehensive guide will walk you through the essential steps to make your orchid roots thrive, ensuring that your plant reaches its full potential.
Understanding Orchid Roots
Orchid roots are distinct from those of many other plants. Unlike typical soil-bound roots, orchid roots are adapted to a life of high airflow and moisture retention. They are generally found in the air and are designed to absorb water and nutrients directly from the environment. The unique structure and function of orchid roots necessitate specific care techniques to keep them healthy and productive.
Key Functions of Orchid Roots:
- Nutrient Absorption: Roots take up essential nutrients from the potting medium.
- Water Uptake: Roots absorb water and help maintain plant hydration.
- Stability: Roots anchor the plant and support its growth.
Steps to Make Your Orchid Roots Thrive
1. Provide Adequate Drainage
Why It’s Important:
Good drainage is crucial for preventing waterlogging, which can lead to root rot—a common problem for orchids. Waterlogged soil restricts airflow and can cause roots to become diseased.
How to Achieve Proper Drainage:
- Use Pots with Drainage Holes: Ensure your pots have ample drainage holes at the bottom to allow excess water to escape.
- Choose the Right Pot Size: Select a pot that fits the size of your orchid’s root system. Too large a pot can retain excess moisture, while too small a pot can restrict root growth.
- Elevate Pots: Consider using pot stands or saucers with drainage channels to keep pots elevated and prevent water from accumulating around the roots.
2. Use the Right Potting Mix
Why It’s Important:
Orchids require a potting mix that provides both good aeration and drainage. Standard soil is not suitable for orchids, as it tends to compact and restrict airflow.
Recommended Potting Mixes:
- Orchid Bark: Large pieces of bark provide excellent aeration and drainage.
- Perlite: Lightweight and porous, perlite enhances drainage and prevents compaction.
- Charcoal: Helps with filtration and odor control, keeping the mix fresh.
How to Use:
- Combine Components: Mix orchid bark, perlite, and charcoal in appropriate proportions to create a well-draining potting mix.
- Repot Regularly: Refresh the potting mix every 1-2 years to prevent compaction and maintain aeration.
3. Water Properly
Why It’s Important:
Proper watering is essential to prevent both dehydration and overwatering. Orchids need a balance between moist and dry conditions.
How to Water:
- Water Thoroughly: Water the plant until water drains out of the bottom of the pot. This ensures that the entire root system receives moisture.
- Allow to Dry: Let the potting mix dry out slightly between waterings. Orchid roots should not sit in constantly wet conditions.
- Adjust for Conditions: Water more frequently during warmer months and reduce watering in cooler or less light conditions.
Tips for Effective Watering:
- Use Room Temperature Water: Cold water can shock the roots.
- Avoid Mistaking Pots: Ensure water flows through drainage holes and does not pool in the bottom of the pot.
4. Ensure Proper Light
Why It’s Important:
Orchids need bright, indirect light to thrive. Light is essential for photosynthesis and overall plant health, which indirectly benefits root growth.
How to Provide Proper Light:
- Positioning: Place your orchids near a window with filtered sunlight. Eastern or southern windows are often ideal.
- Supplement Light: Use grow lights if natural light is insufficient, especially during shorter daylight months.
Signs of Light Issues:
- Too Much Light: Leaves may become scorched or have sunburn spots.
- Too Little Light: Growth may become leggy, and the plant may fail to bloom.
5. Monitor Humidity
Why It’s Important:
Orchids generally thrive in high humidity environments. Proper humidity helps prevent root desiccation and supports overall plant health.
How to Maintain Humidity:
- Use a Humidifier: Place a humidifier near your orchids to maintain humidity levels between 50-70%.
- Create a Humidity Tray: Fill a shallow tray with water and pebbles. Place it near your orchids to increase localized humidity.
- Group Orchids Together: Cluster your orchids to create a microenvironment with higher humidity.
Additional Tips:
- Avoid Misting Leaves: Excessive misting can lead to fungal issues.
- Monitor Humidity Levels: Use a hygrometer to ensure that humidity levels remain within the ideal range.
Common Issues and Solutions
1. Root Rot
Problem: Root rot is often caused by overwatering or poor drainage.
Solution: Remove affected roots, improve drainage, and adjust your watering practices.
2. Dehydration
Problem: Dry or shriveled roots indicate insufficient watering.
Solution: Increase watering frequency and ensure proper potting mix.
3. Nutrient Deficiency
Problem: Weak growth or poor blooming can signal a lack of essential nutrients.
Solution: Use a balanced orchid fertilizer and follow recommended feeding schedules.
Conclusion
Making your orchid roots thrive involves a combination of proper potting practices, effective watering, adequate light, and humidity management. By providing the right environment and care, you can ensure that your orchid roots remain healthy and robust, leading to a flourishing, beautiful plant. Remember to monitor your orchid’s needs regularly and adjust care practices as necessary.
Elevate your orchid care routine and share your thriving roots with the gardening community using #OrchidRoots #PlantCare #OrchidHealth #GardeningJoy. Celebrate the beauty of well-cared-for orchids and enjoy the satisfaction of seeing your plants thrive and bloom.

