
Composting is one of the easiest and most sustainable ways to reduce household waste while enriching your garden soil. By turning kitchen scraps into nutrient-rich compost, you can support the environment, promote healthy plant growth, and recycle waste effectively. In this comprehensive guide, we’ll walk you through the process of making compost from kitchen waste right in your backyard or even in a small apartment.
What is Composting and Why is It Important?
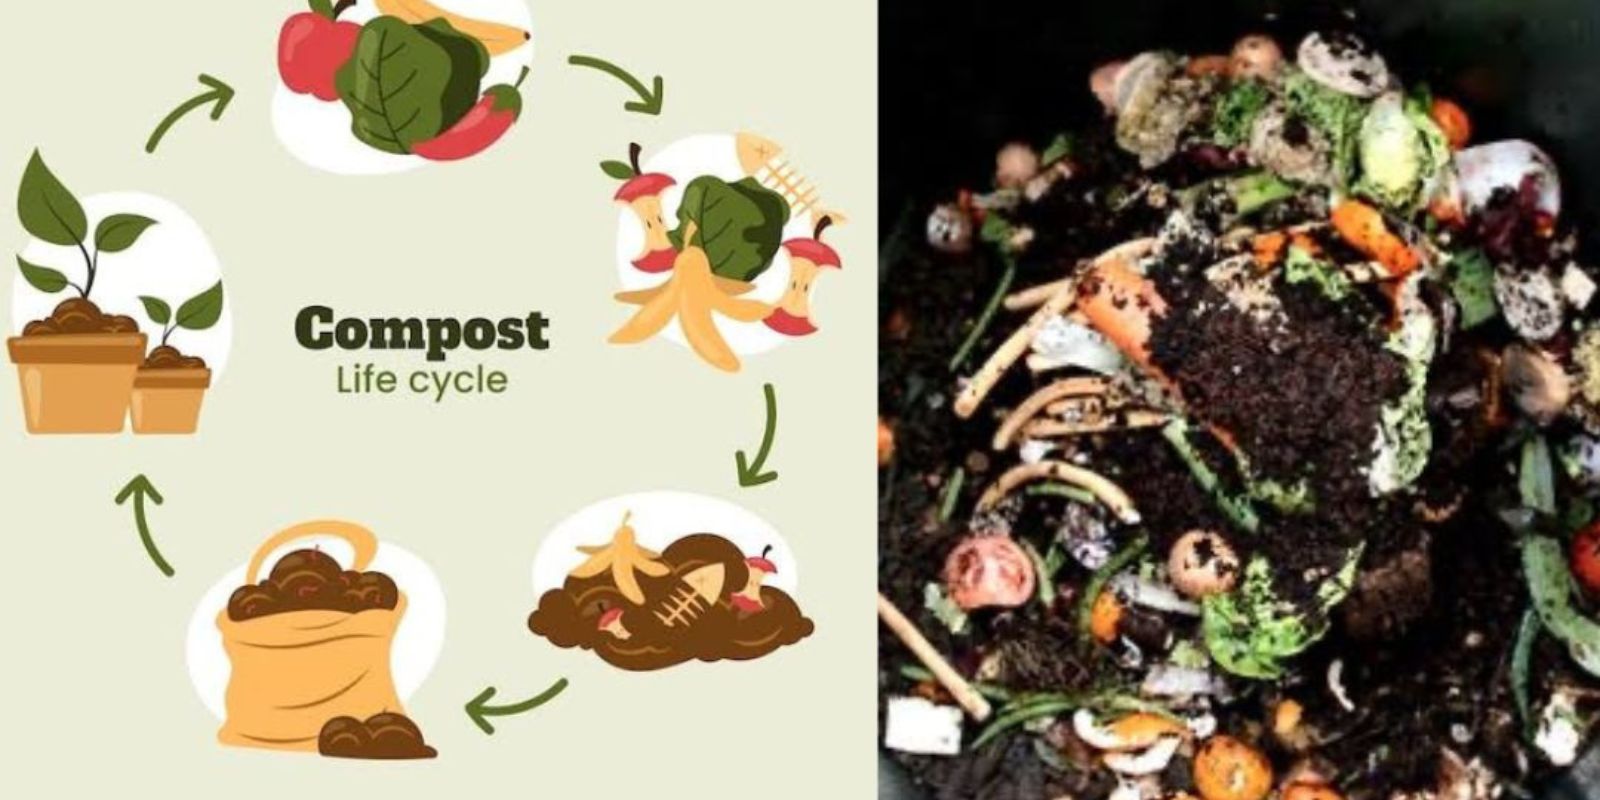
Composting is the natural process of breaking down organic materials such as food scraps and yard waste into nutrient-rich soil. When done properly, composting reduces landfill waste, which helps cut down on greenhouse gas emissions. It also creates fertile soil for your garden, vegetable beds, or potted plants, reducing the need for chemical fertilizers. Compost can improve soil structure, increase water retention, and promote healthy microbial activity, leading to a more sustainable and vibrant garden.
Benefits of Composting Kitchen Waste
Before we dive into the “how-to” of composting, let’s highlight some of the key benefits:
- Waste Reduction: Composting keeps food scraps and organic waste out of landfills, reducing the overall amount of waste that needs to be disposed of.
- Improved Soil Health: Homemade compost provides your garden with organic matter that improves soil structure, promotes root growth, and increases water retention.
- Environmental Impact: Composting lowers your carbon footprint by reducing methane emissions from landfills and promoting healthier ecosystems.
- Cost Savings: By composting at home, you reduce your reliance on commercial fertilizers and soil amendments, saving money in the long run.
Now that we understand the importance of composting, let’s explore how you can start making compost using your kitchen waste!
Steps to Make Compost at Home
1. Collecting Kitchen Scraps
The first step in the composting process is gathering your kitchen waste. Almost all organic kitchen scraps can be composted, but there are a few materials you should avoid:
Compostable Kitchen Scraps:
- Fruit and vegetable peels, cores, and scraps
- Coffee grounds and filters
- Eggshells
- Tea bags (as long as they’re paper-based)
- Nut shells
- Rice, pasta, and bread (in moderation)
- Used paper towels and napkins (if not contaminated with grease)
Avoid These Items:
- Meat, fish, bones
- Dairy products (cheese, milk, butter)
- Oils or fats
- Diseased plants or weeds with seeds
- Synthetic materials (plastics, metals)
Store your kitchen scraps in a compost bin or container, and be sure to remove any non-compostable materials before starting your composting process.
2. Prepare Your Kitchen Scraps
Once you’ve collected your scraps, it’s important to prepare them before adding them to your compost pile or bin. Cutting or chopping the materials into smaller pieces helps speed up the decomposition process. Smaller pieces have more surface area for microbes to break down, leading to faster composting.
For items like fruit and vegetable peels, you can simply tear or chop them into smaller bits. Coffee grounds can be sprinkled in as they are, and eggshells should be crushed before adding to the compost.
3. Choosing a Compost Container
If you have the space in your backyard, a compost bin is a great option for composting kitchen waste. There are many types of compost bins available, including:
- Traditional Compost Bins: These are simple, enclosed bins that allow for air circulation and moisture control.
- Tumbling Composters: Tumblers are rotating containers that you can turn to mix composting materials, which helps speed up the process.
- Worm Composting (Vermiculture): For those with limited space, vermiculture involves using worms to break down organic matter in a container, typically indoors.
If you don’t have access to a compost bin, you can also create a compost pile directly in your garden or use a simple cardboard box for small-scale composting.
4. Creating Layers in the Compost Bin
One of the key principles of composting is creating a balance of green and brown materials. Green materials are rich in nitrogen, while brown materials provide carbon. The ideal ratio is about 1 part green to 2 parts brown.
- Green Materials (Nitrogen-rich): Kitchen scraps like fruit and vegetable peels, coffee grounds, and grass clippings.
- Brown Materials (Carbon-rich): Yard waste like dry leaves, straw, shredded paper, cardboard, and sawdust.
Layer your compost with alternating layers of green and brown materials. For example, you could start with a layer of dry leaves (brown), followed by a layer of vegetable scraps (green). Continue layering until your compost bin is full, ensuring the right balance of materials throughout.
5. Maintaining Proper Moisture
The moisture level in your compost bin is crucial to the decomposition process. The compost should be kept moist, but not overly wet. It should feel like a wrung-out sponge. If it’s too dry, the decomposition process will slow down, and if it’s too wet, the materials may become slimy and smelly.
Check your compost regularly and water it if it appears too dry. Conversely, if it becomes too wet, add more brown materials like leaves or shredded paper to balance out the moisture.
6. Aeration and Turning the Pile
Oxygen is a key component in the composting process, and regular aeration is necessary to keep things moving along. Turning the compost helps introduce air to the microorganisms breaking down the organic matter. The more oxygen the microbes get, the faster they work.
Use a garden fork or compost turning tool to mix the compost every 2-3 weeks. If you’re using a tumbler, rotate it according to the manufacturer’s instructions.
7. Composting Time
Composting takes time. Depending on the materials used and how often you turn the pile, the process can take anywhere from 2 to 6 months. If you have the right conditions (adequate moisture, oxygen, and temperature), the compost should break down into dark, crumbly soil that smells like earth.
At this point, you can stop turning the compost, as the decomposition process has slowed down. Let the compost sit for another few weeks to fully mature, and you’ll have rich, fertile compost ready to use in your garden.
8. Using Your Finished Compost
Once your compost is ready, you can use it in a variety of ways:
- Garden Soil Enrichment: Add compost to your garden beds to improve soil texture, increase water retention, and provide nutrients to your plants.
- Potting Soil Mix: Mix compost with potting soil to create a nutrient-rich growing medium for indoor or container plants.
- Lawn Fertilizer: Spread a thin layer of compost on your lawn to improve its health and appearance.
Tips for Successful Composting
- Avoid Overloading with One Material: Too many green materials (like kitchen scraps) can create a smelly, soggy compost pile, while too many brown materials can slow down the decomposition process.
- Chop Large Materials: Larger items like vegetable scraps and branches take longer to break down. Chop them into smaller pieces for quicker composting.
- Monitor Temperature: The ideal compost temperature is between 130°F and 160°F. A hot compost pile breaks down faster.
- Watch for Pests: If you notice pests like fruit flies or rodents, make sure your compost bin is properly sealed and keep meat and dairy products out of the mix.
Conclusion: Start Composting Today!
Making compost from your kitchen waste is not only easy, but it’s a rewarding way to make your home more sustainable. By recycling organic material, you’re helping the planet, enriching your garden, and reducing waste. With just a little effort, you can turn your kitchen scraps into nutrient-rich compost that will give your garden the boost it needs to flourish.
Start composting today, and watch as your waste transforms into something beautiful and beneficial for your garden!
#CompostingAtHome #KitchenWaste #SustainableLiving #OrganicGardening #HomeComposting #ZeroWaste #GardeningTips