
Introduction
Biochar is an ancient yet revolutionary method of improving soil fertility and enhancing plant growth. Used for centuries by indigenous cultures, biochar is a form of charcoal that, when added to soil, boosts water retention, nutrient absorption, and microbial activity. It is also a highly effective way to sequester carbon, making it a sustainable choice for modern gardening and farming.
If you’re looking for an eco-friendly way to enhance your garden’s productivity, learning how to make biochar at home is a great option. This guide will walk you through everything you need to know, from the benefits of biochar to step-by-step instructions for making your own.
What is Biochar?
Biochar is a carbon-rich material produced by burning organic matter in a controlled, low-oxygen environment. This process, called pyrolysis, converts biomass into a stable form of carbon that remains in the soil for hundreds or even thousands of years. Unlike regular ash, biochar retains the structure of the original material, creating porous particles that help soil retain moisture and nutrients.
Benefits of Biochar in Gardening
Adding biochar to soil has multiple advantages, including:
✔️ Improved Soil Fertility – Enhances nutrient retention, reducing the need for synthetic fertilizers. ✔️ Increased Water Retention – Ideal for dry climates or sandy soils, as biochar holds moisture effectively. ✔️ Boosts Microbial Life – Encourages beneficial microbes that support plant health. ✔️ Reduces Soil Acidity – Helps balance pH levels, making nutrients more available to plants. ✔️ Carbon Sequestration – Locks carbon in the soil, reducing greenhouse gas emissions. ✔️ Enhances Crop Yields – Studies show improved plant growth and productivity.
How to Make Biochar at Home
Creating biochar is straightforward and can be done using readily available materials. Follow these steps to make your own:
Step 1: Gather Your Materials
To make biochar, you’ll need: ✅ Dry organic matter (wood chips, branches, crop waste, leaves, etc.) ✅ A metal drum, kiln, or fire pit ✅ A heat source (firewood, propane, or natural gas) ✅ Water for quenching ✅ A shovel or metal tongs for handling the biochar
Step 2: Set Up a Low-Oxygen Burn
The key to making biochar is heating the material without allowing it to burn completely into ash. You can do this in several ways:
- Pit Method: Dig a hole in the ground, start a small fire, and gradually add biomass, covering it with soil to limit oxygen.
- Metal Drum Method: Place biomass in a metal barrel with ventilation holes near the bottom. Heat the drum externally, allowing the material inside to carbonize.
- Kiln Method: If you have access to a biochar kiln, it provides the most efficient and controlled environment.
Step 3: Burn and Monitor the Process
- Ignite the fire and allow the material to burn slowly.
- Once the flames subside and the biomass turns black, reduce airflow to prevent full combustion.
- The process can take anywhere from 2 to 6 hours, depending on the size of your batch.
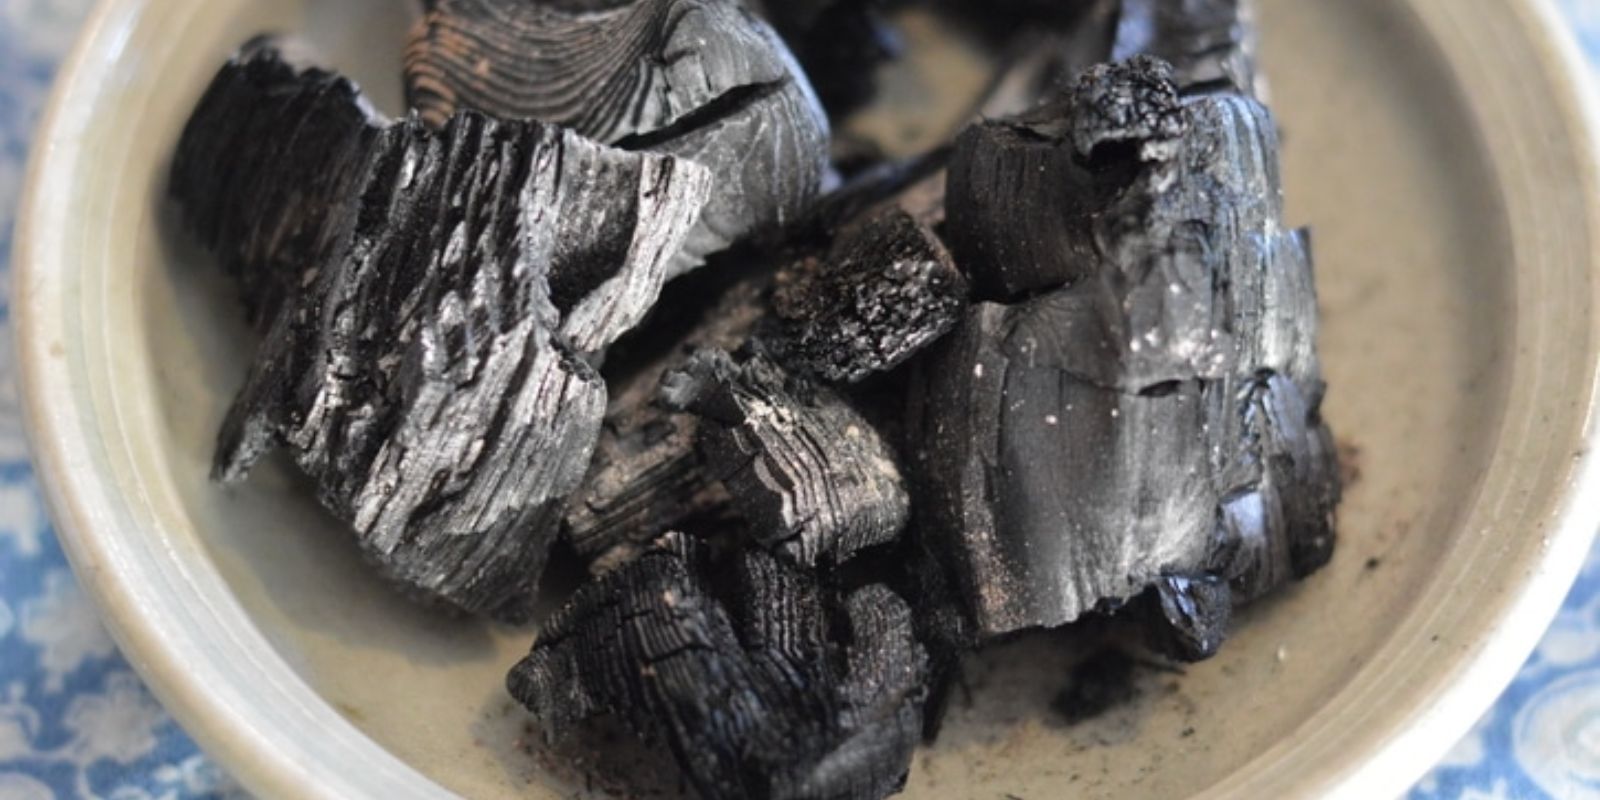
Step 4: Quench and Cool
- Once the material has turned into biochar (before turning to ash), extinguish the fire by spraying water or covering the biochar with soil.
- Let it cool completely before handling.
Step 5: Crush into Small Pieces
- Break down the biochar into small, soil-friendly particles using a hammer, shovel, or crusher.
- The smaller the particles, the more surface area they provide for beneficial microbial colonization.
Step 6: Charge the Biochar
Raw biochar can absorb nutrients from the soil, potentially causing temporary nutrient deficiencies. To avoid this, “charge” the biochar by soaking it in:
- Compost tea
- Worm castings
- Liquid organic fertilizer
- Manure slurry
Let it sit for a few days to a couple of weeks to fully absorb the nutrients before mixing it into the soil.
Step 7: Incorporate Biochar into Soil
- Mix biochar into your soil at a rate of about 10-20% by volume.
- Combine with compost or organic matter for best results.
- Biochar can also be used in raised beds, containers, and even hydroponic systems.
Tips for Using Biochar in Your Garden
✅ Apply biochar in the fall to allow time for soil microbes to adapt. ✅ Avoid overuse—excess biochar may create an imbalance in some soil types. ✅ Combine with compost to enhance nutrient absorption. ✅ Experiment with different organic materials to create biochar with varied properties.
Frequently Asked Questions
1. How much biochar should I use in my garden?
A good rule of thumb is to mix 10-20% biochar into your soil. Too much can alter soil composition, so start with a small amount and observe plant response.
2. Can biochar be made from any organic material?
Yes, but hardwoods and dense biomass (e.g., coconut shells) tend to produce the highest-quality biochar.
3. How long does biochar last in the soil?
Biochar remains stable for hundreds to thousands of years, making it one of the most sustainable soil amendments available.
4. Is biochar safe for all plants?
Yes! However, it works best when combined with compost or other organic matter to provide nutrients.
Final Thoughts
Making and using biochar is a simple yet powerful way to improve soil health and boost plant growth. By following these steps, you can create a sustainable and effective soil amendment right at home. Whether you’re a backyard gardener or a small-scale farmer, biochar is a game-changer for long-term soil fertility.
🌱 Have you tried making biochar? Share your experiences and tips in the comments below! 👇
#SustainableGardening #Biochar #HealthySoil #GardeningTips #OrganicFarming #EcoFriendlyLiving