
Watermelons are a refreshing treat, perfect for hot summer days. While they are typically thought of as a crop that requires vast amounts of space, it is entirely possible to grow them in pots. Whether you live in an apartment with a balcony or a house with limited space, growing watermelons in containers can be a fun and rewarding experience. In this guide, we’ll walk you through the steps to successfully grow watermelons in pots.
Why Grow Watermelons in Pots?
Growing watermelons in pots is not only an ideal solution for those with limited garden space, but it also provides a variety of other benefits. For one, container gardening allows for better control over the growing conditions. You can adjust the soil, water, and sunlight exposure more easily than in the ground. It also minimizes the risk of pests and diseases that are commonly found in the ground. Growing watermelons in pots also allows for easier mobility, enabling you to move your plants to a sunny location or protect them from harsh weather conditions.
Step 1: Choose the Right Variety
Watermelons come in many shapes and sizes, but not all varieties are suitable for growing in pots. For container gardening, it is best to choose small or compact watermelon varieties that have a bush-like growth habit, rather than sprawling vines. Look for dwarf or mini watermelon varieties like Sugar Baby, Bush Jubilee, or Little Baby Flower. These varieties are perfect for pots because they produce smaller fruits and are more manageable in limited space.
Step 2: Select the Right Container
Choosing the right container is crucial when growing watermelons in pots. Watermelon vines require a lot of space for their roots to spread, so make sure to choose a large pot. The pot should be at least 18-24 inches in diameter and 18-24 inches deep. A large container provides enough room for the roots to grow and supports the plant’s overall health. Additionally, it’s important to choose a container with drainage holes. Proper drainage is essential to prevent waterlogging, which can lead to root rot.
Step 3: Prepare the Soil
Watermelons thrive in well-draining, nutrient-rich soil. You can purchase a high-quality potting mix from your local garden center, or you can make your own by combining equal parts of compost, perlite, and peat moss. This mixture provides both good drainage and moisture retention. Watermelons are heavy feeders, so mixing in some slow-release fertilizer or compost will provide the nutrients they need for optimal growth. Ensure the pH level of the soil is between 6.0 and 6.8 for the best results.
Step 4: Planting the Seeds or Seedlings
When it comes to planting, you can either start from seeds or use young seedlings from a nursery. If you’re growing from seed, it’s best to start them indoors 4-6 weeks before the last expected frost. This gives the seeds a head start and ensures they are ready to be transplanted when the weather warms up. Plant your seeds about 1 inch deep in seed trays or small pots, and keep the soil moist and warm until they germinate.
If you’re starting with seedlings, choose healthy, young plants that are free of pests and diseases. When transplanting, be gentle with the roots and plant them at the same depth they were in their original pot. Make sure to leave enough space around the seedlings for them to grow.
Step 5: Provide Full Sunlight
Watermelons are sun-loving plants and require at least 6-8 hours of direct sunlight each day to thrive. When growing watermelons in pots, it’s essential to place them in a location where they will get the maximum amount of sunlight. A south-facing balcony or patio is ideal. If you’re growing indoors, make sure to place the pot near a sunny window or use grow lights to supplement the sunlight.
Step 6: Watering Consistently
Watermelons need consistent moisture to grow, but they also dislike having “wet feet,” which means constantly sitting in waterlogged soil. Water your watermelon plants regularly to keep the soil evenly moist, but not soggy. It’s important to allow the top 1-2 inches of soil to dry out between waterings. In hot weather, you may need to water more frequently, but always ensure the water is draining properly from the pot. Using a drip irrigation system can help provide consistent moisture without overwatering.
Step 7: Fertilizing Regularly
Watermelons are heavy feeders and will benefit from regular fertilization. During the growing season, feed your watermelon plant every 2-3 weeks with a balanced, slow-release fertilizer that is rich in potassium and phosphorus. Potassium encourages flowering and fruiting, while phosphorus helps with root and stem development. Avoid fertilizers that are too high in nitrogen, as they promote leafy growth over fruit production. You can also use organic fertilizers like compost or well-rotted manure for a natural approach.
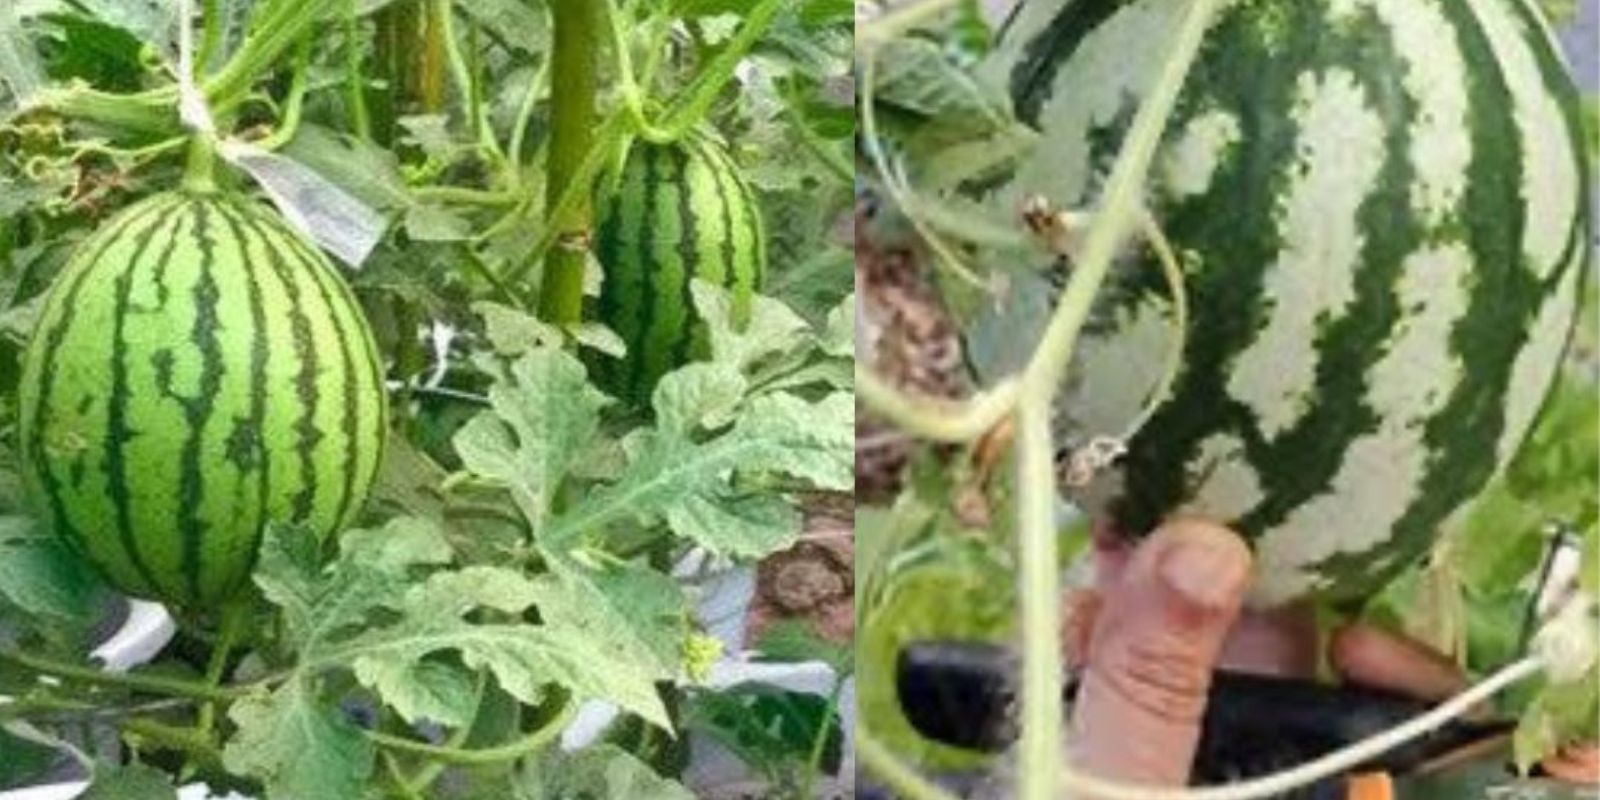
Step 8: Support the Vines
As watermelon plants grow, their vines will start to spread out and can become heavy, especially when the fruits start to develop. To keep your plants healthy and prevent damage to the vines, it’s essential to provide support. Use a trellis or stakes to guide the vines upward or sideways. This saves space and keeps the fruit off the ground, which reduces the risk of disease and rot. If you’re using a trellis, you may need to gently tie the vines to the support as they grow.
Step 9: Pollination
Watermelons are pollinated by bees, which transfer pollen from male flowers to female flowers. However, in a container garden, you might not have as many pollinators as in the garden, so you may need to help with the pollination process. To do this, gently shake the plant or use a small paintbrush to transfer pollen from male flowers to female flowers. Male flowers typically appear first and are smaller, while female flowers have a small fruit at the base.
Step 10: Harvesting the Watermelons
Watermelons take around 70-90 days to mature, depending on the variety and growing conditions. You can tell when a watermelon is ready for harvest by checking the following signs:
- The tendrils closest to the fruit will turn brown and dry out.
- The underside of the melon will turn a yellowish color.
- When you tap the watermelon, it will produce a hollow sound, indicating it’s full of water and ready to eat.
Be sure to harvest your watermelon by cutting the stem with a sharp knife, leaving a few inches attached to the fruit. Avoid pulling the watermelon from the vine, as this can damage the plant.
Conclusion
Growing watermelons in pots is an excellent way to enjoy homegrown fruit without needing a large garden. By following these simple steps, you can successfully grow delicious, juicy watermelons right from your own balcony or patio. With proper care and attention, you’ll be able to harvest your very own melons in no time. So, grab your pots and start planting! Happy gardening!