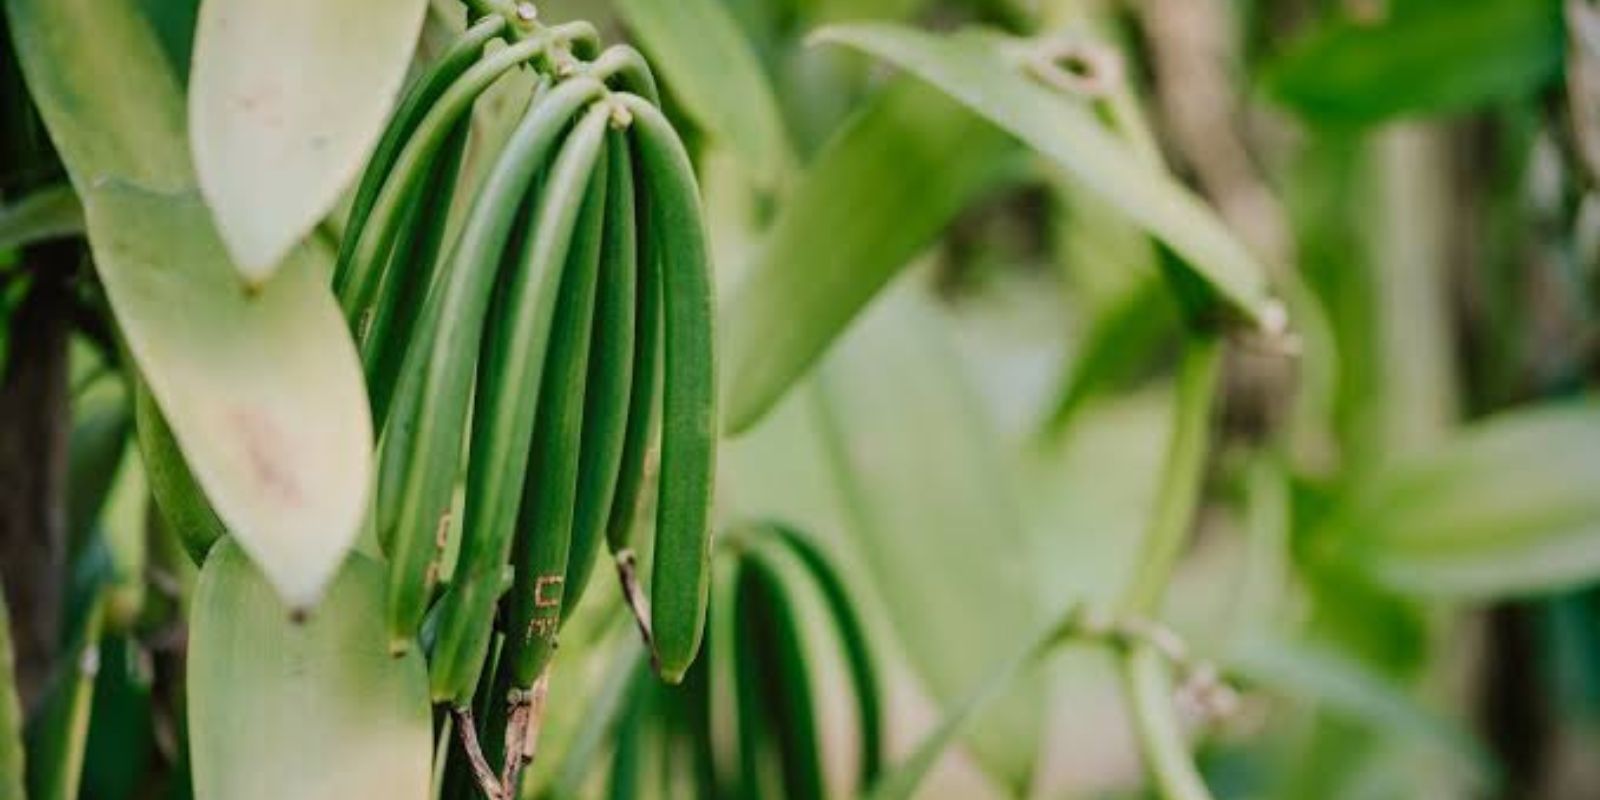
Vanilla beans are more than a flavorful addition to your kitchen; they represent the culmination of patience, dedication, and an understanding of nature. Derived from the orchid species Vanilla planifolia, these beans are highly sought after for their rich aroma and culinary uses. Growing vanilla beans at home can be a rewarding endeavor for gardening enthusiasts and food lovers alike. This guide will walk you through every step of cultivating your own vanilla bean plant.
Why Grow Vanilla Beans?
Vanilla beans are one of the most expensive spices in the world due to the labor-intensive process of growing, pollinating, and curing the beans. By growing them at home, you can bypass the high costs and enjoy the satisfaction of producing your own organic vanilla. Plus, the plant itself is a stunning addition to your garden or indoor plant collection.
Step 1: Understanding Vanilla Plants
The vanilla plant is a tropical orchid native to Central and South America. As a climbing vine, it requires specific conditions to thrive: warmth, high humidity, filtered light, and a support structure to climb. Before starting, make sure your environment can mimic these conditions, or consider growing indoors with the help of a greenhouse or grow lights.
Step 2: Sourcing Your Vanilla Plant
Growing vanilla beans from seeds is extremely challenging and not recommended for beginners. Instead, purchase a healthy vanilla orchid cutting or a young plant from a reputable nursery. Choose Vanilla planifolia for the classic flavor or explore other species for unique aromas.
Step 3: Preparing the Growing Environment
Light and Location
- Vanilla orchids prefer bright, indirect sunlight.
- Indoors: Place the plant near an east-facing window or under grow lights.
- Outdoors: Grow in partial shade if you live in a tropical or subtropical climate.
Temperature and Humidity
- Ideal temperatures: 70–90°F (21–32°C).
- Maintain humidity levels above 50%. Use a humidifier, misting, or a humidity tray for indoor plants.
Soil Requirements
- Vanilla orchids need well-draining, nutrient-rich soil. Use a mix of orchid bark, sphagnum moss, and compost.
- The pot should have excellent drainage to prevent root rot.
Step 4: Planting Your Vanilla Orchid
- Choose a large container (at least 20 inches deep) if growing indoors or in a non-tropical region.
- Fill it with your orchid soil mix.
- Position the cutting or plant so that its roots are covered, and secure the vine to a trellis or pole for support.
Step 5: Caring for Your Vanilla Plant
Watering
- Keep the soil moist but not waterlogged. Allow the top layer of soil to dry slightly between waterings.
- In dry climates, increase misting to keep the plant hydrated.
Fertilizing
- Feed your vanilla plant every 2–4 weeks during the growing season (spring and summer). Use a balanced orchid fertilizer or a low-nitrogen formula.
Pruning and Training
- Gently guide the vine along its support structure.
- Prune any dead or yellowing leaves to maintain plant health.
Step 6: Pollination
Vanilla orchids only bloom once they reach maturity, typically after 2–3 years. The flowers are beautiful but short-lived, lasting only 24–48 hours. In the wild, vanilla orchids rely on specific pollinators like the Melipona bee, but in a home setting, you’ll need to hand-pollinate.
How to Hand-Pollinate:
- Use a toothpick or small paintbrush.
- Locate the flower’s male (anther) and female (stigma) parts.
- Gently transfer pollen from the anther to the stigma.
- Repeat for every flower to maximize your yield.
Step 7: Harvesting the Beans
Vanilla beans take 8–9 months to mature after successful pollination. Harvest when the pods turn dark green or yellow. Avoid waiting too long, as overripe pods can split and lose quality.
Step 8: Curing and Drying Vanilla Beans
Curing is essential to develop the vanilla flavor. Here’s a simple process:
- Blanch: Submerge harvested pods in hot water (around 160°F) for a few minutes.
- Sweat: Wrap the beans in a cloth and store them in a warm, dark place for 1–2 days.
- Dry: Lay the pods out in the sun for a few hours daily, then store them in an airtight container overnight. Repeat for several weeks.
The result? Rich, aromatic vanilla beans ready for use in your favorite recipes!
Common Challenges in Growing Vanilla Beans
1. Slow Growth
Vanilla orchids are slow growers. Be patient, as it may take several years before they flower and produce beans.
2. Pollination Failure
Hand-pollination requires precision. If your flowers aren’t setting fruit, revisit your technique or timing.
3. Pests and Diseases
Vanilla orchids can be susceptible to pests like spider mites or diseases like root rot. Regularly inspect the plant and maintain optimal humidity and air circulation.
Is Growing Vanilla Beans Worth It?
Growing vanilla beans takes time and effort, but the reward is undeniable. You’ll gain a sense of achievement, a supply of organic vanilla beans, and a beautiful plant that enhances your home or garden.
Conclusion
Vanilla orchids demand patience and care, but they offer a unique gardening experience and a sense of accomplishment that few plants can match. By following this guide, you can grow your own vanilla beans and enjoy the satisfaction of cultivating one of the world’s most luxurious spices.
💬 Have questions or tips for growing vanilla beans? Share them below and inspire others to try this incredible plant! 🌱

