Introduction
Turmeric (Curcuma longa) is a golden spice known for its culinary, medicinal, and cosmetic benefits. Its vibrant color, earthy flavor, and anti-inflammatory properties make it a prized ingredient in kitchens and natural remedies worldwide. The great news? You don’t have to rely on store-bought turmeric. Growing your own turmeric at home is surprisingly simple and rewarding, even if you have limited space. With patience and the right techniques, you can harvest fresh, organic turmeric rhizomes in just a few months.
In this comprehensive guide, we’ll walk you through every step of growing turmeric at home, whether in a garden bed or a container.
1. Understanding Turmeric: Why Grow It at Home?
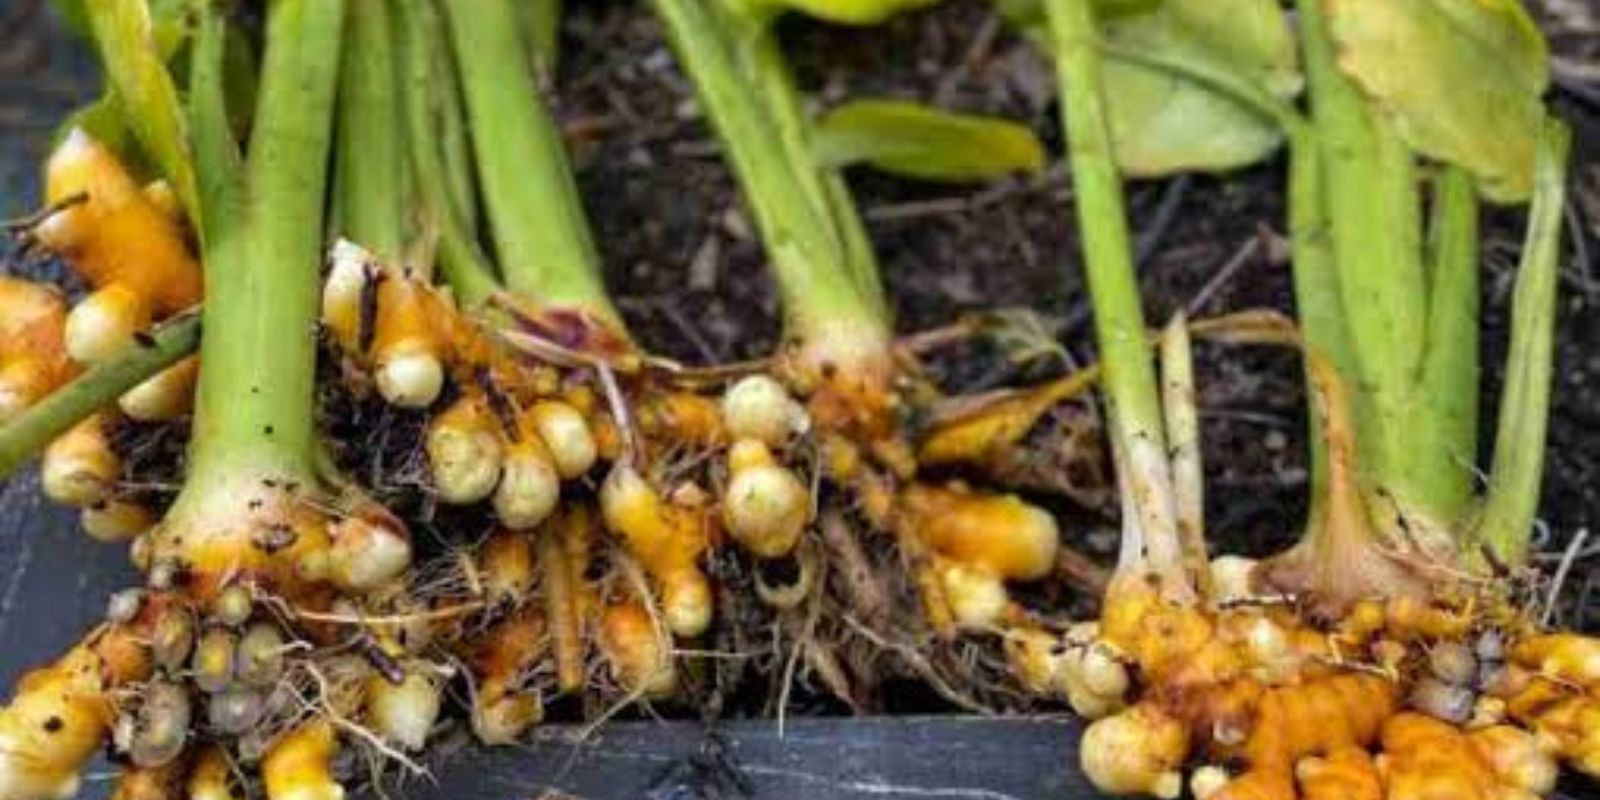
Turmeric is a tropical plant that thrives in warm, humid climates. Native to South Asia, it is part of the ginger family and grows underground rhizomes (not roots) that are harvested for use.
Benefits of Growing Turmeric at Home:
- Freshness: Homegrown turmeric is more aromatic and flavorful.
- Organic: You control the growing conditions, avoiding harmful chemicals.
- Sustainability: Reduces reliance on store-bought spices.
- Medicinal Uses: Enjoy the health benefits directly from your garden.
2. Preparing to Grow Turmeric
Choosing Rhizomes:
- Purchase fresh, plump turmeric rhizomes with visible buds (also called eyes).
- Organic turmeric is ideal, as it is more likely to sprout.
Best Time to Plant:
- Turmeric is a slow grower and thrives in warm weather.
- Start planting in late winter or early spring, giving the rhizomes time to sprout before summer.
Space Requirements:
- Turmeric grows best in large containers or garden beds.
- Ensure you have enough room for the rhizomes to spread and grow.
3. Preparing the Growing Medium
Turmeric requires loose, nutrient-rich, and well-draining soil to thrive.
Steps to Prepare the Soil:
- Use a mix of loamy soil and organic compost.
- Ensure the pH is slightly acidic to neutral (5.5–7.0).
- Avoid heavy clay soils that retain water and hinder rhizome growth.
If planting in containers, choose pots that are at least 12 inches deep and wide, with drainage holes.
4. Planting Turmeric Rhizomes
Step 1: Cut the Rhizomes
- Divide the turmeric rhizomes into 2-inch pieces, ensuring each piece has at least one healthy bud.
Step 2: Planting
- Dig 2–3-inch-deep holes in the soil or container.
- Place the rhizome piece bud-side up and cover it with soil.
- Space rhizomes about 12 inches apart if planting multiple pieces.
5. Caring for Your Turmeric Plants
Turmeric requires consistent care to grow healthy and productive rhizomes.
Watering:
- Keep the soil consistently moist but not waterlogged.
- Water when the top inch of soil feels dry.
Lighting:
- Turmeric grows best in indirect sunlight.
- If growing indoors, place containers near a bright window or use grow lights.
Temperature:
- Maintain a temperature between 68–95°F (20–35°C).
- Protect plants from frost or sudden cold snaps.
Fertilizing:
- Feed the plants every 4–6 weeks with organic fertilizer or compost tea.
- Use a balanced fertilizer to promote foliage and rhizome growth.
Mulching:
- Add a layer of organic mulch, such as straw or dried leaves, to retain moisture and prevent weeds.
6. Common Pests and Problems
Pests:
- Turmeric is relatively pest-resistant but may attract aphids or spider mites.
- Use natural pest control methods like neem oil or insecticidal soap.
Diseases:
- Overwatering can lead to root rot or fungal infections.
- Ensure proper drainage and avoid waterlogged soil.
7. Harvesting Your Turmeric
Turmeric takes 8–10 months to mature, making patience essential.
Signs of Readiness:
- Leaves and stems turn yellow and begin to dry out.
- This indicates that the rhizomes are ready for harvest.
How to Harvest:
- Gently loosen the soil around the plant with a spade or your hands.
- Carefully pull out the rhizomes to avoid damaging them.
- Rinse off excess soil and dry the rhizomes in a shaded area.
8. Using and Storing Turmeric
Once harvested, turmeric can be used fresh or dried for storage.
To Use Fresh:
- Peel the rhizomes and grate them for curries, teas, or smoothies.
To Store:
- Boil the rhizomes for 30–40 minutes, then dry them in the sun or a dehydrator.
- Once fully dried, grind the rhizomes into turmeric powder.
Storage Tip:
- Store dried turmeric in an airtight container in a cool, dark place to maintain freshness.
9. Propagating Turmeric for Continuous Growth
To grow turmeric every year, save a few rhizomes from each harvest. Repeat the planting process, and you’ll always have fresh turmeric on hand.
10. Growing Turmeric Indoors: Is It Possible?
If you don’t have an outdoor garden, turmeric can thrive indoors in large pots. Follow the same planting and care guidelines, but pay extra attention to providing adequate light. Use a grow light if natural sunlight is limited.
Conclusion
Growing turmeric at home is a rewarding process that offers fresh, organic spice for cooking and health remedies. Though it requires patience, the results are well worth the wait. Whether you’re an experienced gardener or a beginner, turmeric is an excellent addition to your garden or indoor plant collection.
Your Turn!
Have you tried growing turmeric at home? Share your experience or tips in the comments below!

