
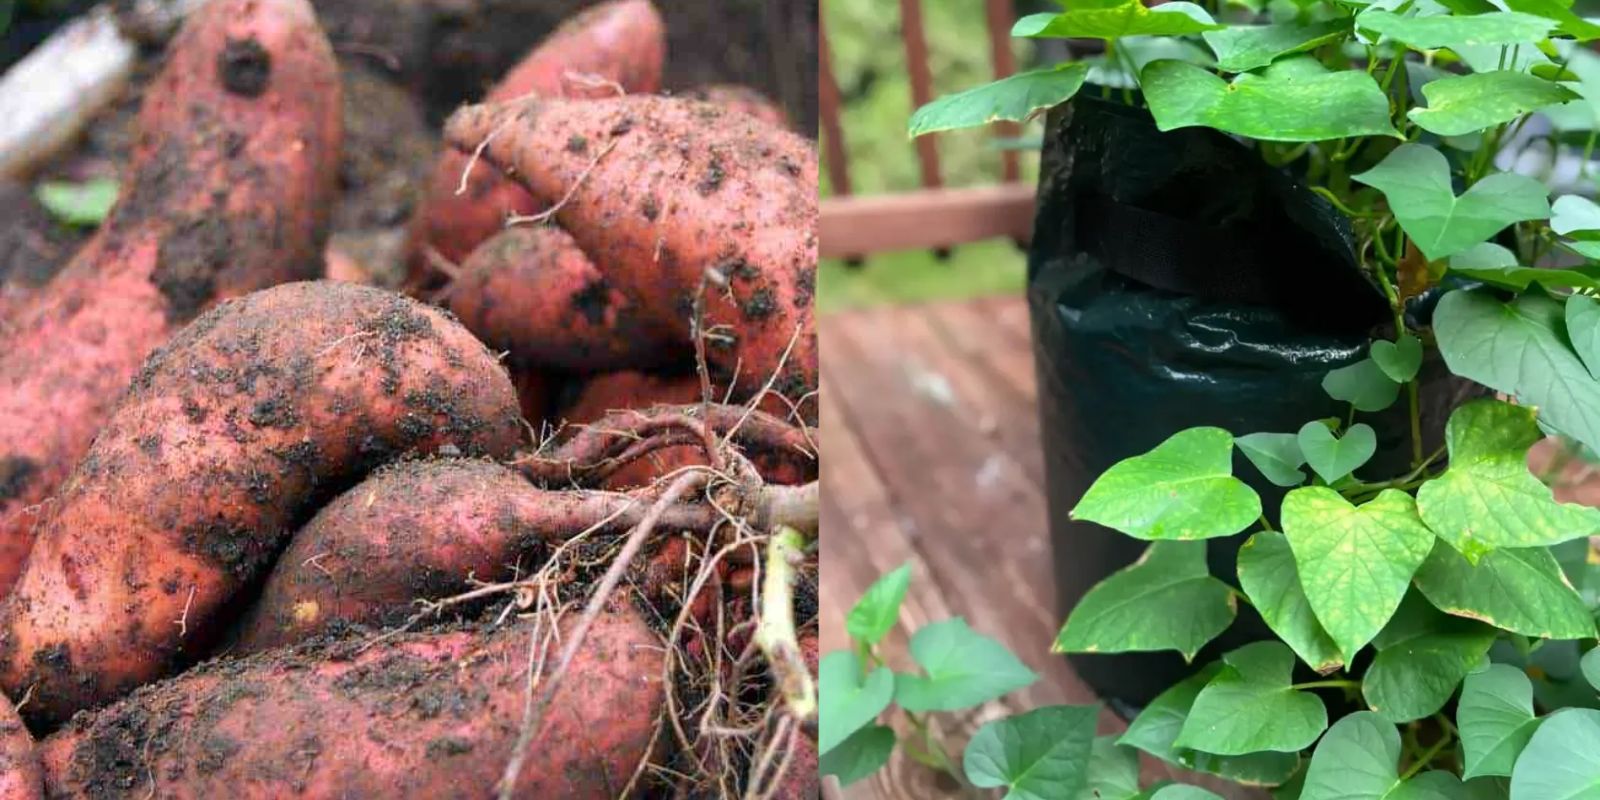
Sweet potatoes are a nutritious and delicious staple that can be grown easily, even in small spaces. One of the most effective and space-saving ways to cultivate them is by using sacks or bags. This method is perfect for urban gardeners, balcony growers, or anyone looking to maximize their yield with minimal effort. If you’ve ever wanted to grow your own sweet potatoes without the need for a traditional garden bed, this guide will walk you through the process step by step.
Why Grow Sweet Potatoes in Sacks and Bags?
Growing sweet potatoes in sacks or grow bags offers several advantages:
- Space-Saving: Perfect for small gardens, patios, or balconies.
- Better Drainage: Prevents waterlogging, reducing the risk of root rot.
- Easy to Move: You can reposition the sacks to maximize sunlight exposure.
- Pest Control: Reduces the chances of soil-borne pests attacking your plants.
- Improved Harvesting: Digging up your sweet potatoes is much easier than in-ground planting.
If these benefits sound appealing, let’s dive into the process of growing sweet potatoes in sacks and bags!
Materials You’ll Need
Before you start, gather the following materials:
- Sweet potato slips (not seeds, as sweet potatoes grow from slips)
- A large sack or grow bag (burlap sacks, fabric grow bags, or even sturdy plastic bags)
- High-quality potting soil mixed with compost
- Organic fertilizer (balanced or potassium-rich)
- Mulch (straw, grass clippings, or leaves)
- A watering can
Step-by-Step Guide to Growing Sweet Potatoes in Bags
1. Choose the Right Bag or Sack
Select a sack or grow bag that is at least 15–20 gallons in size. Burlap sacks, fabric grow bags, or breathable plastic bags work best. These materials allow for good drainage and aeration, which are essential for healthy root development.
2. Prepare the Soil Mix
Sweet potatoes thrive in loose, well-draining soil. Prepare a mix of:
- 50% high-quality potting soil
- 30% compost or aged manure
- 20% sand or perlite for aeration
This mix ensures that the roots have enough space to expand and develop into large tubers.
3. Position the Bag and Fill It with Soil
Place your bag in a sunny location where it will receive at least 6–8 hours of direct sunlight daily. Roll down the sides of the bag initially, leaving about 8–10 inches of soil at the base.
4. Plant the Sweet Potato Slips
Unlike traditional seeds, sweet potatoes are grown from slips. To plant them:
- Bury each slip 4–6 inches deep, ensuring that at least 2–3 leaves are above the soil.
- Space them 12–18 inches apart to allow sufficient room for tuber development.
5. Water Consistently
Water the soil thoroughly after planting and keep it evenly moist. Sweet potatoes like consistent moisture but not soggy conditions. Overwatering can cause root rot, while underwatering can lead to stunted growth.
6. Encourage Root Expansion
As the plants grow, gradually unroll the sack and add more soil around the stems, similar to hilling potatoes. This encourages additional root growth, leading to more sweet potatoes.
7. Provide Proper Nutrients
Fertilize every 2–3 weeks with a balanced organic fertilizer. Once the vines start growing rapidly, switch to a fertilizer high in potassium to promote healthy tuber development.
8. Manage Vines and Growth
Sweet potatoes are vining plants, so they will spread out. You can train the vines around the bag or let them cascade naturally. Regularly prune excessive growth to encourage the plant to focus energy on the roots.
9. Protect from Pests
Common pests include:
- Aphids – Can be controlled with neem oil spray.
- Sweet potato weevils – Prevent by keeping the plants well-aerated and free of dead foliage.
- Rodents – Avoid by keeping the area clean and free of food sources.
10. Harvesting Your Sweet Potatoes
Sweet potatoes typically take 90–120 days to mature. You’ll know they’re ready to harvest when:
- The leaves begin to yellow and die back.
- The soil feels loose around the base of the plant.
To harvest:
- Gently lift the bag and empty the contents onto a tarp.
- Carefully sift through the soil to collect the tubers.
Bonus Tips for an Even Better Harvest
✅ Cure the sweet potatoes – After harvesting, let them cure in a warm, humid place for 1–2 weeks to enhance their sweetness and storage potential. ✅ Rotate your growing location – If reusing bags, change the soil each season to prevent nutrient depletion. ✅ Grow companion plants – Beans and marigolds help deter pests and improve soil health.
Final Thoughts
Growing sweet potatoes in sacks and bags is a practical, space-saving method that yields excellent results. Whether you’re gardening in a backyard, patio, or balcony, this approach ensures a productive harvest with minimal effort. Have you tried growing sweet potatoes this way? Share your experiences and tips in the comments below! 🍠🌿👇
#SweetPotatoHarvest #GrowYourOwnFood #ContainerGardening #UrbanFarming #GardeningHacks #GreenThumb #OrganicGardening #SelfSufficient