
Introduction
Growing sweet potatoes at home is a rewarding experience that yields delicious, nutrient-rich tubers. Unlike regular potatoes, sweet potatoes belong to the morning glory family and thrive in warm climates with loose, well-draining soil. Whether you have a large garden or prefer container gardening, you can successfully grow sweet potatoes with the right techniques.
In this guide, we’ll explore everything from starting sweet potato slips to harvesting your crop, ensuring a bountiful and flavorful harvest. Follow these steps, and soon you’ll be enjoying homegrown sweet potatoes! 🍠
Why Grow Sweet Potatoes?
Sweet potatoes are a superfood packed with vitamins, fiber, and antioxidants. Here are a few reasons why you should grow them:
✅ Nutrient-Dense – High in Vitamin A, C, and potassium. ✅ Easy to Grow – Requires minimal maintenance once established. ✅ Great for Small Spaces – Can be grown in containers, raised beds, or even vertically. ✅ Drought-Tolerant – Requires less water than many other crops. ✅ Long Shelf Life – Properly cured sweet potatoes can last for months.
Step-by-Step Guide to Growing Sweet Potatoes
Step 1: Start with Healthy Slips
Sweet potatoes are grown from slips—small sprouts that develop from mature sweet potatoes. You can either buy slips from a nursery or grow them yourself.
To grow your own slips:
- Select a healthy organic sweet potato.
- Cut it in half and place it in a jar of water, suspending half in the water with toothpicks.
- Keep the jar in a warm, sunny spot.
- In 2-3 weeks, you’ll see sprouts (slips) growing.
- Once they reach 5-6 inches long, gently twist them off and place them in water until roots develop.
✅ Pro Tip: A single sweet potato can produce 10-15 slips!
Step 2: Choose the Right Planting Location
Sweet potatoes love the sun and require at least 6-8 hours of direct sunlight daily. Choose a location with:
- Loose, sandy, well-draining soil – Prevents rot and allows roots to expand easily.
- Raised beds or mounds – Helps with drainage and aeration.
- Space between plants – Leave at least 12-18 inches between each slip.
✅ Container Option: Use a large container (at least 10 gallons) if space is limited.
Step 3: Planting the Slips
Once your slips have strong roots, it’s time to plant them:
- Dig a hole about 4-5 inches deep and place each slip inside.
- Bury the roots and lower part of the stem, leaving the top leaves exposed.
- Water immediately to help them establish.
✅ Best Planting Time: After the last frost, when soil temperatures are above 65°F (18°C).
Step 4: Watering and Mulching
- Keep soil moist but not soggy – Water 1-2 inches per week, increasing during hot weather.
- Mulch with straw or leaves – Helps retain moisture, suppress weeds, and regulate temperature.
- Reduce watering after the vines spread, as excess water can lead to rot.
✅ Pro Tip: Use a soaker hose to deliver water directly to the roots and prevent fungal issues.
Step 5: Fertilizing for Growth
Sweet potatoes don’t need heavy fertilization, but a little boost helps:
- Use a balanced fertilizer (10-10-10) before planting.
- Once vines start growing, switch to a low-nitrogen fertilizer to encourage root development.
- Avoid too much nitrogen, which promotes vine growth but reduces tuber size.
✅ Organic Option: Compost or banana peel fertilizer is great for sweet potatoes!
Step 6: Controlling Pests and Diseases
Watch out for common sweet potato pests:
- Sweet Potato Weevils – Tiny beetles that attack roots and leaves. Use row covers for protection.
- Aphids & Spider Mites – Spray neem oil or introduce ladybugs to control infestations.
- Fungal Diseases – Ensure good air circulation and avoid overwatering.
✅ Companion Planting Tip: Marigolds and basil help deter pests naturally.
Step 7: Training Vines & Controlling Growth
Sweet potato vines spread rapidly. To keep them manageable:
- Guide vines back into rows to prevent overgrowth.
- Trim excessive vines to direct energy toward root development.
- Use trellises in small gardens for vertical growth.
Step 8: Harvesting Sweet Potatoes
Patience is key—sweet potatoes take 90-120 days to mature. Signs that they’re ready for harvest:
- Leaves begin to yellow and die back.
- Roots are fully developed and feel firm.
- Skin is well-formed and does not rub off easily.
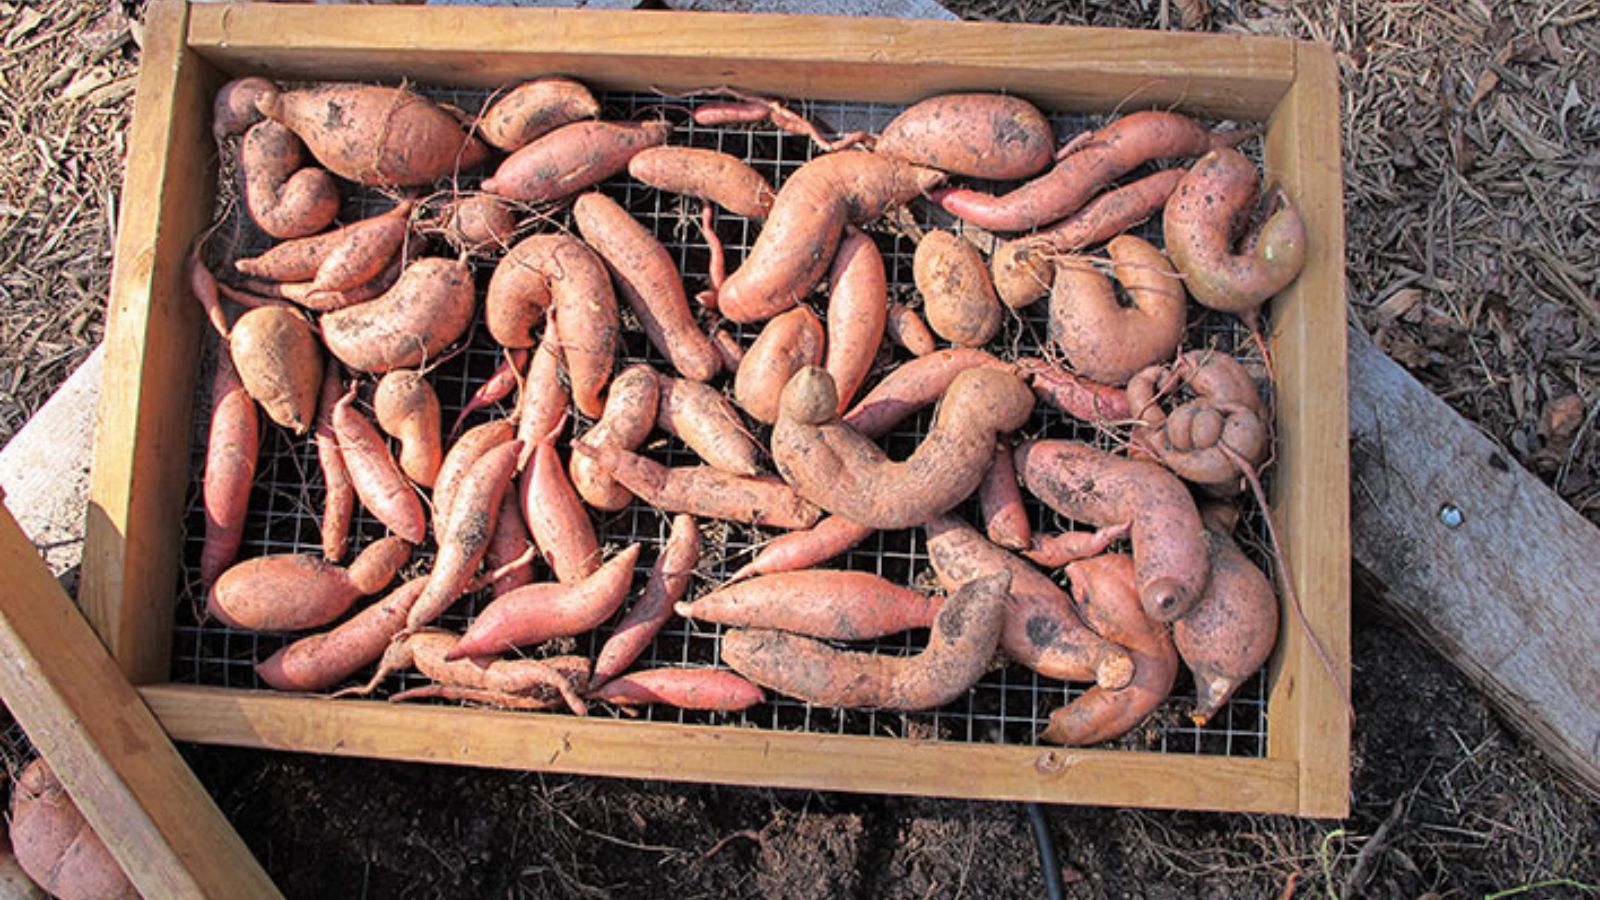
How to Harvest:
- Use a garden fork to gently loosen the soil around the plant.
- Lift the sweet potatoes carefully to avoid bruising.
- Shake off excess dirt—do not wash until ready to eat.
✅ Best Time to Harvest: On a dry, sunny day to prevent rot.
Step 9: Curing and Storing for Long-Term Use
Freshly harvested sweet potatoes need curing to enhance sweetness and shelf life.
How to Cure:
- Place potatoes in a warm (80-85°F), humid place for 10-14 days.
- Store in a cool, dark, and well-ventilated area.
- Avoid refrigeration—it damages texture and flavor.
Properly cured sweet potatoes can last 6 months or longer!
✅ Storage Tip: Wrap individually in newspaper and keep in a wooden crate.
Common Mistakes to Avoid
🚫 Planting too early – Cold soil slows growth. 🚫 Overwatering – Leads to rot and fungal issues. 🚫 Skipping the curing process – Results in bland and starchy potatoes. 🚫 Leaving them in the ground too long – Causes tough skin and possible pest damage.
Final Thoughts
Growing sweet potatoes at home is fun, rewarding, and cost-effective. With proper care, you can enjoy a bountiful harvest of naturally sweet and nutritious tubers. Follow these steps, and soon you’ll be savoring homegrown sweet potatoes! 🍠
Are you growing sweet potatoes this season? Share your experiences in the comments! 👇
#GrowSweetPotatoes #GardeningTips #HomeGrownHarvest #OrganicGardening #SelfSufficiency