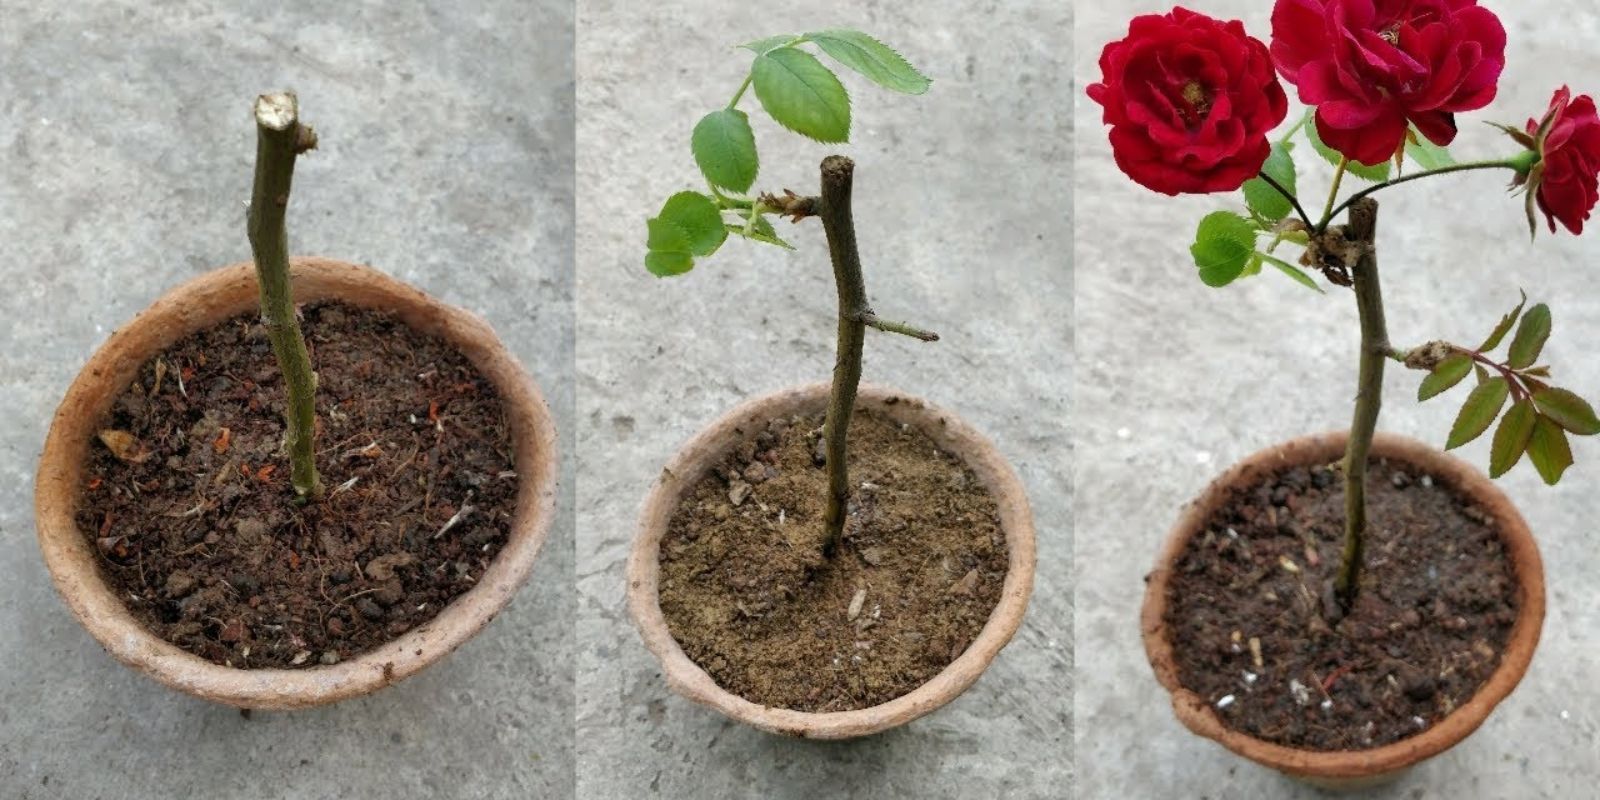
Roses are a timeless favorite in gardens around the world. Their beauty, fragrance, and elegance make them a must-have for any garden. But buying new rose plants can be expensive. The good news? You can propagate roses from stem cuttings at home easily!
Growing roses from cuttings is an affordable and rewarding way to expand your garden while preserving your favorite rose varieties. This guide will take you through everything you need to know, from choosing the right cutting to successfully growing a new rose plant.
Why Grow Roses from Stem Cuttings?
Unlike growing roses from seeds (which can take years and may not produce the exact same plant), growing from cuttings allows you to:
✅ Clone your favorite rose plants with identical flowers and fragrance.
✅ Save money by multiplying roses instead of buying new ones.
✅ Enjoy faster growth, as cuttings establish quickly compared to seeds.
✅ Grow roses naturally, without grafting or complex techniques.
Now, let’s get started on how to grow roses from stem cuttings the right way!
Step 1: Choosing the Right Rose Stem for Cuttings
The first step to successful propagation is selecting a healthy, strong stem. Here’s what to look for:
- Choose a semi-hardwood cutting, which means a stem that is not too young (softwood) or too old (hardwood).
- The best time to take cuttings is late spring to early summer when roses are actively growing.
- Pick a stem that is 6-8 inches long with at least 3-4 leaf nodes (bumps where leaves grow).
- Avoid diseased, weak, or flowered stems. A fresh green stem is ideal!
🔹 Pro Tip: Early morning is the best time to take cuttings because the plant is well-hydrated.
Step 2: Preparing the Rose Cutting
Once you have your healthy stem, follow these steps to prepare it:
1️⃣ Use Sharp Pruners – Cut the stem at a 45-degree angle to increase the rooting surface.
2️⃣ Remove Lower Leaves – Strip off the bottom 2-3 sets of leaves to reduce moisture loss.
3️⃣ Trim the Top – Cut just above the topmost leaf to focus the plant’s energy on root growth.
4️⃣ Remove Thorns (Optional) – Carefully remove thorns near the base to prevent rotting in soil.
🔹 Pro Tip: Keep your cuttings in water if you’re not planting them immediately to prevent drying out.
Step 3: Using Rooting Hormone for Faster Growth
Rooting hormone significantly boosts the success rate of rose cuttings by stimulating root formation.
- Dip the cut end of the stem into rooting hormone powder or gel.
- Shake off excess powder before planting.
- If you don’t have rooting hormone, use natural alternatives like honey, cinnamon, or aloe vera gel.
🔹 Pro Tip: Some gardeners dip the cutting in crushed aspirin water to promote faster rooting.
Step 4: Planting the Rose Cutting
Now, it’s time to plant your cutting in a suitable growing medium.
- Choose the Right Soil – Use well-draining soil, such as a mix of coco peat, perlite, and compost.
- Plant at the Right Depth – Insert the cutting about 2-3 inches deep, ensuring at least one node is below the soil.
- Firm the Soil – Gently press the soil around the cutting to remove air pockets.
- Spacing – If planting multiple cuttings, space them 3-4 inches apart to allow airflow.
🔹 Pro Tip: Plant cuttings in small pots before transplanting them into larger containers or the garden.
Step 5: Creating the Perfect Growing Conditions
For your rose cuttings to root successfully, they need high humidity, warmth, and indirect light.
How to Maintain Ideal Conditions:
🌱 Cover for Humidity – Place a plastic bottle, bag, or glass jar over the cutting to create a greenhouse effect.
💦 Watering – Keep the soil moist but not soggy. Overwatering can cause rotting.
🌞 Light Exposure – Place cuttings in bright, indirect sunlight (avoid direct sun to prevent drying out).
🌡 Temperature – Maintain a temperature of 65-75°F (18-24°C) for optimal root development.
🔹 Pro Tip: If using a plastic bottle, cut off the bottom and place it over the cutting like a humidity dome.
Step 6: Caring for Your Rose Cuttings
🌱 Watering – Check the soil daily and mist lightly if it starts to dry out.
🍂 Watch for Signs of Growth – In 4-6 weeks, you should see new leaves or roots forming.
🐜 Prevent Pests & Diseases – If mold appears, remove the plastic cover temporarily to improve airflow.
🔹 Pro Tip: Gently tug on the cutting after a few weeks. If you feel resistance, roots are forming!
Step 7: Transplanting to a Permanent Spot
Once the roots are well-developed (about 2-3 inches long), it’s time to transplant your new rose plant.
- Harden Off the Plant – Gradually expose it to outdoor conditions over 5-7 days before moving it permanently.
- Choose a Sunny Spot – Roses love 6-8 hours of direct sunlight daily.
- Use Nutrient-Rich Soil – Mix compost or well-aged manure into the soil for a strong start.
- Water Deeply – Give your newly transplanted rose a deep soak to help it establish.
🔹 Pro Tip: Mulch around the base to retain moisture and prevent weeds.
Common Mistakes to Avoid
🚫 Using Weak Stems – Always pick a healthy, firm stem for cuttings.
🚫 Skipping Rooting Hormone – Increases failure rate, so always use it!
🚫 Overwatering – Too much water causes rot; keep the soil moist but not soggy.
🚫 Exposing to Direct Sun Too Soon – Keep cuttings in indirect light until they’re strong enough.
Final Thoughts
Growing roses from stem cuttings is a simple, cost-effective, and rewarding way to add more blooms to your garden. With the right techniques, you can propagate your favorite roses and enjoy their beauty for years to come!
🌸 Have you ever tried growing roses from cuttings? Share your experiences and tips in the comments below! 🌿✨
#GrowRoses #RosePropagation #GardeningTips #FlowerLovers #OrganicGardening #GardeningHacks #HomeGarden

