
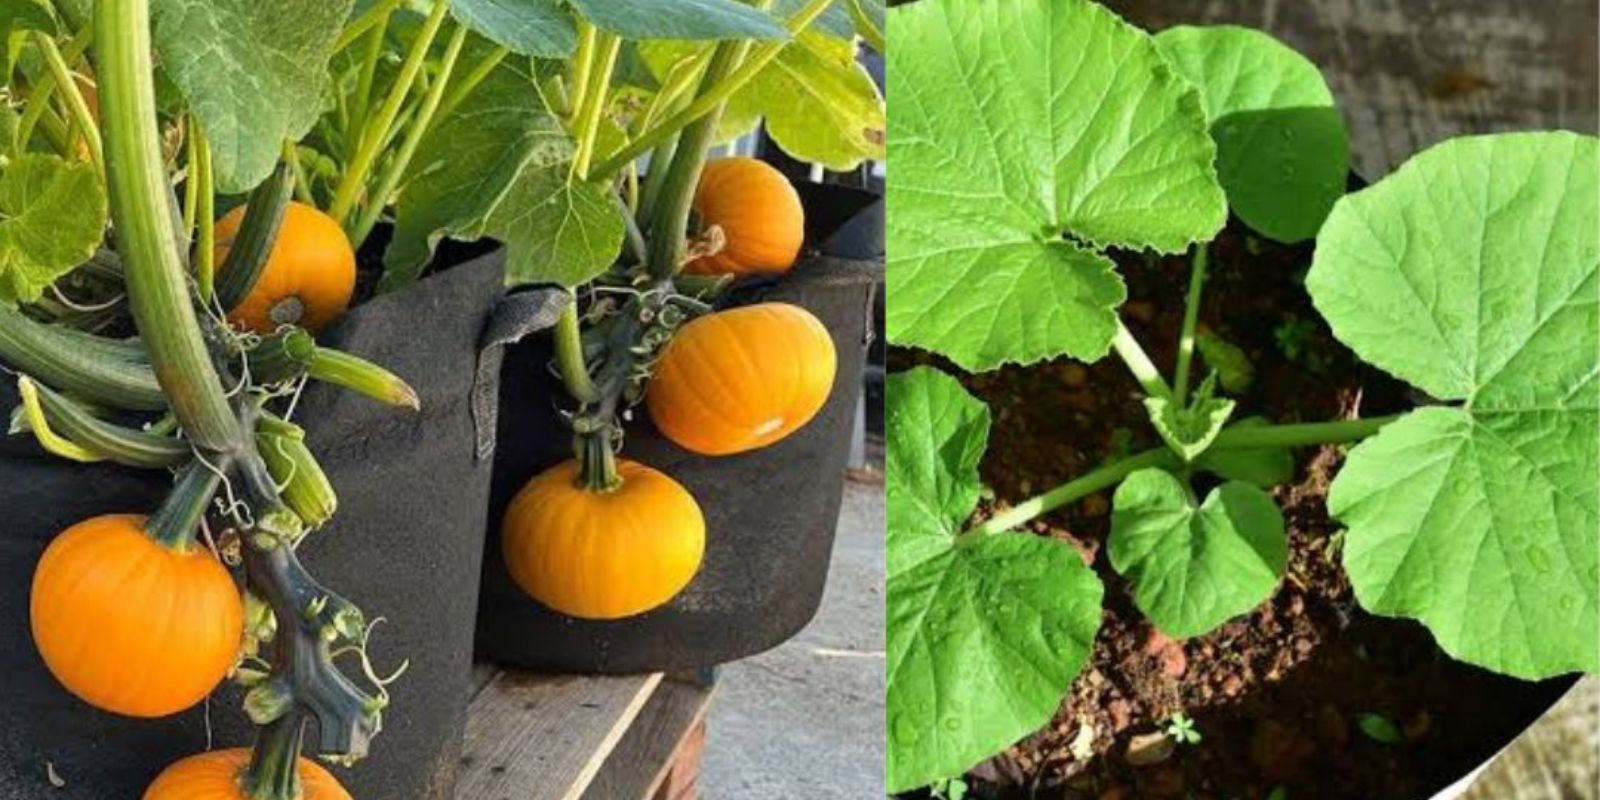
Pumpkins are a favorite crop among gardeners, but many assume they require large spaces to thrive. The good news? You can grow pumpkins in pots! Whether you have a small backyard, a balcony, or a patio, pumpkins can flourish in containers with the right care. This guide will walk you through everything you need to know to successfully grow pumpkins in pots and enjoy a bountiful harvest.
Why Grow Pumpkins in Pots?
Growing pumpkins in containers offers several benefits:
- Space-saving – Perfect for small gardens, patios, or balconies.
- Pest control – Easier to manage pests and diseases compared to ground-grown pumpkins.
- Mobility – You can move the pot to maximize sunlight exposure or protect it from harsh weather.
- Better soil control – Container gardening allows you to control soil quality and moisture more effectively.
Now, let’s dive into how to grow pumpkins successfully in pots!
Step 1: Choosing the Right Container
Pumpkins need plenty of space to grow, so choosing the right container is crucial.
- Select a large pot (at least 18-24 inches in diameter and 20 inches deep).
- Ensure it has drainage holes to prevent waterlogging.
- Plastic, ceramic, or fabric pots work well, but avoid metal containers as they can overheat the soil.
For compact varieties, like ‘Jack Be Little’ or ‘Baby Boo’, you can use slightly smaller containers, but for larger pumpkins, bigger pots are necessary.
Step 2: Preparing the Soil
Pumpkins thrive in rich, well-draining soil. Here’s how to prepare the best growing mix:
- Use a combination of potting soil, compost, and organic matter.
- Mix in perlite or sand for better drainage.
- Ensure a slightly acidic to neutral pH (between 6.0 and 7.0).
- Add a slow-release organic fertilizer to encourage strong growth.
Step 3: Planting Pumpkin Seeds or Seedlings
Pumpkins can be started from seeds or transplants.
For seeds:
- Plant 2-3 seeds per container, about 1 inch deep.
- Space them at least 3 inches apart.
- Water gently after planting.
For seedlings:
- Transplant them carefully into the container without damaging the roots.
- Keep at least one strong plant per pot.
Pro Tip: If growing from seeds, thin out the weaker seedlings once they sprout, keeping only the healthiest plant.
Step 4: Watering and Moisture Management
Pumpkins need consistent moisture, but overwatering can lead to root rot. Follow these tips:
- Water deeply but infrequently – about 1-2 inches per week.
- Keep the soil evenly moist, especially as fruits start developing.
- Avoid watering the leaves to prevent fungal diseases.
- Use mulch (like straw or wood chips) on the soil surface to retain moisture and regulate temperature.
Step 5: Providing Support for Vines
Pumpkin vines can spread up to 10 feet, so giving them proper support is essential:
- Use trellises or cages for vertical growth.
- If growing bush varieties, no support is needed.
- For larger pumpkins, place slings or netting underneath to support the developing fruits.
This helps keep the vines off the ground and prevents rotting.
Step 6: Fertilizing for Maximum Growth
Pumpkins are heavy feeders and require proper nutrients. Here’s how to fertilize them effectively:
- Early Growth (First few weeks) – Use a nitrogen-rich fertilizer to encourage strong vine and leaf development.
- Flowering Stage – Switch to a phosphorus-rich fertilizer to promote blooms.
- Fruit Development – Apply a potassium-based fertilizer every 2-3 weeks for bigger and healthier pumpkins.
Organic Options: Use compost tea, fish emulsion, or banana peel water as natural fertilizers.
Step 7: Pollination – Ensuring Fruit Formation
Pumpkins rely on pollination to set fruit. If growing in an area with few pollinators, you may need to hand-pollinate:
- Identify male flowers (thin stems) and female flowers (small fruit at the base).
- Use a soft brush or cotton swab to transfer pollen from