
Garlic is a staple ingredient in kitchens worldwide, loved for its bold flavor and health benefits. If you don’t have a garden but dream of harvesting fresh garlic, growing it in pots is an excellent solution. Container gardening allows you to grow garlic on balconies, patios, or even windowsills, making it accessible for urban gardeners or anyone with limited space. This comprehensive guide will show you everything you need to know to successfully grow garlic in pots, from selecting the right container to harvesting your flavorful bulbs.
Why Grow Garlic in Pots?
Growing garlic in pots offers several benefits:
- Space Efficiency: Perfect for small spaces or urban settings.
- Ease of Maintenance: Containers allow for better control over soil, water, and sunlight.
- Year-Round Growing: With the right care, you can grow garlic in different seasons.
Step 1: Choose the Right Garlic
Selecting the right type of garlic is crucial for a successful harvest. Garlic varieties are generally divided into two types:
- Softneck Garlic: Ideal for warmer climates and longer storage.
- Hardneck Garlic: Thrives in colder climates and offers unique flavors.
For container gardening, both types work well, but choose disease-free, large, and firm cloves. Avoid supermarket garlic treated with growth inhibitors, as these may not sprout effectively.
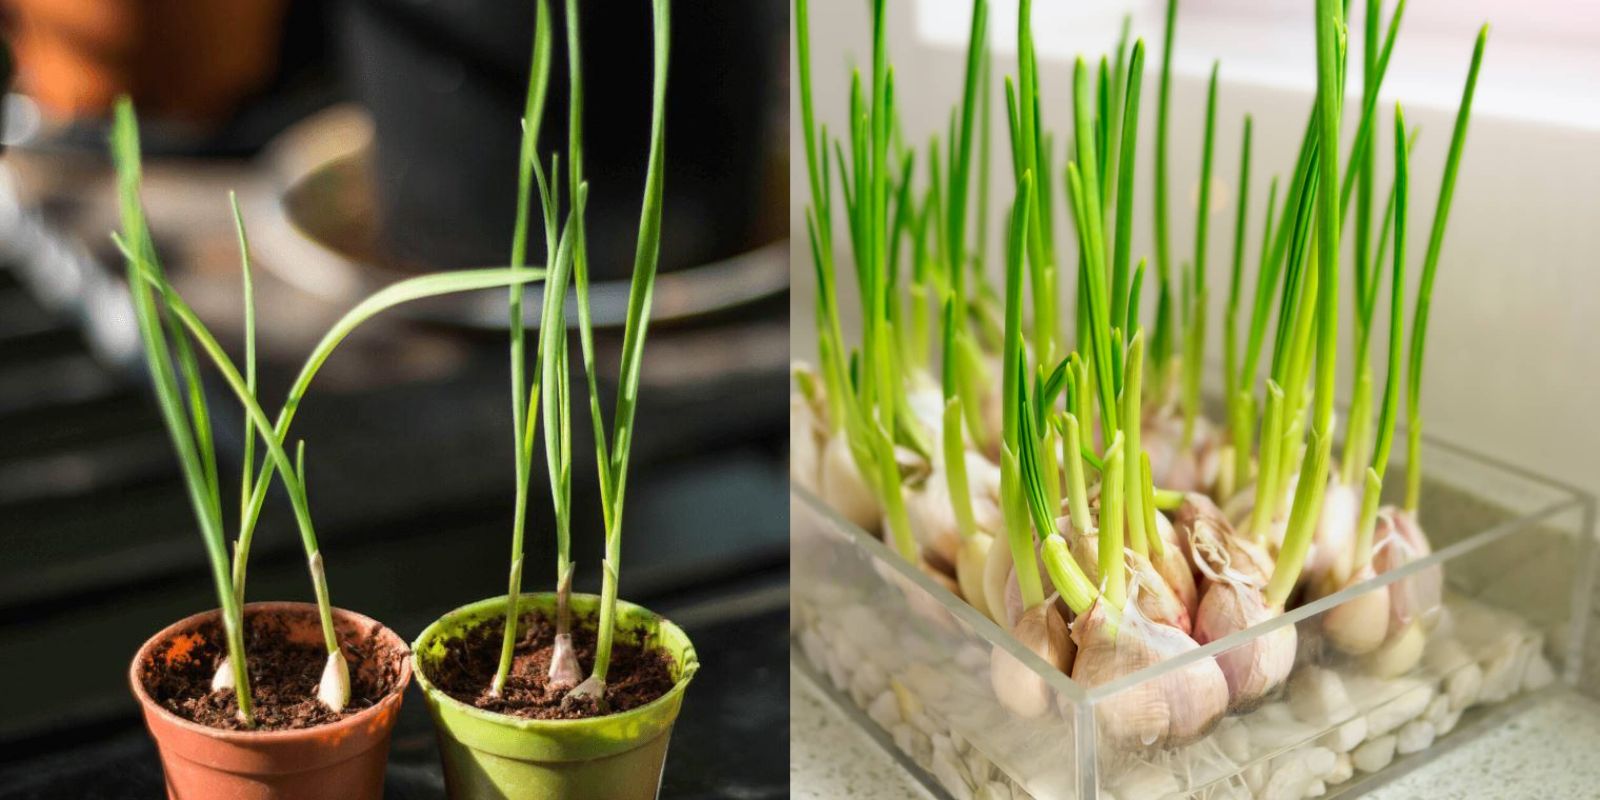
Step 2: Pick the Perfect Pot
The choice of pot can greatly impact the growth of your garlic:
- Depth and Size: Use a pot at least 8–10 inches deep and wide enough to accommodate multiple cloves, spaced 4 inches apart.
- Material: Terracotta, plastic, or wooden pots are all suitable, but ensure they have drainage holes to prevent waterlogging.
- Drainage: Add a layer of pebbles or gravel at the bottom for extra drainage.
Step 3: Prepare the Soil
Garlic thrives in nutrient-rich, well-draining soil. Here’s how to prepare the perfect mix:
- Combine equal parts garden soil, compost, and sand or perlite.
- Add organic fertilizer or aged manure to boost nutrients.
- Ensure the soil has a slightly acidic to neutral pH (6.0–7.0).
Step 4: Planting the Garlic
- Separate Cloves: Gently separate the garlic bulb into individual cloves without damaging their papery skin.
- Positioning: Plant each clove pointy side up, about 2 inches deep and 4 inches apart.
- Cover and Firm: Cover the cloves with soil and press down lightly to ensure good contact.
Step 5: Provide Optimal Growing Conditions
Garlic requires specific conditions to thrive:
- Sunlight: Place your pot in a location that receives at least 6–8 hours of direct sunlight daily.
- Watering: Keep the soil consistently moist but not soggy. Overwatering can lead to rotting.
- Temperature: Garlic grows best in temperatures between 32°F and 50°F during its dormant phase and warmer conditions during growth.
Step 6: Fertilize and Mulch
- Fertilization: Apply a balanced, slow-release fertilizer or organic options like fish emulsion every 3–4 weeks during the growing season. Avoid over-fertilizing, as it can lead to excessive leafy growth at the expense of bulbs.
- Mulching: Add a layer of straw or dry leaves to retain moisture and regulate soil temperature.
Step 7: Care and Maintenance
- Weeding: Regularly remove weeds from the pot to avoid competition for nutrients.
- Pest Control: Watch for pests like aphids or thrips. Use organic insecticidal soap if needed.
- Pruning: If growing hardneck garlic, cut off the scapes (flower stalks) to encourage bulb growth.
Step 8: Harvesting Garlic
Garlic typically takes 7–9 months to mature. Here’s how to know when it’s ready:
- Signs of Maturity: Leaves will turn yellow and start to die back.
- Harvesting: Gently loosen the soil and pull up the bulbs. Avoid damaging them during this process.
Step 9: Curing and Storing
- Curing: Hang the harvested bulbs in a well-ventilated, dry area for 2–3 weeks to cure. This helps improve their flavor and longevity.
- Storage: Store cured garlic in a cool, dry place. Softneck garlic lasts up to 8 months, while hardneck varieties can last 4–6 months.
Troubleshooting Common Issues
- Yellowing Leaves: May indicate overwatering, nutrient deficiencies, or fungal infections. Adjust care accordingly.
- Small Bulbs: Could result from overcrowding, insufficient sunlight, or poor soil quality.
- Pests: Use natural repellents like neem oil to manage infestations.
Benefits of Growing Garlic in Pots
- Freshness: Enjoy fresh, organic garlic whenever you need it.
- Sustainability: Reduce reliance on store-bought garlic, lowering your environmental impact.
- Health Benefits: Garlic is rich in antioxidants and beneficial compounds.
Creative Uses for Garlic
- Cooking: Elevate your dishes with the flavor of homegrown garlic.
- Pest Control: Garlic can act as a natural pesticide in the garden.
- Gifting: Share your harvest with friends and family.
Conclusion
Growing garlic in pots is an enjoyable and rewarding project, even for beginners. With minimal effort, you can produce a fresh, flavorful harvest right at home. Whether you have a spacious patio or a cozy balcony, garlic’s adaptability makes it a perfect crop for container gardening.
Have you tried growing garlic in pots? Share your experiences and tips in the comments! 🌱🧄