
Growing corn at home can be a rewarding and delicious endeavor. If you’ve ever wondered whether you could grow corn from the kernels of store-bought corn, the answer is a resounding yes! In this comprehensive guide, we’ll explore how to grow corn from commercial corn, including tips on preparation, planting, care, and harvesting. Whether you’re a seasoned gardener or just starting, this project is both fun and educational.
Why Grow Corn?
Corn is a versatile crop that can be used in various culinary applications, from grilling fresh corn on the cob to using it in salads, soups, and salsas. Growing your own corn not only provides you with fresh produce but also connects you with nature and the gardening process. Plus, it’s an excellent way to teach kids about growing food!
Understanding the Corn Plant
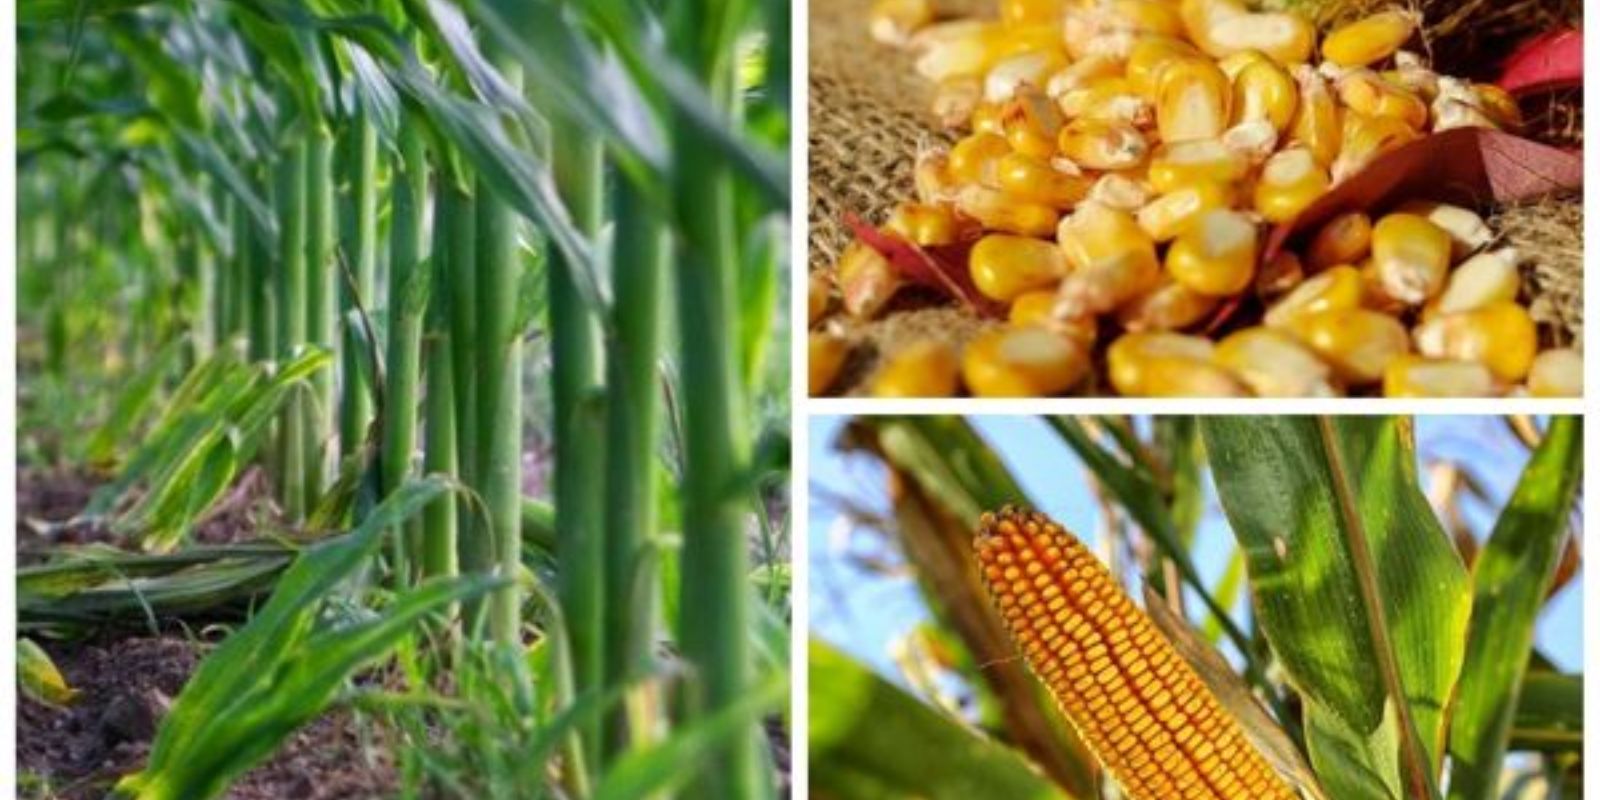
Before diving into the growing process, it’s essential to understand the corn plant. Corn (Zea mays) is a warm-season annual plant that thrives in sunny, well-drained soil. It is typically planted in spring after the last frost date and harvested in late summer to early fall. Corn is wind-pollinated, meaning that planting it in blocks rather than single rows will increase the chances of pollination and yield.
Types of Corn
When choosing to grow corn, it’s important to understand the different varieties:
- Sweet Corn: This is the type most commonly eaten fresh. It is harvested when the kernels are plump and sweet.
- Field Corn: Primarily grown for animal feed and processed products, field corn is harvested when the kernels are dry.
- Popcorn: A specific variety of corn that pops when heated, popcorn has a hard outer shell and starchy interior.
- Flint Corn: Known for its hard kernels, flint corn is often used for making cornmeal and is more drought-resistant.
For this guide, we will focus on growing sweet corn from store-bought corn.
Step-by-Step Guide to Growing Corn from Store-Bought Corn
Step 1: Selecting the Right Corn
Start with fresh, unprocessed corn on the cob from your local grocery store or farmer’s market. Here are some tips for selecting the best corn:
- Look for Organic: If possible, choose organic corn. Organic corn is less likely to have been treated with chemicals that could affect germination.
- Choose Ripe Corn: The corn should be plump and have bright green husks. The silk should be brown and dry, indicating ripeness.
- Select Varieties: Sweet corn varieties such as “Silver Queen,” “Sweetness,” or “Golden Bantam” are excellent choices for home growing.
Step 2: Preparing the Corn Kernels
Once you’ve selected your corn, it’s time to prepare the kernels for planting:
- Extract the Kernels: Using a sharp knife, carefully cut the kernels from the cob. Be gentle to avoid damaging the kernels.
- Inspect the Kernels: Discard any damaged or discolored kernels, as these may not germinate.
- Soak the Kernels: Soaking the kernels in water for 24 hours can help enhance germination by softening the outer shell.
Step 3: Preparing the Soil
Corn thrives in well-drained, nutrient-rich soil. Here’s how to prepare the soil:
- Choose the Right Location: Corn requires full sun, so select a spot in your garden that receives at least 6-8 hours of direct sunlight each day.
- Test the Soil: Use a soil testing kit to check pH and nutrient levels. Corn prefers slightly acidic to neutral soil (pH 6.0-7.0).
- Amend the Soil: Based on the soil test results, add organic matter like compost or well-rotted manure to improve soil fertility and drainage.
Step 4: Planting the Kernels
Now that your soil is prepared, it’s time to plant the kernels:
- Planting Depth: Create rows in the soil about 30 inches apart. Plant the soaked kernels about 1-2 inches deep.
- Spacing: Space the kernels 6-8 inches apart to ensure adequate room for growth.
- Watering: Water the planted area lightly after sowing, making sure the soil is moist but not soaked.
Step 5: Caring for Your Corn Plants
Proper care is crucial for healthy corn plants. Here are some tips:
- Watering: Keep the soil consistently moist, especially during dry spells. Corn plants need about an inch of water per week.
- Fertilizing: Apply a balanced fertilizer every 4-6 weeks during the growing season to promote healthy growth. Look for fertilizers high in nitrogen, which supports leaf growth.
- Weed Control: Regularly check for weeds and remove them to prevent competition for nutrients and water.
- Mulching: Apply a layer of mulch around the plants to help retain moisture, suppress weeds, and regulate soil temperature.
Step 6: Pollination
Corn is wind-pollinated, which means you need to ensure adequate pollination for a good yield:
- Plant in Blocks: Instead of planting in a single row, plant your corn in blocks of several rows to increase the chances of cross-pollination.
- Monitor Silk Development: When the silk from the ears starts to dry and turn brown, it’s time to ensure proper pollination. Gently shake the plants or use a soft brush to assist in pollination if needed.
Step 7: Harvesting Your Corn
After a few months of care, your corn plants will be ready for harvest:
- Timing: Sweet corn is typically ready to harvest 60-100 days after planting, depending on the variety.
- Check for Ripeness: The best indicator of ripeness is the kernels’ appearance. When the ears are plump, and the silks have turned brown, it’s time to pick.
- Harvesting: Twist the ear of corn to detach it from the stalk, or use a sharp knife to cut it. Make sure to harvest in the morning when temperatures are cooler for the best flavor.
Step 8: Storing and Using Your Corn
Once you’ve harvested your corn, it’s time to enjoy it!
- Immediate Use: For the best flavor, eat the corn as soon as possible after harvesting.
- Storage: If you need to store it, keep the corn in the refrigerator with the husks on to maintain moisture. It can last up to a week.
- Freezing: If you have more corn than you can use right away, consider blanching the cobs in boiling water, cooling them, and then freezing for later use.
Troubleshooting Common Issues
Slow Growth or Poor Germination
If your corn isn’t growing as expected, consider:
- Soil Quality: Ensure your soil is nutrient-rich and well-draining.
- Watering: Adjust your watering schedule to keep the soil consistently moist.
- Temperature: Corn prefers warm temperatures; make sure it’s planted after the last frost.
Pests and Diseases
Corn can be susceptible to pests such as corn earworms and aphids, as well as diseases like rust or blight:
- Regular Monitoring: Check your plants regularly for signs of pests or disease.
- Natural Remedies: Use insecticidal soap or neem oil to treat infestations.
- Crop Rotation: Practice crop rotation to reduce the risk of disease in subsequent seasons.
Conclusion
Growing corn from store-bought corn is a fun and fulfilling gardening project that can yield delicious results. With proper planning, care, and attention, you can cultivate your own sweet corn and enjoy the satisfaction of homegrown produce.
Start your corn-growing adventure today and transform your kitchen scraps into a thriving garden! 🌽✨ #CornGrowing #HomeGardening #PlantingTips #SustainableLiving #UrbanGardening