
Cloves are a cherished spice known for their warm, aromatic flavor and numerous health benefits. Growing clove plants at home can be an incredibly rewarding experience, allowing you to harvest fresh cloves right from your garden. While cloves are typically grown in tropical regions, with the right conditions and care, you can cultivate them successfully even in less traditional environments. This article will guide you through the process of growing clove plants from seeds to harvest, helping you enjoy this aromatic spice at home.
Introduction
Cloves (Syzygium aromaticum) are not only a key ingredient in many culinary dishes but also have medicinal properties and are used in traditional remedies. The clove plant, native to the Maluku Islands in Indonesia, thrives in tropical climates with high humidity and temperatures. However, with a bit of effort and the right conditions, you can grow clove plants at home, even if you don’t live in a tropical region. This guide will take you through each stage of growing clove plants, from selecting seeds to harvesting your own spice.
Steps to Grow Clove Plant at Home
1. Obtain Clove Seeds
- Source Quality Seeds: Start by obtaining high-quality clove seeds. Look for seeds from reputable nurseries or online suppliers specializing in exotic plants. Fresh seeds increase the likelihood of successful germination.
- Prepare for Germination: Clove seeds have a hard outer shell, which can benefit from a pre-soak in warm water for 24 hours before planting. This helps soften the seed coat and improve germination rates.
2. Prepare the Soil
- Choose the Right Soil: Cloves prefer well-draining soil rich in organic matter. A mixture of potting soil, compost, and sand works well to ensure good drainage and nutrient content.
- Check pH Levels: The ideal soil pH for clove plants is slightly acidic to neutral (pH 6.0-7.0). Test your soil’s pH and amend it if necessary to provide the best growing conditions.
3. Plant the Seeds
- Select a Container or Garden Bed: If growing indoors, choose a large pot with drainage holes. For outdoor planting, prepare a garden bed in a location with plenty of sunlight and protection from harsh elements.
- Sow the Seeds: Plant clove seeds about 1 inch deep in the soil. Space the seeds 3-4 inches apart to allow for growth. Cover the seeds lightly with soil and water gently.
- Maintain Moisture: Keep the soil consistently moist but not waterlogged. Use a spray bottle or gentle watering can to avoid disturbing the seeds. Covering the pot or bed with a plastic wrap or a clear lid can help retain moisture and create a greenhouse effect.
4. Water and Fertilize
- Watering Routine: Clove plants need regular watering to establish roots and grow. Water the plants when the top inch of soil feels dry. Ensure proper drainage to prevent root rot.
- Fertilization: Feed your clove plants monthly with a balanced, all-purpose fertilizer. A mixture with equal parts nitrogen, phosphorus, and potassium (e.g., 10-10-10) is ideal. Follow the instructions on the fertilizer package for proper application rates and methods.
5. Provide Warmth and Light
- Temperature Requirements: Clove plants thrive in temperatures ranging from 70-85°F (21-29°C). If growing indoors, ensure your space maintains this temperature range. In colder climates, consider using a heating mat or grow lights to simulate tropical conditions.
- Lighting Needs: Cloves need plenty of indirect sunlight. Place the pot in a bright, sunny location or under grow lights if natural light is insufficient. Ensure the plants receive light for at least 12-16 hours a day.
6. Transplanting
- Timing: Once clove seedlings reach a height of a few inches and develop a strong root system, they are ready for transplantation. This usually occurs when they are 6-12 months old.
- Choose a Larger Pot or Garden Bed: If transplanting to a larger pot, select one that is at least twice the size of the current container. For outdoor planting, ensure the garden bed is prepared with well-draining soil and sufficient space for the plants to spread.
- Transplanting Procedure: Gently remove seedlings from their original pots, taking care not to damage the roots. Plant them at the same depth they were growing in their original container. Water well after transplanting to help the plants settle in.
7. Caring for Mature Plants
- Regular Maintenance: Continue to water and fertilize your clove plants as they grow. Monitor for any signs of pests or diseases, such as leaf spots or wilting, and address issues promptly.
- Pruning: Clove plants generally require minimal pruning. However, removing any dead or damaged branches can help maintain plant health and encourage better air circulation.
8. Harvesting Cloves
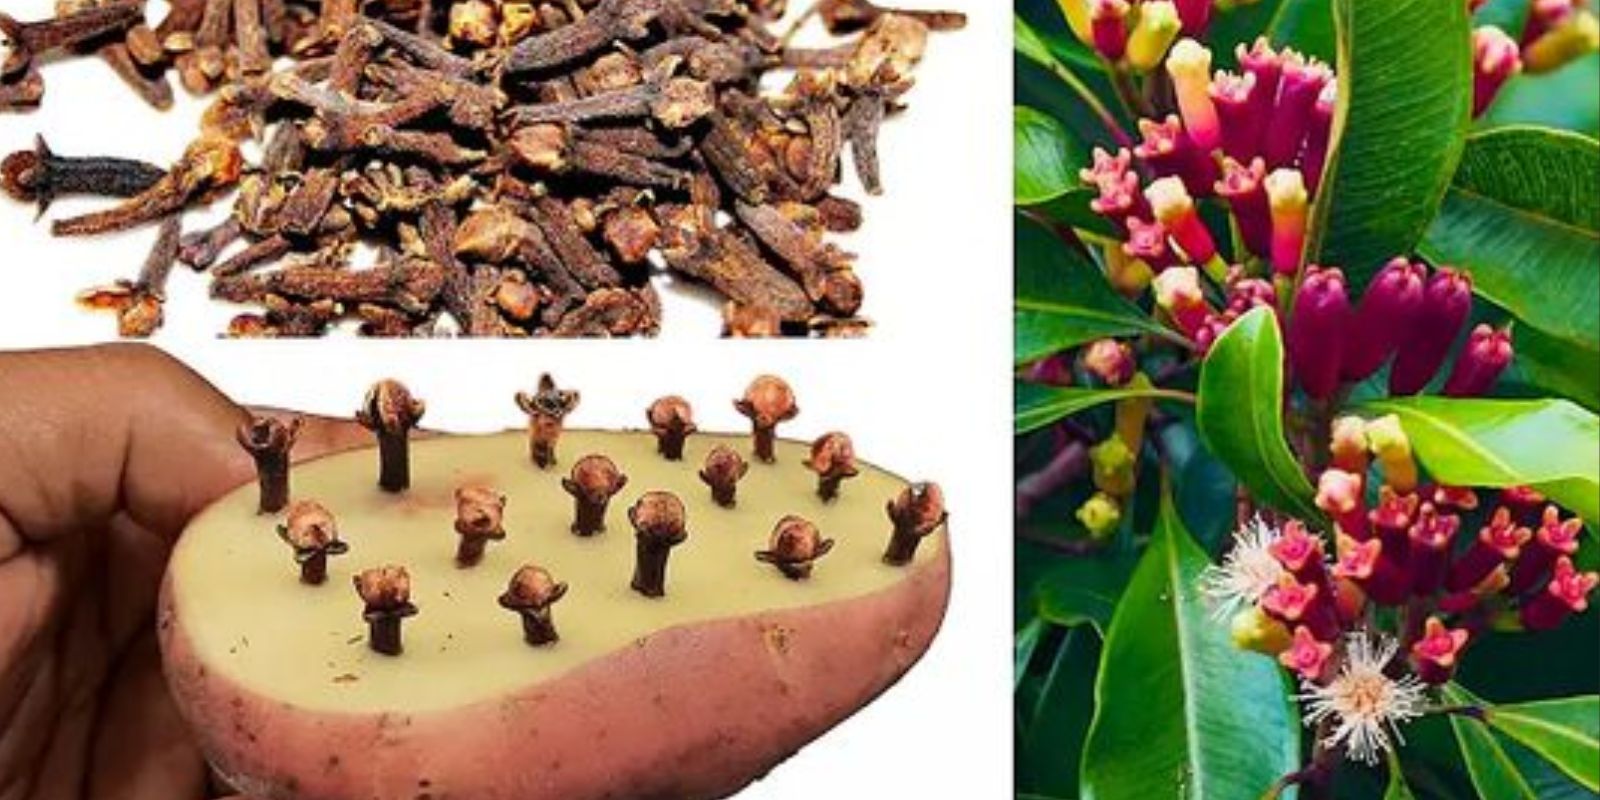
- Timing: Cloves are harvested from the flower buds, which are picked before they fully open. The buds should be pinkish in color when ready to harvest. Allowing them to mature fully will result in a less aromatic spice.
- Harvesting Process: Gently pluck the flower buds from the plant using clean, sharp scissors or pruning shears. Handle the buds carefully to avoid bruising or damage.
- Drying: After harvesting, spread the cloves out in a single layer on a clean, dry surface. Allow them to air-dry in a well-ventilated area away from direct sunlight. Once dried, cloves can be stored in an airtight container for extended freshness.
Additional Tips for Success
1. Monitor for Pests and Diseases:
- Regular Inspections: Check your clove plants regularly for signs of pests like aphids or spider mites and diseases like fungal infections. Use organic or chemical treatments as necessary to manage issues.
2. Adjust for Climate:
- Indoor Growing: If you’re growing clove plants indoors, ensure adequate humidity by using a humidity tray or a room humidifier. Indoor climates can differ significantly from outdoor conditions, so adjusting humidity levels can help mimic a tropical environment.
3. Be Patient:
- Growth Timeline: Clove plants are slow-growing and may take several years to reach maturity and produce buds. Patience is key when growing cloves, so enjoy the process and care for your plants with attention and dedication.
Conclusion
Growing clove plants at home offers the unique opportunity to enjoy this aromatic spice fresh from your garden. By following the steps outlined in this guide—from obtaining seeds to harvesting cloves—you can successfully cultivate clove plants and enhance your culinary creations with homegrown flavor. While growing cloves requires patience and attention to detail, the rewards are well worth the effort.
Start your clove-growing journey today—experience the satisfaction of harvesting your own spices and add a touch of homegrown warmth to your dishes!