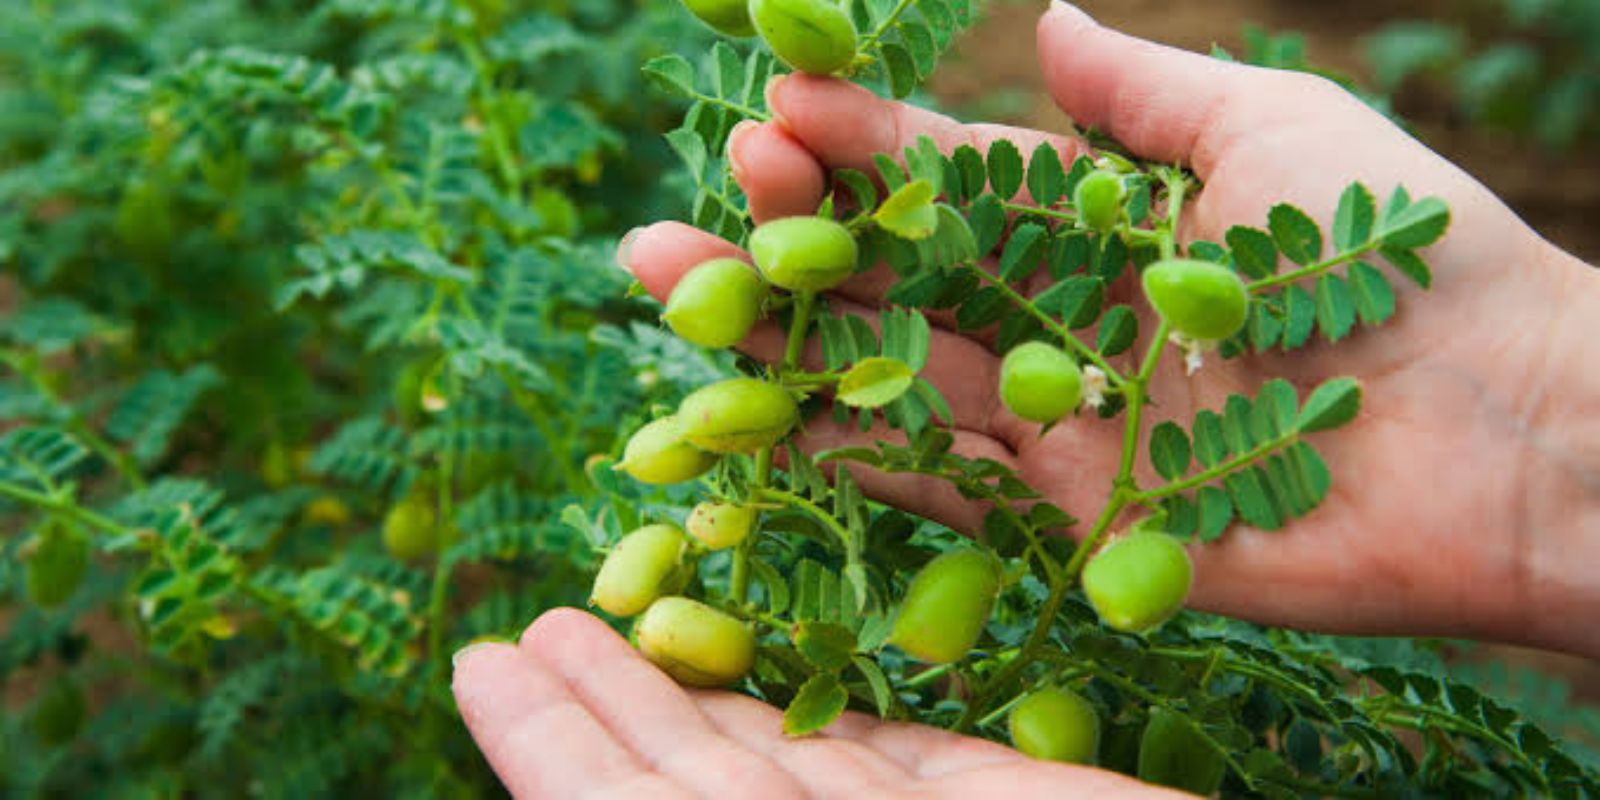
Chickpeas, also known as garbanzo beans, are a staple in cuisines worldwide, prized for their nutty flavor, high protein content, and versatility in recipes. From hummus to salads, these legumes are beloved for their health benefits and culinary adaptability. While they are often purchased dried or canned, growing chickpeas at home is a rewarding experience that ensures fresh, organic produce for your table. In this comprehensive guide, we’ll explore everything you need to know about cultivating chickpeas—from planting to harvesting.
Why Grow Chickpeas at Home?
Growing chickpeas at home offers several benefits:
- Nutritional Value: Chickpeas are rich in protein, fiber, and essential vitamins.
- Sustainability: As a nitrogen-fixing plant, chickpeas enrich the soil, making them an eco-friendly choice for gardeners.
- Cost Efficiency: A single packet of seeds can yield a bountiful harvest, saving money on store-bought legumes.
- Freshness: Homegrown chickpeas have superior flavor and freshness compared to commercially available options.
Whether you have a backyard garden, a raised bed, or even a few large containers, chickpeas can thrive in a variety of settings.
Ideal Growing Conditions for Chickpeas
- Climate:
Chickpeas are cool-season crops that prefer moderate temperatures. They can tolerate some heat but thrive best in climates with temperatures between 70–80°F during the growing season. - Soil:
Chickpeas grow well in light, sandy soil with good drainage. The ideal soil pH is 6.0–7.0. Avoid heavy, clay soils that retain water, as this can cause root rot. - Sunlight:
Full sun is essential for healthy chickpea plants. They require at least 6–8 hours of direct sunlight daily. - Water:
Chickpeas need consistent moisture during germination and early growth but dislike waterlogged conditions. Proper watering is key to their success.
Step-by-Step Guide to Growing Chickpeas
1. Choosing Seeds
Select high-quality, untreated chickpea seeds from a reputable source. You can choose traditional varieties or experiment with heirloom types for unique flavors and colors.
2. Planting Time
- In cooler regions, plant chickpeas in early spring as soon as the soil is workable.
- In warmer climates, you can plant them in late fall or winter for a spring harvest.
- Chickpeas typically require 90–100 days to mature, so plan accordingly.
3. Preparing the Soil
- Loosen the soil to a depth of 12 inches, removing weeds and debris.
- Mix in compost or well-rotted manure to enhance soil fertility, but avoid high-nitrogen fertilizers, as chickpeas fix their own nitrogen.
4. Sowing the Seeds
- Plant seeds directly in the ground, as chickpeas do not transplant well.
- Sow seeds 1–2 inches deep, spacing them 4–6 inches apart in rows that are 18 inches apart.
- Cover lightly with soil and water gently.
5. Mulching
Apply a layer of organic mulch around the plants to retain moisture, suppress weeds, and regulate soil temperature.
6. Watering
- Water the seeds immediately after planting.
- During the growing season, water deeply once a week, allowing the topsoil to dry out between waterings.
- Reduce watering as the plants mature to prevent fungal diseases.
7. Providing Support
Chickpea plants are generally self-supporting, but in windy areas, consider staking or providing a small trellis for added stability.
Caring for Chickpea Plants
Weeding
Keep the area around the plants weed-free to minimize competition for nutrients and water. Be gentle when removing weeds to avoid damaging the shallow roots of chickpeas.
Pest and Disease Management
- Common pests include aphids and cutworms. Use organic pest control methods, such as neem oil or introducing beneficial insects like ladybugs.
- To prevent diseases like powdery mildew, ensure proper air circulation by spacing plants adequately and avoiding overhead watering.
Fertilizing
Chickpeas rarely require additional fertilizers. If necessary, apply a low-nitrogen fertilizer during flowering to promote healthy pod development.
Harvesting Chickpeas
When to Harvest
Chickpeas are ready to harvest when the pods turn brown and dry:
- For fresh chickpeas (green stage): Harvest when the pods are plump but still green. These can be steamed or added to salads.
- For dried chickpeas: Allow the pods to fully dry on the plant before harvesting.
How to Harvest
- Pull the entire plant from the ground and hang it upside down in a dry, well-ventilated area to cure.
- Once fully dry, shell the pods to collect the seeds.
Storing Chickpeas
- Fresh Chickpeas: Store in an airtight container in the refrigerator for up to a week.
- Dried Chickpeas: Store in a cool, dry place in a sealed container for up to a year.
Tips for a Thriving Chickpea Garden
- Companion Planting
Pair chickpeas with crops like carrots, cucumbers, or tomatoes for mutual benefits. Avoid planting near onions or garlic, as these can hinder growth. - Rotating Crops
Rotate chickpeas with other crops each year to prevent soil nutrient depletion and reduce the risk of pests and diseases. - Save Seeds
Allow a few pods to fully mature on the plant for seed saving. Store seeds in a cool, dry place for next year’s planting.
Why Chickpeas are Worth the Effort
Chickpeas not only provide a delicious and nutritious addition to your meals but also contribute to sustainable gardening by improving soil health. Growing chickpeas at home is a gratifying experience that connects you with the origins of your food while reducing your reliance on store-bought products.
Final Thoughts
With a little patience and care, growing chickpeas can become a rewarding addition to your gardening routine. Whether you’re looking to enhance your culinary repertoire or explore sustainable gardening practices, chickpeas are an excellent choice for gardeners of all skill levels.
💬 What are your favorite ways to use chickpeas in the kitchen? Share your thoughts and questions in the comments below!

