
If you’ve ever thought about growing your own celery but felt that you needed a garden or outdoor space, think again. Growing celery at home is surprisingly simple and doesn’t require a garden, just a few household items. With the right materials, some care, and a little patience, you can harvest your own fresh celery stalks right from the comfort of your home.
Whether you’re an apartment dweller, a beginner gardener, or just someone looking for a fun DIY project, growing celery at home is a fantastic way to start your gardening journey. This guide will walk you through the easy steps of growing celery using recycled plastic bottles, showing you how to grow this healthy vegetable even in small spaces.
Why Grow Celery at Home?
Celery is a nutrient-packed vegetable that’s often added to salads, soups, and snacks. It’s low in calories but rich in vitamins A, C, and K, and provides a good source of fiber. Growing celery at home offers numerous benefits:
- Freshness: Homegrown celery is fresher and tastier than store-bought varieties, which may have been on shelves for days or even weeks.
- Sustainability: By growing celery at home, you reduce your reliance on store-bought produce, which helps cut down on packaging waste and carbon emissions.
- Convenience: Growing celery in your home means you always have fresh, organic produce right at your fingertips, ready to be harvested whenever you need it.
Materials Needed
Before getting started, gather the following materials:
- Plastic Bottles (2L) – Recycled plastic bottles are a perfect, eco-friendly container for growing celery. They provide ample space for root growth and are readily available in most households.
- Potting Soil – High-quality, well-draining potting soil is crucial for healthy celery growth.
- Celery Seeds or Seedlings – You can choose to start with celery seeds or buy young seedlings from a nursery. Seedlings are a faster way to start, while seeds offer a more rewarding experience as you watch them grow from scratch.
- Scissors or Knife – For cutting the plastic bottles.
- Watering Can or Spray Bottle – A gentle way to keep your celery moist without overwatering.
- Liquid Fertilizer – Celery benefits from regular feeding, so a liquid fertilizer will help promote healthy growth.
Step 1: Prepare the Bottles
Start by cleaning your plastic bottles thoroughly. Cut each bottle in half using scissors or a knife, creating two separate pieces. These will act as your plant containers. The bottom half will hold the soil and your celery plants, while the top half can be repurposed as a water reservoir or be discarded.
Next, create drainage holes in the bottom of the bottle using a knife or scissors. Proper drainage is essential to avoid waterlogging, which can cause the roots to rot. The holes will allow excess water to escape and keep the soil from becoming too soggy.
Step 2: Fill the Bottles with Potting Soil
Now that the bottles are ready, fill them with high-quality potting soil. Make sure to leave a little space at the top of the bottle to prevent soil from spilling out when you water the plants. The soil should be well-draining to ensure proper root health and growth.
For the best results, choose a potting mix that’s enriched with organic matter to help retain moisture and provide nutrients to the celery plants.
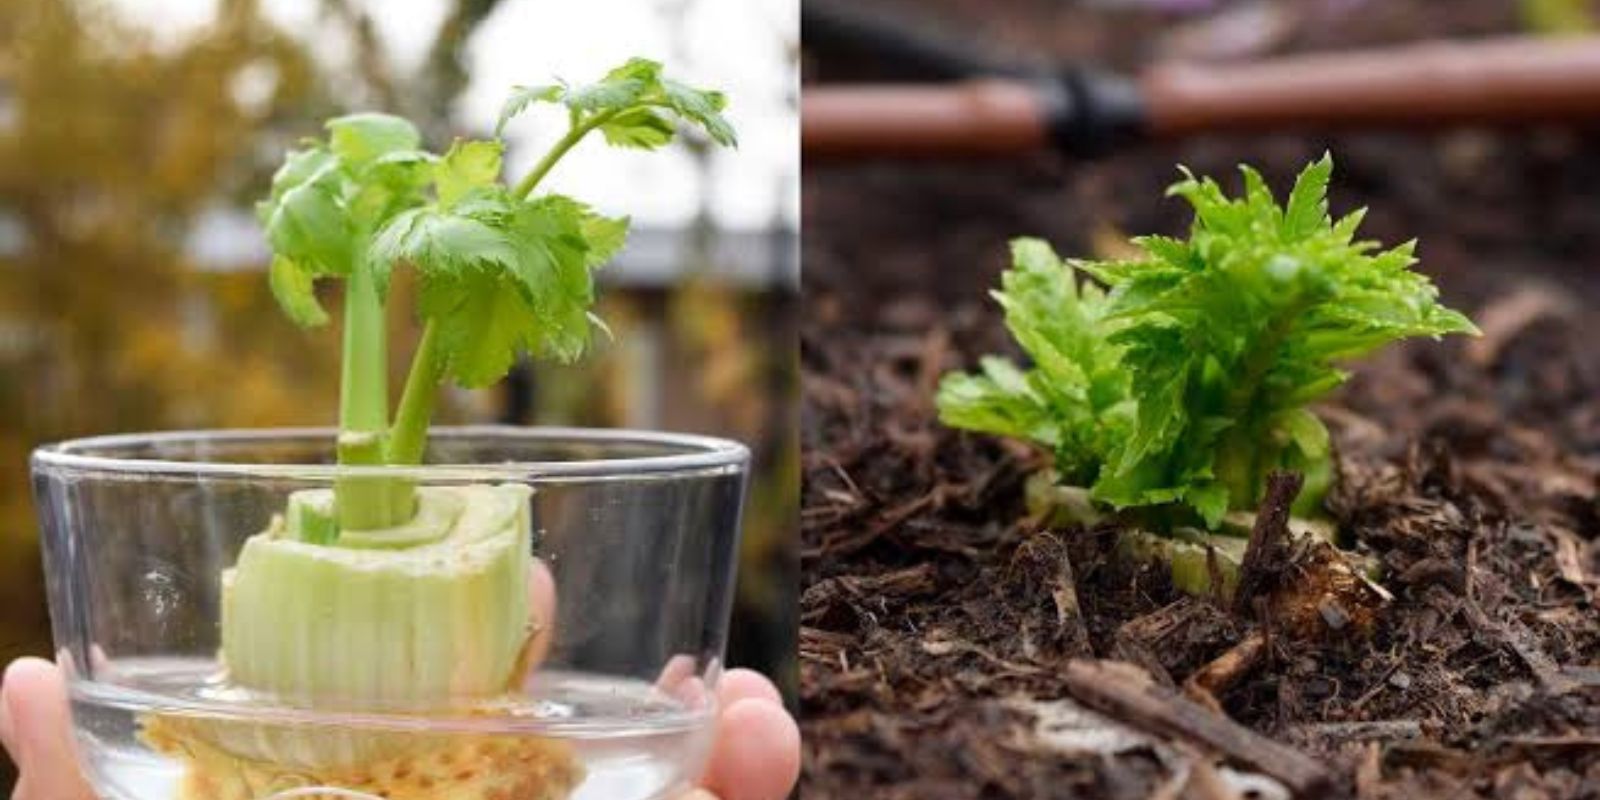
Step 3: Plant Celery Seeds or Seedlings
Once your bottles are filled with soil, it’s time to plant. If you’re using celery seeds, sprinkle them evenly over the surface of the soil and cover them lightly with a thin layer of soil. Celery seeds are small and can be hard to handle, but simply aim to spread them as evenly as possible.
If you’re starting with seedlings, make a small hole in the soil and gently place the roots of the seedling in the hole, covering them with soil. Make sure the seedling is planted at the same depth it was in its original pot or container.
Step 4: Water the Celery Plants
After planting the seeds or seedlings, it’s essential to keep the soil moist to help the plants establish themselves. Water the plants gently using a watering can or spray bottle. Be sure not to overwater, as celery roots don’t like to sit in standing water. Keep the soil consistently moist but not soaked.
For the best results, water the celery plants early in the day to prevent any moisture from sitting overnight, which can lead to mold or mildew growth. Additionally, you can place the top half of the plastic bottle over the soil as a simple DIY greenhouse to trap humidity and warmth, helping your celery grow faster.
Step 5: Place the Bottles in a Sunny Location
Celery needs plenty of sunlight to grow, so place your plastic bottles in a sunny window or on a balcony where the plants can get at least 6 hours of sunlight a day. If you’re growing celery indoors, a south-facing window is ideal. If you don’t have access to direct sunlight, you can use a grow light to supplement natural light.
Make sure the plants receive enough light to encourage strong, healthy growth. Celery thrives in cool, well-lit conditions, so avoid placing it in a location that gets too hot or too cold.
Step 6: Regular Maintenance
Celery is a relatively low-maintenance plant, but it does need regular care to grow properly. Here are some tips for keeping your celery healthy:
- Water regularly: Check the soil daily to ensure it’s still moist. Water as needed to prevent the soil from drying out.
- Fertilize monthly: Use a liquid fertilizer every 3-4 weeks to give your celery plants the nutrients they need to thrive. A balanced fertilizer with a mix of nitrogen, phosphorus, and potassium is ideal for celery.
- Prune leaves and stalks: As your celery grows, you may need to prune any dead or damaged leaves to encourage new growth. Cutting back any yellowing leaves also helps the plant focus its energy on producing healthy stalks.
Step 7: Harvesting Celery
One of the most rewarding parts of growing celery is the harvesting process. Celery is ready to be harvested when the outer stalks are thick enough to eat, usually around 3-4 months after planting, depending on the growing conditions. To harvest, simply cut the outer stalks at the base, leaving the inner stalks to continue growing.
Unlike many other vegetables, celery will continue to grow after you harvest the outer stalks, meaning you can enjoy a continuous supply of fresh celery. Be sure to water and fertilize regularly to encourage healthy, ongoing growth.
Additional Tips for Success
- Spacing: If you’re growing multiple celery plants in the same container, be sure to space them about 4-6 inches apart to give them room to grow and spread.
- Rotate the plants: If you’re growing celery indoors, it’s a good idea to rotate the plants every few days to ensure all sides get equal exposure to sunlight.
- Cold-weather tips: If you live in a colder climate, celery can be grown year-round in a sunny indoor location, making it perfect for fresh winter greens.
Conclusion
Growing celery at home doesn’t require a garden or vast amounts of space, and it’s a fun and rewarding project for gardeners of all skill levels. By following these simple steps and providing the right care, you can grow fresh, healthy celery right in your own home, no garden required!
Whether you’re growing it on a windowsill, balcony, or countertop, celery will thrive with just a little attention. So grab your plastic bottles, get planting, and enjoy the satisfaction of harvesting your very own homegrown celery!
Don’t forget to share your progress with your friends and fellow gardeners. Happy growing! 🌱