
Celery, a staple in kitchens worldwide, is not only a versatile ingredient but also a healthy addition to your meals. Its crisp stalks and flavorful leaves make it an essential ingredient in soups, salads, and snacks. What makes celery even more appealing is how simple it is to grow, whether in your garden, a raised bed, or even indoors on a windowsill. This guide will take you through everything you need to know about growing celery, from planting seeds to harvesting fresh, crunchy stalks.
Why Grow Celery at Home?
Growing celery at home has several advantages:
- Freshness: Homegrown celery is much fresher and tastier than store-bought.
- Health Benefits: Celery is packed with vitamins A, K, and C, along with antioxidants and dietary fiber.
- Sustainability: Reduce waste by growing celery from kitchen scraps.
- Cost-Effective: Growing your own celery saves money, especially if you consume it regularly.
Step-by-Step Guide to Growing Celery
1. Choose Your Growing Method
Celery can be grown either from seeds or by regrowing the base of a celery stalk. Choose the method that works best for you:
- From Seeds: Ideal for a full growth cycle, seeds give you complete control over the growing process.
- From Kitchen Scraps: Regrowing celery from the base is quicker and reduces waste, making it an excellent option for beginners.
2. Preparing the Soil
Celery thrives in nutrient-rich, well-draining soil. Here’s how to prepare it:
- Soil Type: Use loamy soil mixed with organic compost to retain moisture and nutrients.
- pH Level: Aim for a slightly acidic to neutral pH (6.0-7.0).
- Bed Preparation: If planting in a garden, ensure the soil is loose and aerated to allow the roots to spread.
3. Starting with Seeds
Growing celery from seeds requires a bit of patience, as they take time to germinate.
- Step 1: Soak the seeds in warm water overnight to speed up germination.
- Step 2: Sow the seeds 1/4 inch deep in seed trays or pots filled with moist potting soil.
- Step 3: Place the trays in a warm, sunny spot or under grow lights.
- Step 4: Keep the soil consistently moist but not waterlogged. Germination typically takes 2-3 weeks.
4. Regrowing Celery from Scraps
If you have a leftover celery base, you can regrow it effortlessly:
- Step 1: Cut the stalks about 2 inches above the base.
- Step 2: Place the base in a shallow dish of water, ensuring the cut side is facing up.
- Step 3: Change the water every 2-3 days to keep it fresh.
- Step 4: After 7-10 days, roots and new shoots should appear. Transfer the base to soil once roots are about 1 inch long.
5. Transplanting and Planting
Once your seedlings or regrown base is ready, it’s time to plant them in the garden or a pot:
- Spacing: Plant celery 8-10 inches apart to allow room for growth.
- Depth: Ensure the root ball or base is fully covered with soil, leaving the new shoots exposed.
- Location: Choose a spot with 6-8 hours of sunlight daily.
6. Watering and Moisture
Celery requires consistent moisture to grow tender stalks.
- Watering Schedule: Water the plants deeply 2-3 times a week, ensuring the soil stays evenly moist.
- Mulching: Apply a layer of mulch around the base to retain moisture and regulate soil temperature.
7. Feeding Your Celery Plants
Celery is a heavy feeder and thrives on regular fertilization.
- Fertilizer: Use a balanced fertilizer or compost tea every 2-3 weeks.
- Organic Options: Incorporate natural fertilizers like aged manure or fish emulsion for healthier growth.
8. Pests and Diseases
Celery is susceptible to pests and diseases, so preventive care is essential:
- Common Pests: Watch out for aphids, slugs, and celery leaf miners. Use neem oil or insecticidal soap to control infestations.
- Diseases: Avoid overwatering to prevent fungal diseases like celery blight. Ensure proper air circulation around the plants.
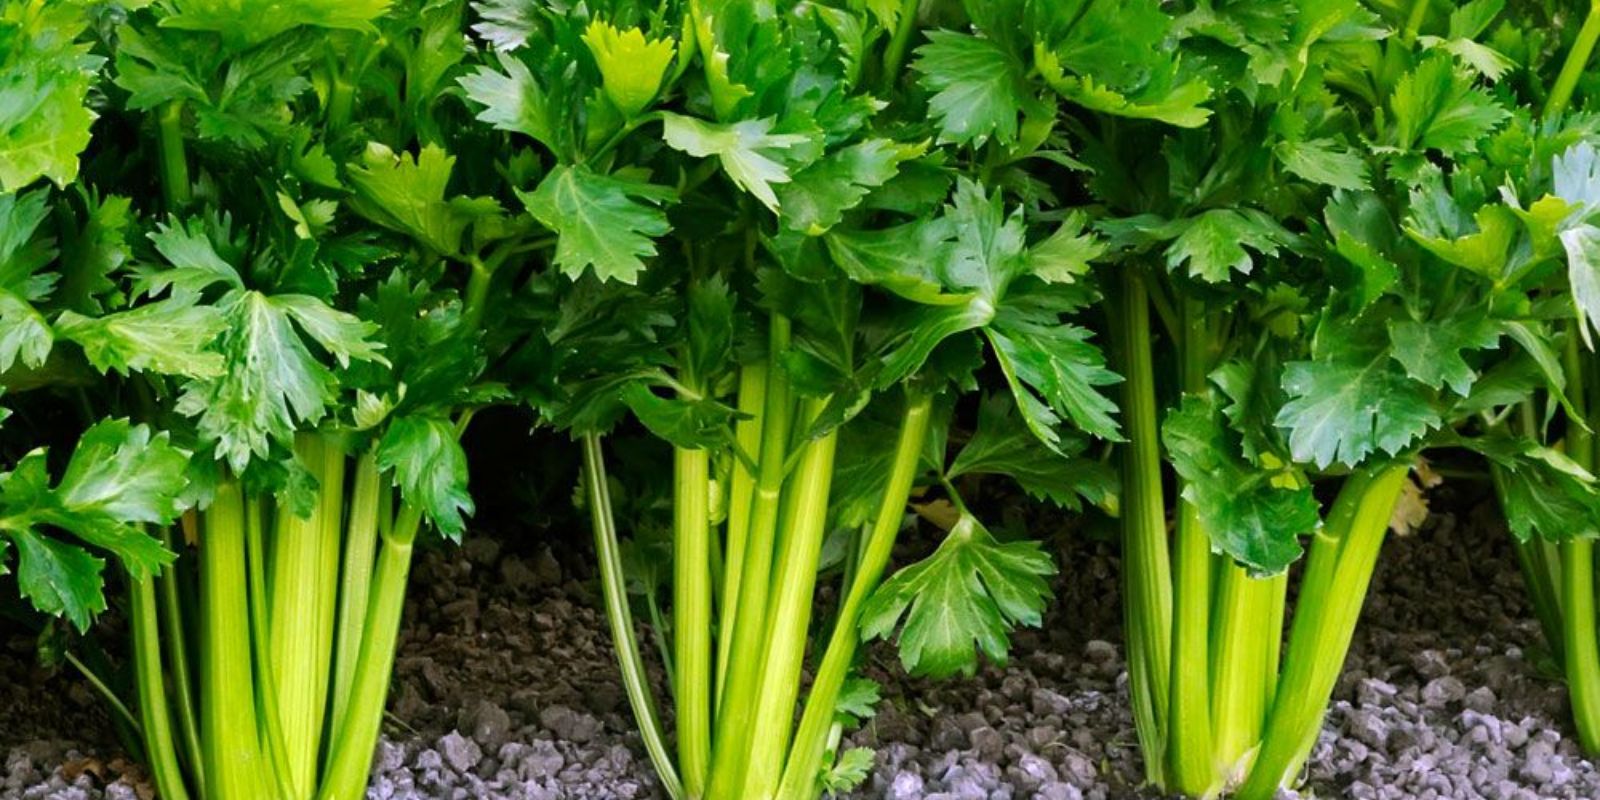
9. Harvesting Your Celery
Celery is ready for harvest 3-4 months after planting, depending on the variety.
- Individual Stalks: Harvest stalks as needed when they reach 8-10 inches tall. Use a sharp knife or scissors to cut them near the base.
- Entire Plant: If harvesting the whole plant, pull it up gently to avoid damaging the roots.
Tips for Growing Celery Successfully
- Consistent Care: Regular watering and feeding are key to tender, flavorful stalks.
- Shade in Hot Climates: In warmer regions, provide partial shade during the hottest part of the day to prevent bolting.
- Companion Planting: Grow celery alongside onions, carrots, or tomatoes to deter pests and improve growth.
- Extend the Season: Use row covers to protect celery from frost and extend the growing season.
Why Celery is Worth the Effort
While celery requires consistent care, the rewards are well worth it. Homegrown celery is not only more flavorful but also free from the chemicals often found in store-bought produce. Plus, the satisfaction of growing your food adds a unique flavor to your meals.
FAQs on Growing Celery
- Can celery grow indoors?
Yes! With adequate sunlight or grow lights, celery can thrive indoors. Ensure consistent watering and a nutrient-rich potting mix. - How long does celery take to grow?
Celery typically takes 3-4 months to mature from seeds, but regrowing from scraps is much quicker. - Can I grow celery in containers?
Absolutely! Choose a deep container with good drainage and ensure consistent watering.
Conclusion: A Rewarding Addition to Your Garden
Growing celery is a rewarding experience for gardeners of all levels. Whether you’re starting from seeds or regrowing from scraps, this versatile vegetable is a fantastic addition to your garden or kitchen. With the steps outlined above, you’re well on your way to enjoying fresh, homegrown celery in no time.
Have you tried growing celery at home? Share your tips and experiences below! 🌱🥬
#GrowCelery #GardeningTips #HomeGarden #OrganicGardening #SustainableLiving #KitchenGardening #GardenFresh #GreenThumb #ViralGardening #HealthyLiving