Introduction
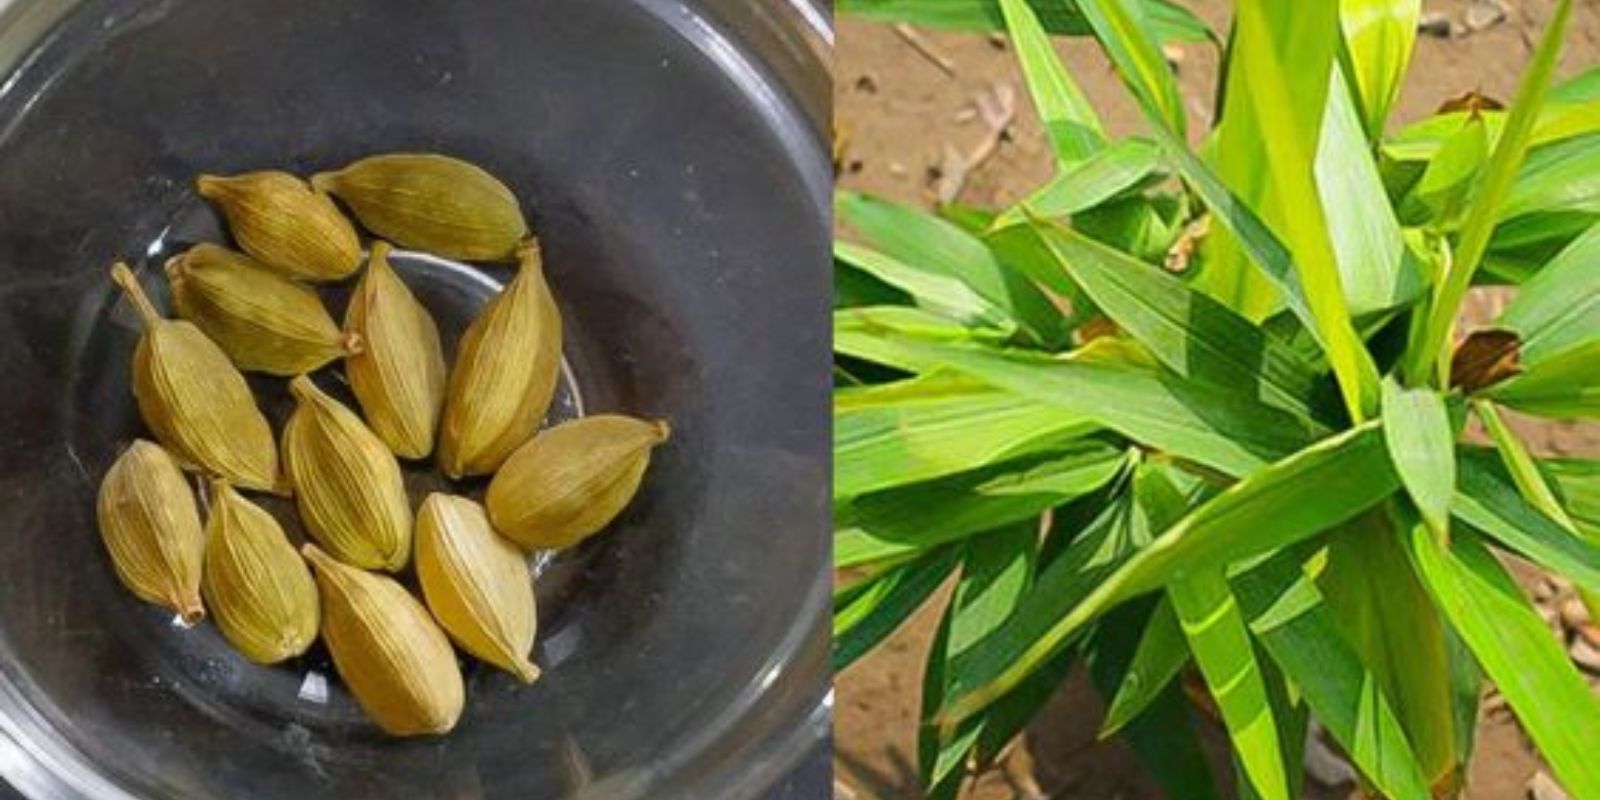
Cardamom, often referred to as the “queen of spices,” is renowned for its unique flavor and aromatic qualities. This exotic spice is a staple in many culinary traditions, adding a distinctive touch to both sweet and savory dishes. Growing cardamom at home can be a gratifying venture, providing you with a fresh and flavorful ingredient right from your garden. This guide will walk you through the essential steps to successfully cultivate cardamom, from selecting the right environment to harvesting your spice.
Choosing the Right Location
Understanding Cardamom’s Needs:
Cardamom (Elettaria cardamomum) thrives in warm, tropical conditions. It’s essential to replicate these conditions as closely as possible to achieve a successful harvest.
Selecting a Site:
- Temperature: Cardamom plants require a consistently warm environment, with temperatures ideally ranging between 60-85°F (15-30°C). They do not tolerate frost and should be protected from cold temperatures.
- Shade: While cardamom can tolerate some direct sunlight, it generally prefers partial to full shade. In its native habitat, cardamom grows under the canopy of larger plants, so mimicking this shady environment will benefit its growth.
- Humidity: High humidity is crucial for cardamom. If you live in a dry climate, consider using a humidity tray or placing the plant in a greenhouse or humid environment.
Preparing the Soil
Soil Requirements:
Cardamom requires rich, well-draining soil to thrive. It is essential to ensure that the soil conditions are ideal to promote healthy plant growth and spice production.
Soil Preparation Steps:
- Soil Type: Choose loamy or sandy soil with good drainage. Heavy clay soils should be amended with organic matter to improve drainage.
- pH Level: Cardamom prefers slightly acidic to neutral soil with a pH range of 6.0 to 7.0. You can test your soil pH and amend it if necessary using lime to raise pH or sulfur to lower it.
- Organic Matter: Incorporate plenty of compost or well-rotted manure into the soil to enhance its fertility and structure. This will provide essential nutrients and improve moisture retention.
Planting Cardamom
Starting from Seeds or Plants:
Cardamom can be grown from seeds or established seedlings. Starting from seeds requires patience but can be cost-effective if you’re looking to grow multiple plants.
Planting Steps:
- Seeds: If starting from seeds, soak them in water for 24 hours before planting to enhance germination. Sow seeds in seed trays or pots filled with a seed-starting mix. Keep the soil moist and warm until germination occurs, which can take 3-4 weeks.
- Transplanting: Once seedlings are large enough and have developed a few leaves, transplant them into larger pots or directly into the garden. Space plants 2-3 feet apart to allow for their spreading growth.
- Direct Planting: In warmer climates, you can sow seeds directly into the garden after the last frost date. Ensure the planting area is well-prepared with rich soil and sufficient shade.
Caring for Cardamom Plants
Watering and Moisture:
Cardamom plants require consistent moisture to thrive but do not tolerate waterlogged soil.
Watering Steps:
- Initial Watering: Water newly planted cardamom thoroughly to help establish the root system. Ensure that the soil is moist but not soggy.
- Ongoing Care: Water regularly, especially during dry spells. Mulching around the plants can help retain soil moisture and reduce the need for frequent watering.
Fertilization and Mulching:
- Fertilizer: Apply a balanced, slow-release fertilizer or compost every 6-8 weeks during the growing season to provide essential nutrients. Avoid over-fertilizing, as this can lead to excessive foliage growth at the expense of spice production.
- Mulch: Use organic mulch such as straw, leaves, or wood chips around the base of the plants. Mulch helps maintain soil moisture, suppresses weeds, and gradually adds nutrients to the soil.
Managing Pests and Diseases
Common Issues:
Cardamom plants are relatively resilient but can be susceptible to certain pests and diseases.
Pest Management:
- Pests: Keep an eye out for pests such as aphids, spider mites, and scale insects. Use organic insecticidal soap or neem oil to manage infestations if necessary.
- Disease: Avoid fungal diseases by ensuring proper drainage and spacing between plants. Remove any diseased or damaged foliage promptly to prevent the spread of disease.
Harvesting Cardamom
Harvest Timing:
Cardamom plants typically take 2-3 years to mature and produce harvestable seed pods. The timing of the harvest is crucial to ensure the best quality and flavor.
Harvesting Steps:
- Pods: Harvest cardamom pods when they turn brown and dry but before they split open. Gently twist the pods from the plant or cut them with pruners.
- Processing: After harvesting, dry the pods in a cool, shaded area to further enhance their flavor. Once fully dried, remove the seeds from the pods and store them in an airtight container to preserve freshness.
Using Cardamom in the Kitchen
Culinary Applications:
Cardamom’s unique flavor can enhance a variety of dishes, from sweet to savory.
Recipe Ideas:
- Baking: Add ground cardamom to baked goods like cakes, cookies, and bread for a warm, aromatic flavor.
- Savory Dishes: Use cardamom in curries, stews, and rice dishes to impart a distinctive taste.
- Beverages: Infuse cardamom in teas, coffee, or hot chocolate for an exotic twist.
Conclusion
Growing cardamom is a rewarding endeavor that can enrich your culinary experiences with fresh, aromatic spice. By following these guidelines—selecting the right location, preparing the soil, planting properly, and caring for your plants—you can cultivate a thriving cardamom bush that will provide you with a bountiful supply of this prized spice. Start your cardamom journey today and enjoy the satisfaction of homegrown flavor in your dishes! 🌿✨

