
Alsike clover (Trifolium hybridum) is a versatile and hardy legume that offers numerous benefits to gardeners and farmers alike. With its attractive appearance, ability to improve soil health, and use as forage, Alsike clover is an excellent addition to any landscape. This article provides a detailed guide on how to grow Alsike clover successfully, from planting to maintenance.
Introduction
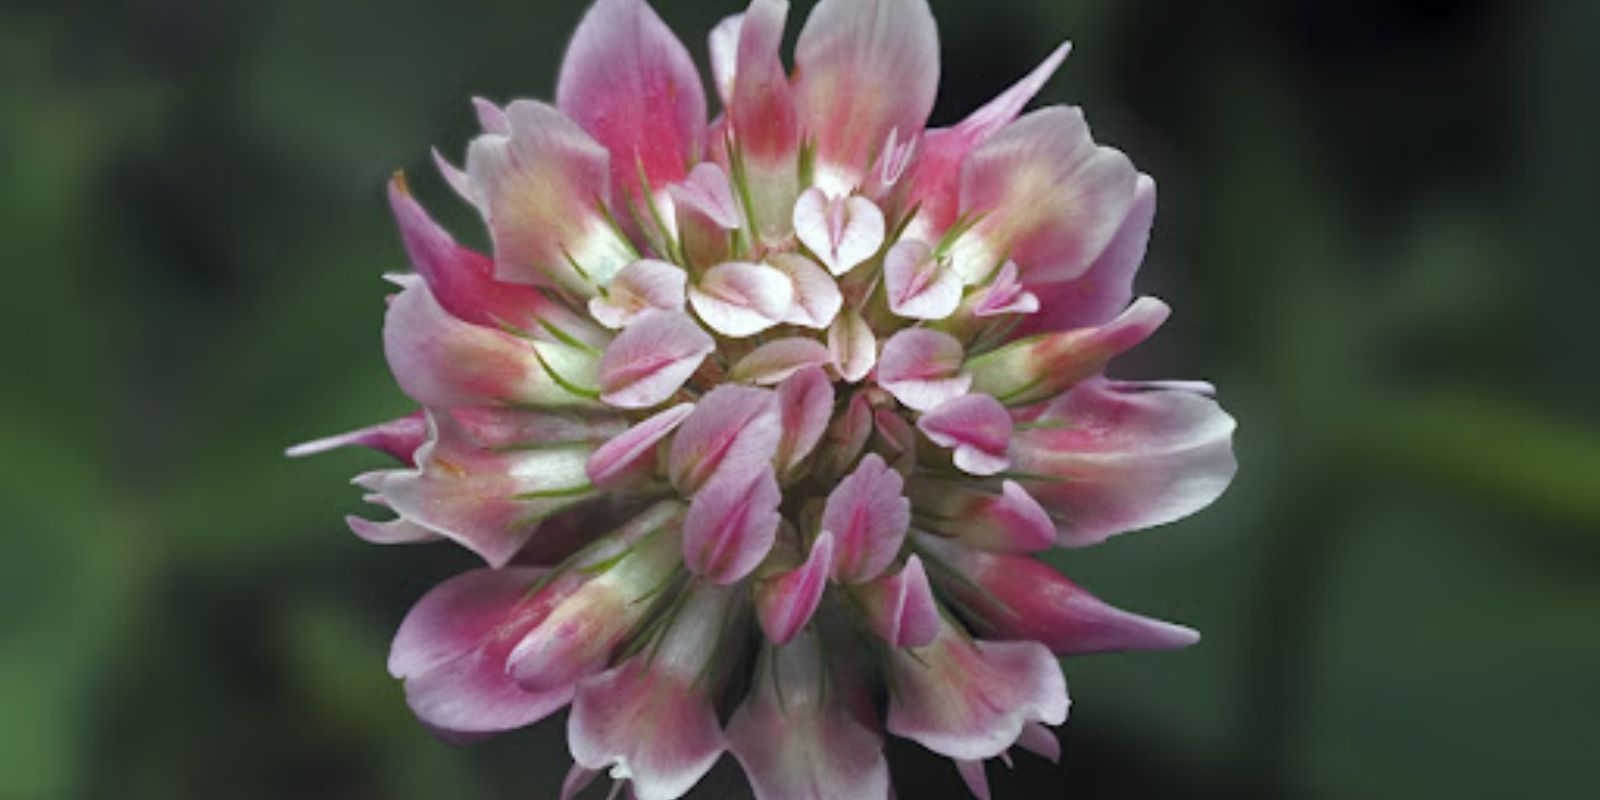
Alsike clover is a cool-season perennial clover that thrives in various climates. It is valued for its adaptability, drought resistance, and ability to enrich the soil by fixing nitrogen. Additionally, it provides excellent forage for livestock and serves as a beautiful ground cover or pasture crop. Whether you’re looking to improve soil health or add beauty to your garden, Alsike clover is a fantastic choice.
Step-by-Step Guide to Growing Alsike Clover
1. Choosing the Right Time for Planting
Alsike clover can be planted in either spring or fall. Both seasons provide favorable conditions for germination and establishment.
- Spring Planting: Aim to sow the seeds as soon as the soil can be worked, usually 2-4 weeks before the last frost date. This allows the clover to establish itself before the heat of summer.
- Fall Planting: Sow seeds 6-8 weeks before the first expected frost. This timing allows the clover to germinate and establish roots before winter, leading to vigorous growth in spring.
2. Preparing the Soil
Proper soil preparation is essential for the successful growth of Alsike clover.
- Soil Type: Alsike clover thrives in well-drained soils but can tolerate a range of soil types, including sandy, loamy, and clay soils. Avoid planting in poorly drained or waterlogged soils.
- Soil pH: Test the soil pH to ensure it falls within the ideal range of 6.0 to 7.0. Alsike clover prefers slightly acidic to neutral soils. Amend the soil with lime if the pH is too low or sulfur if it’s too high.
- Soil Preparation: Loosen the soil to a depth of 4-6 inches. Remove any weeds or debris and incorporate organic matter, such as compost, to improve soil structure and fertility.
3. Sowing the Seeds
Planting Alsike clover correctly ensures successful germination and establishment.
- Direct Seeding: For smaller areas, sow seeds 1/4 inch deep and space them 6-8 inches apart. Use a garden trowel or seed drill to plant the seeds.
- Broadcasting: For larger areas, broadcast seeds evenly over the prepared soil. Lightly rake the soil to cover the seeds with a thin layer of soil.
4. Watering
Adequate moisture is crucial for seed germination and plant establishment.
- Initial Watering: Keep the soil consistently moist until the seeds germinate, which typically takes 7-14 days. Light, frequent watering is ideal during this period.
- Ongoing Care: Once established, Alsike clover is relatively drought-tolerant. However, provide supplemental watering during prolonged dry periods, especially in hot weather. Avoid overwatering, as it can lead to root rot and other issues.
5. Maintenance and Care
Regular maintenance will help ensure healthy growth and optimal performance of Alsike clover.
- Weeding: Control weeds that compete with Alsike clover for nutrients and water. Use mulch, hand-weeding, or an appropriate herbicide to keep the area weed-free.
- Fertilizing: Alsike clover generally requires minimal fertilization due to its ability to fix atmospheric nitrogen. However, in nutrient-poor soils, a light application of a balanced fertilizer (e.g., 10-10-10) can help boost growth. Avoid excessive fertilization, as it can lead to excessive leaf growth at the expense of root development.
- Mowing: Regular mowing can help maintain the desired height and promote denser growth. For forage purposes, mow when the clover reaches 6-8 inches in height.
6. Harvesting and Uses
Alsike clover is versatile and can be used in various ways.
- Forage: Harvest Alsike clover for livestock feed when it reaches a height of 6-8 inches. Cutting the clover before it starts to flower ensures the best quality forage. Allow the clover to regrow between harvests to maintain a continuous supply of feed.
- Ground Cover: Alsike clover makes an excellent ground cover for gardens and lawns. It helps prevent soil erosion, suppresses weeds, and adds beauty with its delicate pink or white flowers.
Additional Tips for Success
- Pest and Disease Management: Alsike clover is generally resistant to pests and diseases. However, monitor for common issues such as aphids, rust, and leaf spot. Implement integrated pest management strategies, including biological controls and proper cultural practices, to address any problems.
- Winter Care: In colder climates, Alsike clover can survive winter if properly established. Mulch the area with straw or leaves to protect the plants from harsh winter conditions and temperature fluctuations.
Motivational Sentence
Embrace the benefits of Alsike clover in your garden or pasture—its resilience, soil-enhancing properties, and beautiful blooms make it a valuable addition to any landscape. Start growing Alsike clover today and enjoy a thriving, healthy garden for years to come!
By following these guidelines, you’ll be well on your way to successfully growing and enjoying the many advantages of Alsike clover. Whether you’re enhancing soil health, providing forage, or adding aesthetic appeal to your garden, Alsike clover is a rewarding choice.