
Snake plants, or Sansevierias, are among the most popular houseplants due to their low-maintenance nature and air-purifying properties. Not only are they perfect for beginners, but they also have a unique beauty with their upright, sword-like leaves that add a touch of elegance to any space. One of the best features of snake plants is their ability to produce “pups,” or small offshoots, that can be easily propagated into new plants. This ability to grow new plants from existing ones makes the snake plant an excellent option for expanding your indoor garden without spending much money.
In this guide, we’ll walk you through how to force a snake plant to produce pups, helping you create an endless supply of Sansevierias. Whether you’re looking to fill your home with more greenery or share the love by gifting plants to friends and family, this method will enable you to multiply your snake plants effortlessly.
Why Snake Plants Are So Popular
Before diving into the propagation process, let’s take a quick look at why snake plants have become a favorite among plant enthusiasts:
- Low Maintenance: Snake plants thrive on neglect. They tolerate low light, infrequent watering, and can survive in a variety of environments.
- Air Purification: Sansevierias are known for their air-purifying properties, making them a great choice for improving indoor air quality.
- Aesthetic Appeal: Their sleek, architectural leaves in shades of green and yellow make them a stylish addition to any room.
- Long Lifespan: Snake plants are resilient and can live for many years, making them an investment that will keep on giving.
Understanding Snake Plant Pups
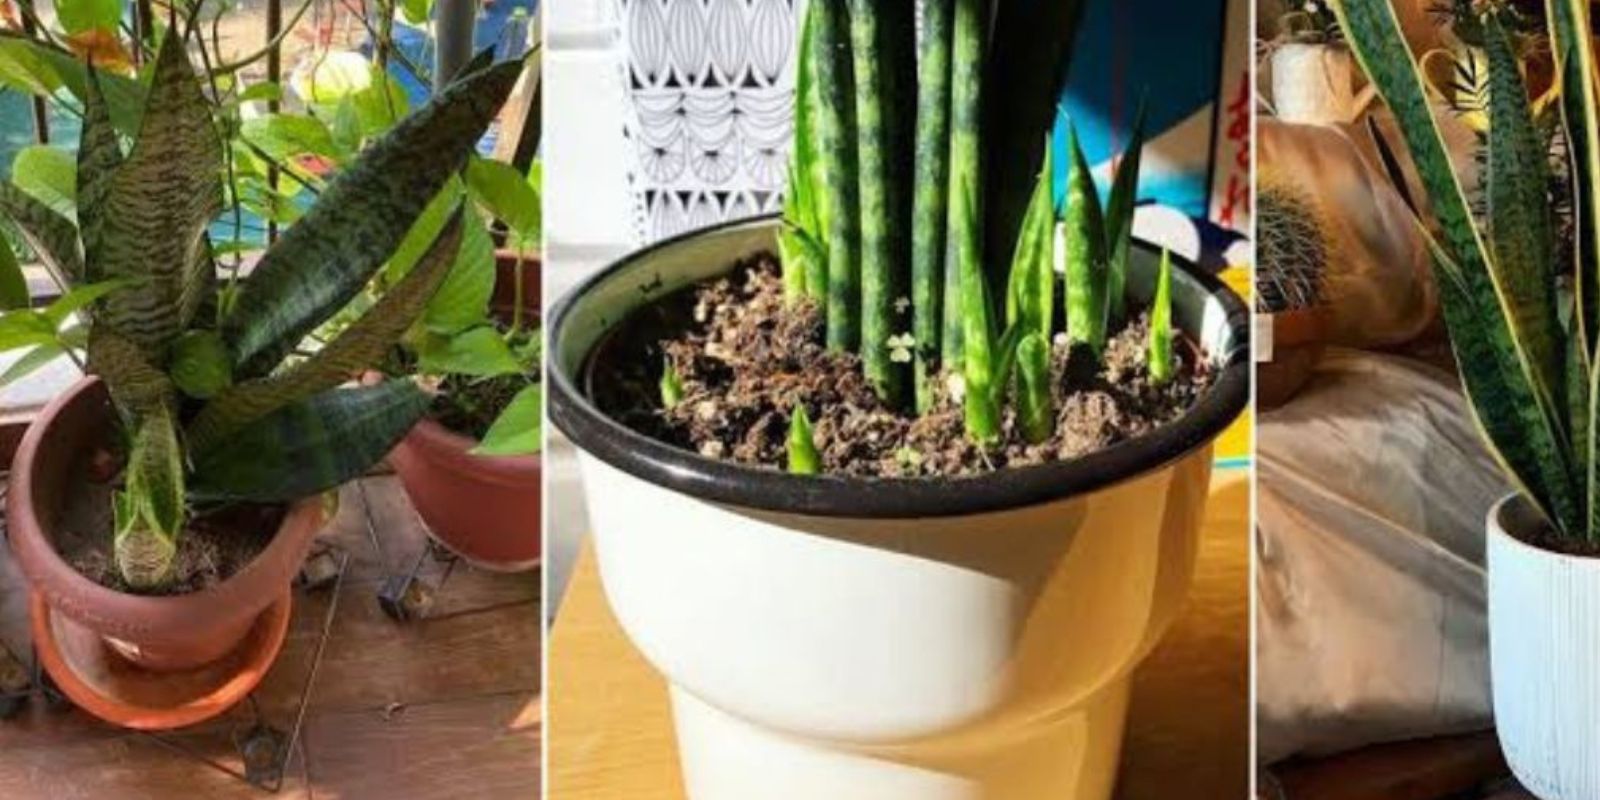
Snake plant pups are small offshoots or baby plants that grow at the base of the parent plant. These pups are genetically identical to the original plant, so they share the same growth habits and characteristics. Over time, these pups can be separated from the parent plant and repotted to create new snake plants.
In nature, snake plants naturally propagate by producing pups when they’re happy and healthy. However, if you’re eager to grow more Sansevierias and speed up the process, you can take matters into your own hands and force the plant to produce pups on demand.
Why Force Snake Plants to Produce Pups?
Forcing your snake plant to produce pups can be a fun and rewarding way to expand your collection. There are several reasons why you might want to encourage this process:
- Expansion: You can easily fill your home with more snake plants without needing to purchase new ones.
- Gifting: If you have friends or family members who are plant lovers, propagated snake plants make excellent gifts.
- Better Plant Health: Removing pups from a parent plant can help redirect energy into the main plant, encouraging stronger growth and more pups.
- Cost-Effective: Propagating your own plants saves you money and allows you to grow more plants for free.
How To Force a Snake Plant to Produce Pups
Now that we’ve covered the basics of snake plant pups and why you might want to force their production, let’s dive into the step-by-step process. There are several methods you can use to encourage your snake plant to produce pups, but the most common and effective method involves cutting and propagating healthy leaves.
Step 1: Choose a Healthy Parent Plant
To successfully produce pups, you’ll need to start with a healthy parent plant. Look for a snake plant that has well-established roots and strong, healthy leaves. Ideally, the plant should have several large leaves and be in its active growing season (usually in the spring or summer). A mature, thriving plant is more likely to produce pups.
Step 2: Prepare Your Materials
Before cutting the plant, gather the necessary materials:
- A sharp, clean knife or scissors
- A small pot with well-draining soil
- A shallow tray or dish for holding the cuttings
- Rooting hormone (optional but recommended for better success)
Having everything prepared will make the process smoother and reduce the risk of damaging your plant.
Step 3: Cut the Leaves
Select a few healthy leaves from the parent plant to propagate. Using your sharp knife or scissors, cut the leaves at the base of the plant, where they meet the soil. You can also choose to cut the leaves into smaller sections, as long as each section is at least 4–6 inches long. Each leaf or leaf section has the potential to grow new pups, so don’t hesitate to take multiple cuttings.
Step 4: Allow the Cuttings to Callus Over
After cutting the leaves, let them callus over before planting them. This step is crucial as it helps prevent rot when you plant the cuttings in soil. Place the cut leaves or leaf sections in a dry, shaded area for 2–4 days. During this time, the cut edges will form a protective layer, reducing the risk of infection.
Step 5: Prepare the Potting Mix
While the leaves are callusing, prepare the potting mix for your cuttings. Snake plants prefer a well-draining soil mix. You can use a cactus or succulent mix, or make your own by combining regular potting soil with sand or perlite for better drainage. Fill small pots with the soil mix, ensuring that the soil is loose and airy.
Step 6: Plant the Cuttings
Once the cuttings have callused over, it’s time to plant them. Dip the cut end of each leaf or leaf section into rooting hormone (optional) and plant it upright in the soil, ensuring that it is about 1–2 inches deep. If you’re planting multiple cuttings in one pot, space them a few inches apart to allow room for the pups to grow.
Step 7: Water Sparingly
After planting the cuttings, water them sparingly. Snake plants don’t like to be overwatered, so be sure to allow the soil to dry out completely between waterings. Keep the soil slightly moist but not soggy. Overwatering can lead to root rot, which can prevent the cuttings from developing into healthy pups.
Step 8: Provide Indirect Light
Place the pot in a location with bright, indirect sunlight. Snake plants thrive in areas with indirect light, and too much direct sunlight can cause the leaves to scorch. If you’re propagating during the winter months or in a location with low light, you can also use grow lights to give the cuttings the light they need to thrive.
Step 9: Be Patient
Patience is key when propagating snake plants. The process can take several weeks or even months, but with the right care, you should begin to notice small pups emerging from the base of the cuttings. As the pups grow, you can repot them into their own pots or continue to care for them in the original container.
Step 10: Transplant the Pups
Once the pups are large enough and have developed their own root systems, you can separate them from the parent cutting and repot them into their own pots. Be gentle when separating the pups, as the roots can be fragile.
Tips for Success
- Use Healthy Leaves: Make sure to choose healthy, mature leaves for propagation. Damaged or diseased leaves are less likely to produce pups.
- Control Watering: Overwatering is the leading cause of failure in snake plant propagation. Be conservative with water and ensure the soil has good drainage.
- Humidity: Although snake plants are drought-tolerant, maintaining a slightly higher humidity level around the cuttings can help promote faster root growth.
- Check for Pups Regularly: As the cuttings grow, check for new pups emerging at the base of the leaves. Pups can take time to form, so don’t get discouraged if they don’t appear immediately.
Conclusion
Forcing your snake plant to produce pups is an incredibly rewarding process that allows you to expand your plant collection without spending a fortune. By following the simple steps outlined in this guide, you can successfully propagate your Sansevierias and create an unlimited supply of beautiful snake plants. Whether you’re a seasoned plant parent or a beginner, propagating snake plants is a fun and cost-effective way to enjoy the beauty of these amazing plants.
Start propagating today and enjoy the endless beauty of snake plants in your home!