
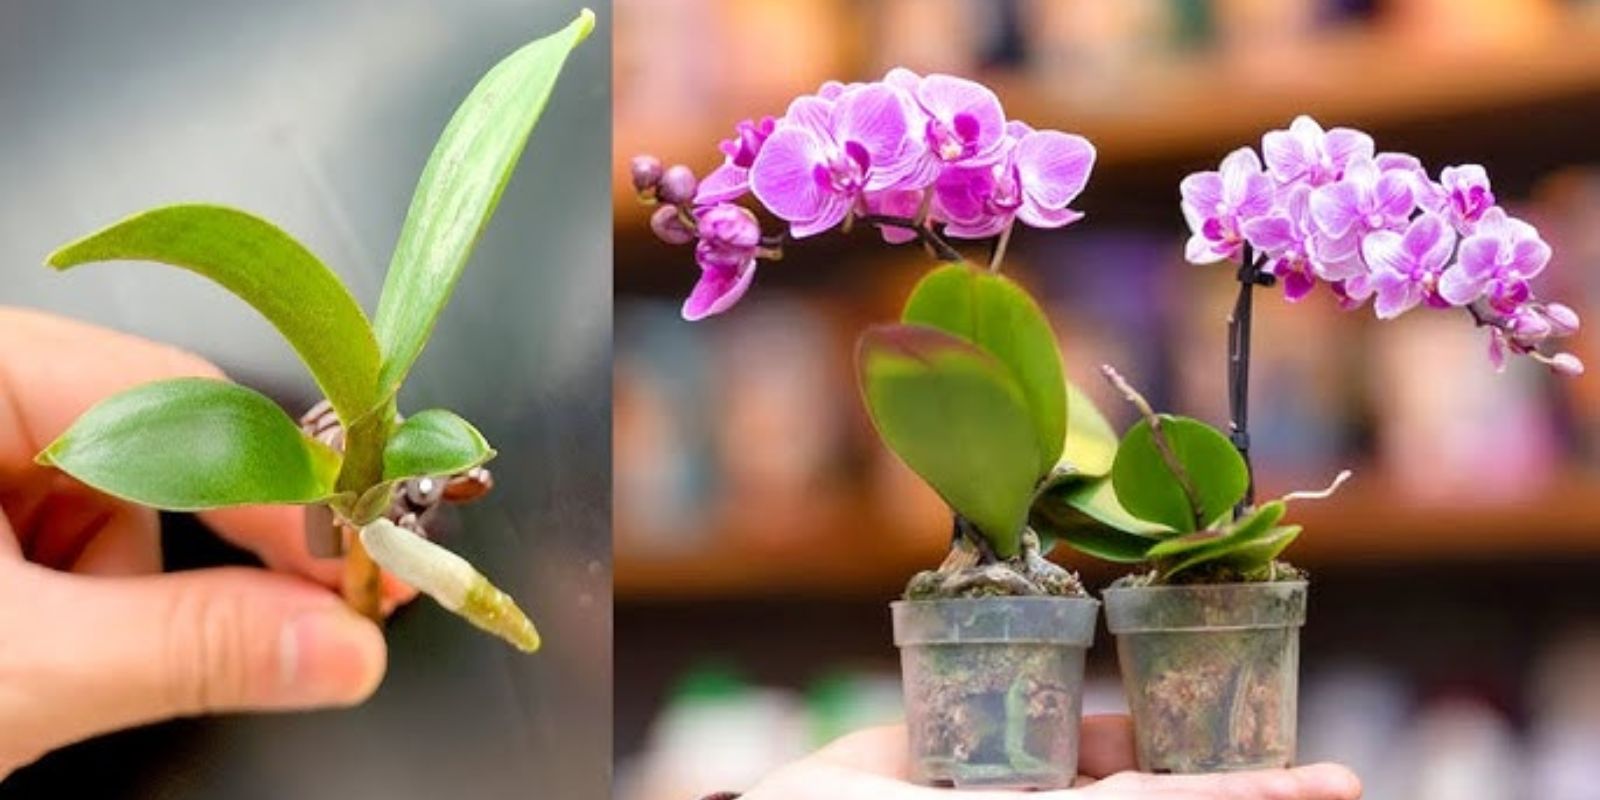
Orchids are among the most captivating and diverse flowers in the plant kingdom, with over 25,000 species and countless hybrids. Their elegant blooms and exotic appearance make them a popular choice for both novice and seasoned gardeners. However, many orchid enthusiasts often find themselves facing the challenge of getting their orchids to bloom consistently. Fortunately, with the right care and techniques, you can encourage your orchids to display their stunning flowers year after year.
In this comprehensive guide, we’ll explore 10 proven techniques to help you promote blooming in your orchids. Whether you’re a beginner or have some experience, these strategies will enhance your orchid care routine and lead to a flourishing display of blooms.
1. Provide Proper Light
Light is one of the most critical factors influencing orchid blooming. Different species have varying light requirements, but most orchids thrive in bright, indirect light. Here are some tips to ensure your orchids receive the right amount of light:
- Location: Place your orchids near east or west-facing windows, where they can get ample light without direct sun exposure. If you have south-facing windows, consider using sheer curtains to diffuse the light.
- Signs of Insufficient Light: If your orchids have dark green leaves and minimal growth, they might not be receiving enough light. Conversely, yellowing leaves or sunburnt spots indicate too much direct sunlight.
- Artificial Lighting: If natural light is insufficient, consider using grow lights. LED or fluorescent grow lights can provide the spectrum of light needed for healthy orchid growth.
2. Maintain Optimal Temperature
Temperature plays a vital role in stimulating orchid blooms. Most orchids prefer daytime temperatures between 65°F and 75°F (18°C to 24°C) and slightly cooler temperatures at night. Here are some considerations for maintaining the right temperature:
- Day-Night Temperature Difference: A slight drop in temperature at night can encourage blooming. Aim for a difference of about 10°F (5°C) between day and night temperatures.
- Seasonal Adjustments: Be mindful of seasonal changes. In colder months, keep orchids away from drafts and heating vents that may create temperature fluctuations.
- Thermometer: Use a thermometer to monitor temperature levels in your orchid space. Maintaining consistent temperatures will promote healthy growth and blooming.
3. Water Correctly
Watering orchids can be tricky, but getting it right is crucial for promoting blooms. Here’s how to manage your orchid’s watering needs effectively:
- Watering Schedule: Water your orchids thoroughly, allowing the potting medium to dry out between waterings. Depending on the environment, this might mean watering every 7-10 days.
- Check for Moisture: Stick your finger into the potting medium about an inch deep. If it feels dry, it’s time to water. Overwatering can lead to root rot, while underwatering can stress the plant.
- Watering Method: When watering, do so in the morning, allowing excess water to drain out. Avoid letting the plant sit in standing water, as this can promote fungal diseases.
4. Use the Right Fertilizer
Fertilizing your orchids is essential for encouraging growth and blooms. Here’s how to choose and apply the right fertilizer:
- Balanced Fertilizer: Use a balanced fertilizer formulated for orchids, such as a 30-10-10 (N-P-K) or 20-20-20 ratio. This provides the necessary nutrients for healthy growth.
- Fertilizing Schedule: Fertilize your orchids every 2-4 weeks during the growing season (spring and summer). Reduce feeding in the fall and winter when growth slows down.
- Dilution: Always dilute the fertilizer to half strength to avoid over-fertilization, which can harm the plant.
5. Increase Humidity
Orchids thrive in humid environments, making humidity an essential factor for blooming. Here are some strategies to boost humidity around your orchids:
- Humidity Levels: Aim for humidity levels between 50% and 70%. You can measure humidity using a hygrometer.
- Humidity Trays: Place a shallow tray filled with pebbles and water beneath your orchid pots. As the water evaporates, it will increase humidity levels around the plants.
- Misting: Lightly mist your orchids daily, especially during dry seasons. However, avoid excessive moisture on the leaves, as this can lead to fungal issues.
6. Repot When Necessary
Repotting is essential for orchid health, as it allows for fresh potting medium and encourages root growth. Here’s how to know when and how to repot your orchids:
- Signs of Repotting: Repot when the potting medium breaks down, usually every 1-2 years. If you notice roots growing out of the pot, it’s time to repot.
- Choosing Potting Medium: Use a potting mix specifically designed for orchids, such as a blend of bark, sphagnum moss, and perlite, which provides proper drainage and aeration.
- Repotting Process: Gently remove the orchid from its pot, trim any dead or rotten roots, and place it in a new pot with fresh potting medium. Ensure the crown of the plant is above the medium to prevent rot.
7. Prune After Blooming
Pruning your orchids correctly after blooming can promote new growth and potentially more blooms in the next cycle. Here’s how to prune effectively:
- Timing: Prune after the flowers fade, typically in late spring or early summer. This allows the plant to conserve energy for new growth.
- Cutting Technique: Trim the flower spike just above a node (the small bump on the spike) using sterilized scissors. This encourages new shoots to emerge.
- Monitor Growth: Keep an eye on your orchid after pruning. New growth may take some time to appear, so be patient and continue to provide proper care.
8. Provide Air Circulation
Good air circulation is crucial for orchid health, as it helps prevent mold and rot. Here are ways to ensure proper airflow:
- Spacing: Avoid overcrowding your orchids. Allow enough space between plants to ensure air can circulate freely.
- Fans: Use a small fan to create gentle airflow in the growing area, especially in humid conditions.
- Ventilation: If growing indoors, ensure proper ventilation in the room. Open windows or use exhaust fans to maintain fresh air circulation.
9. Be Patient
Patience is key when it comes to orchid care. Some orchids have specific blooming cycles, and understanding these can help you anticipate when to expect blooms:
- Understanding Species: Research the specific species or hybrid of your orchid to understand its unique blooming requirements and schedule.
- Growth Phases: Orchids go through growth phases, including vegetative growth and dormancy. It may take time for your plant to switch from vegetative growth to blooming.
- Enjoy the Process: Gardening is a journey. Enjoy watching your orchids grow and thrive, even if blooms take a little longer to appear.
10. Use a Bloom Booster
For an extra boost, consider using a bloom booster fertilizer. These fertilizers are formulated to encourage flowering and can be applied during the blooming season:
- Choosing a Bloom Booster: Look for fertilizers that are high in phosphorus, often labeled with a higher middle number in the N-P-K ratio (e.g., 10-30-20).
- Application Timing: Apply bloom boosters when your orchids start showing signs of budding. Follow the manufacturer’s instructions for dilution and application frequency.
- Combining Fertilizers: You can combine bloom boosters with your regular fertilizer during the blooming season to ensure a balanced nutrient supply.
Conclusion
By following these 10 proven techniques, you can enhance your orchid care routine and encourage beautiful blooms. Orchids are a rewarding investment for any gardener, and with the right attention, they can grace your home with their stunning flowers for years to come.
Don’t forget to share your orchid care journey and connect with fellow plant lovers by using the hashtags below!
#OrchidCare #BloomingOrchids #GardeningTips #PlantLove #IndoorGardening #OrchidEnthusiasts