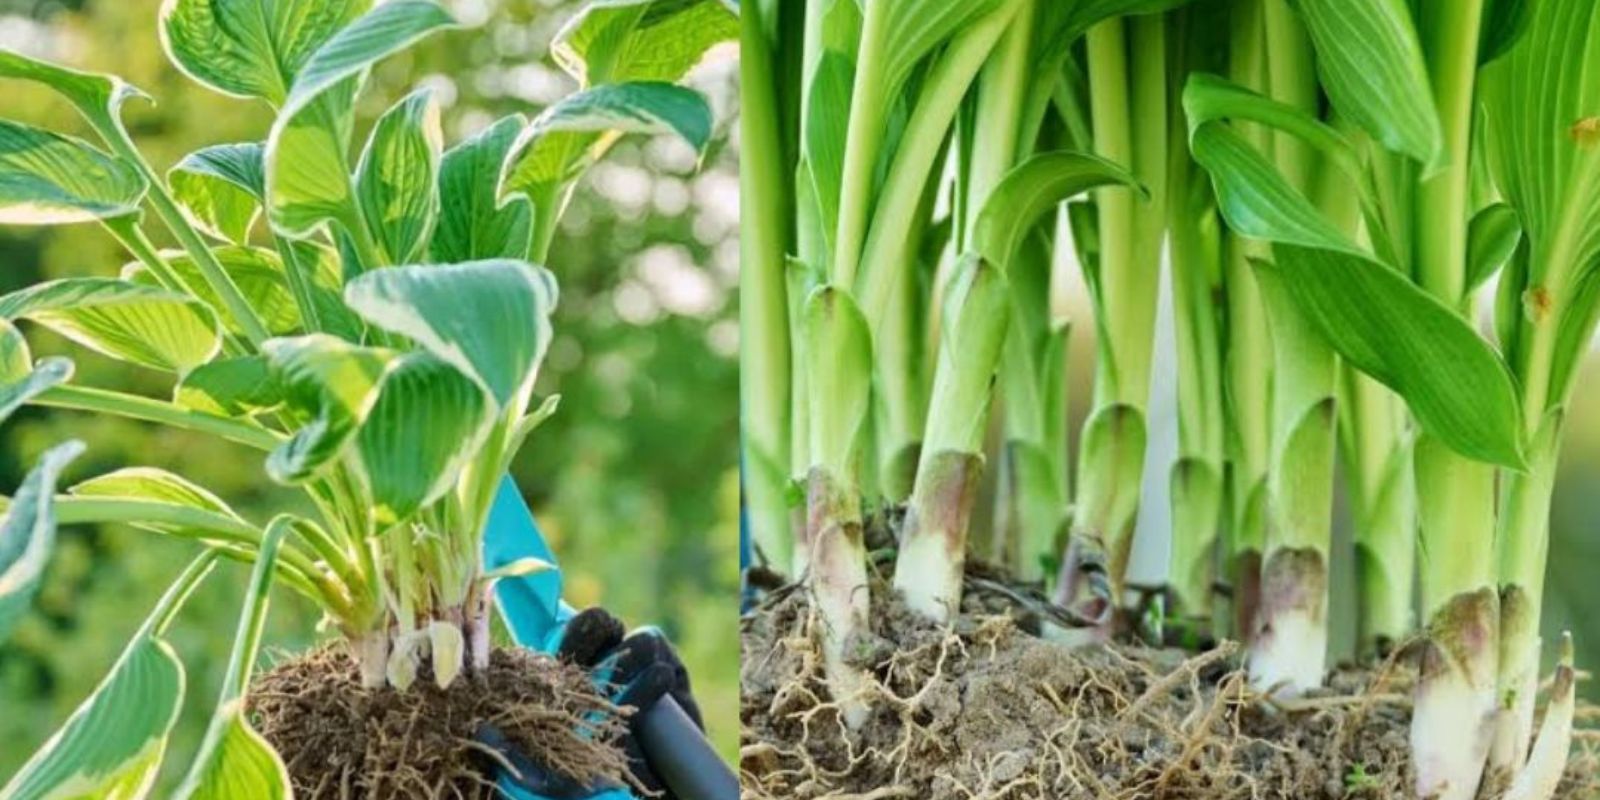
Hostas are beloved by gardeners for their lush foliage and low-maintenance care. However, as these shade-loving perennials mature, they can become overcrowded, leading to reduced vigor and fewer leaves. Dividing overgrown hostas is a simple and rewarding way to rejuvenate your garden while creating new plants to enjoy or share. Although many gardeners assume spring is the best time for dividing, summer is actually ideal when hostas are actively growing.
In this article, we’ll walk you through why dividing hostas in summer works, the tools you’ll need, and step-by-step instructions to ensure success.
Why Divide Hostas?
Over time, hostas tend to grow into large clumps, competing for nutrients and space. Dividing them offers several benefits:
- Promotes Healthy Growth: Dividing prevents overcrowding, allowing roots to access sufficient water and nutrients.
- Encourages Lush Foliage: Your hostas will grow denser and produce vibrant leaves.
- Expands Your Garden: Dividing one plant gives you multiple new plants for free!
- Improves Garden Aesthetics: Keeps your garden looking tidy and well-maintained.
Why Summer is a Great Time for Dividing Hostas
While spring is often considered a prime time for plant division, summer has its advantages:
- Hostas are actively growing, making them more resilient to the stress of division.
- Divisions establish quickly in warm soil, giving them time to develop strong roots before winter.
- Dividing in summer allows you to identify which clumps need attention based on their growth.
Tools You’ll Need
- Spade or garden fork
- Sharp knife or garden saw
- Watering can or hose
- Compost or organic matter
- Mulch (optional)
- Gloves
Step-by-Step Guide to Dividing Overgrown Hostas in Summer
1. Choose the Right Time
Early morning or evening is the best time to divide hostas, especially during summer. This avoids the midday heat, reducing stress on the plants.
2. Water the Hostas
Water your hostas thoroughly the day before dividing. This hydrates the plant and softens the soil, making it easier to dig.
3. Dig Around the Plant
Using a spade or garden fork, dig around the base of the hosta, starting about 6-12 inches from the crown (where leaves meet the soil). Loosen the soil and gently lift the root ball from the ground.
4. Shake Off Excess Soil
Once the plant is out, shake off or hose down excess soil from the root ball. This makes it easier to see the individual divisions within the clump.
5. Divide the Clump
Using a sharp knife, garden saw, or your hands (for smaller clumps), divide the root ball into sections. Ensure each division has at least 3-5 healthy shoots and an intact root system.
- For large clumps, cut through the root ball to separate.
- For smaller clumps, gently pull apart the roots by hand.
6. Prepare the Planting Site
Choose a location with partial to full shade and well-draining soil. Enrich the soil with compost or organic matter for better root establishment.
7. Replant the Divisions
Plant each division at the same depth it was growing before. Space them at least 18-24 inches apart to allow room for growth. Press the soil gently around the roots to eliminate air pockets.
8. Water Thoroughly
After replanting, water the new divisions deeply to help them settle. Keep the soil consistently moist (but not waterlogged) for the first few weeks.
9. Mulch to Retain Moisture
Add a layer of mulch around the plants to retain moisture, regulate soil temperature, and suppress weeds. Avoid piling mulch directly against the stems.
10. Maintain Regular Care
Continue to water the divisions as they establish. Monitor for signs of stress, such as wilting leaves, and provide additional shade if needed during hot weather.
Common Mistakes to Avoid
- Dividing During Peak Heat: Avoid dividing on hot, sunny days to minimize stress.
- Overwatering: While consistent moisture is important, waterlogged soil can lead to root rot.
- Neglecting Fertilization: After the divisions establish, consider applying a balanced fertilizer to encourage growth.
- Too Close Spacing: Crowded plants will compete for resources, defeating the purpose of dividing.
Post-Division Care Tips
- Monitor for Pests: Slugs and snails love hostas, especially during the recovery phase. Use organic deterrents to protect your plants.
- Prune Damaged Leaves: Trim any leaves that look wilted or damaged after division to direct the plant’s energy to root growth.
- Feed Sparingly: Avoid over-fertilizing newly divided plants, as this can burn roots.
Why Dividing Hostas Is a Rewarding Practice
Dividing hostas is not just about plant health; it’s also an opportunity to refresh your garden layout and share plants with friends or neighbors. Each division is like a gift, bringing greenery and beauty to new spaces.
By following these simple steps, you’ll not only keep your hostas thriving but also enhance the overall look and feel of your garden. Don’t let overgrown clumps take over – give your hostas the space they need to shine!
Conclusion
Dividing hostas in summer is a straightforward process that benefits both your plants and your garden. By choosing the right time, using proper tools, and following the step-by-step guide, you can ensure your hostas remain healthy and vibrant. With just a bit of effort, you’ll enjoy lush foliage and thriving plants year after year.
So grab your spade and start dividing – your garden will thank you for it!
#HostaCare #SummerGardening #GardeningTips #PlantPropagation #LushGardens #DivideAndThrive #PerennialLove

