
Introduction
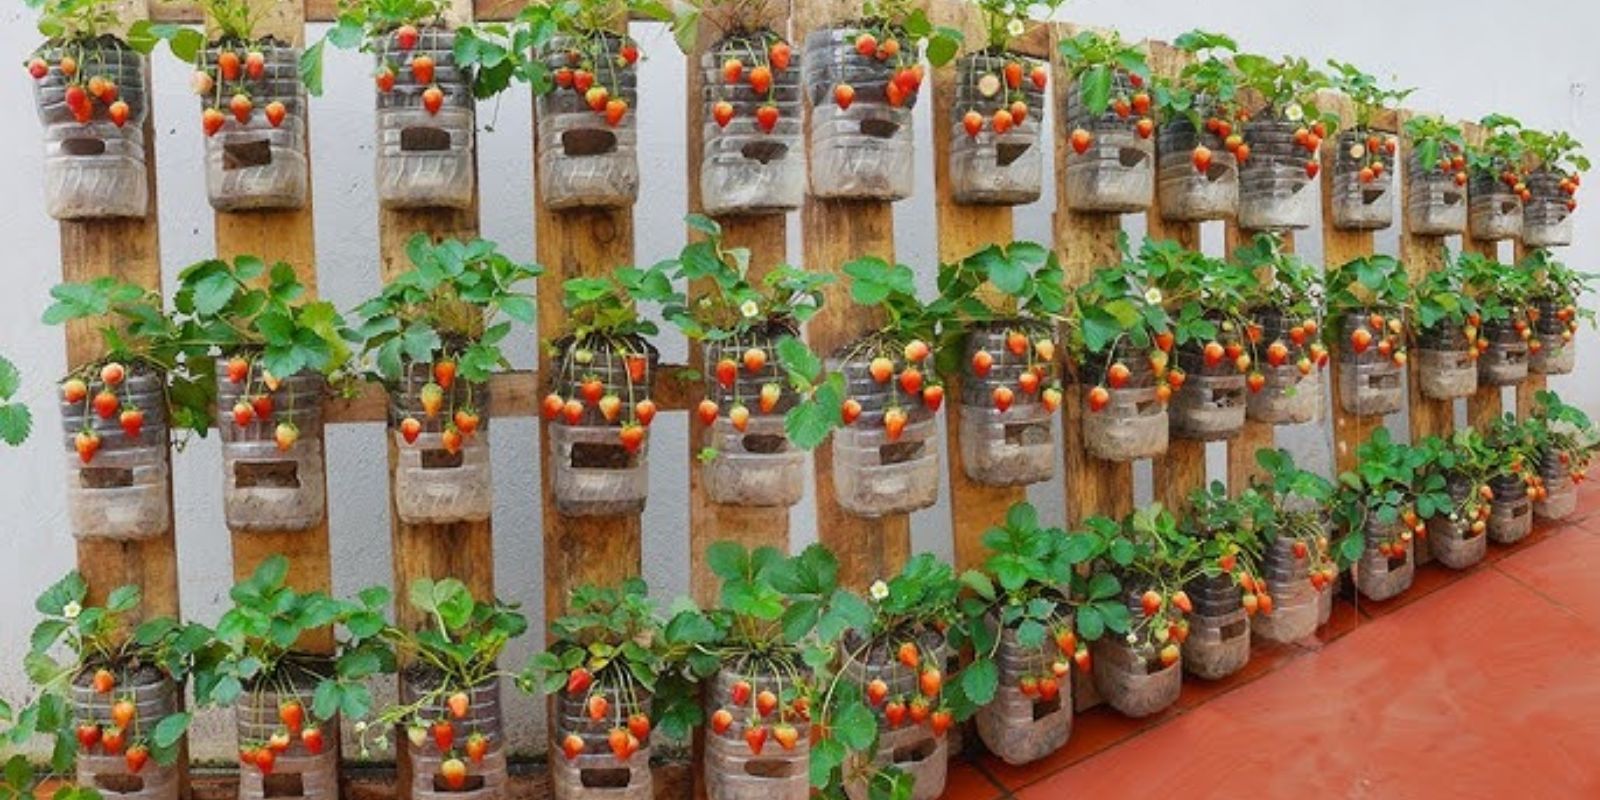
Strawberries are one of the most beloved fruits in the garden, known for their sweet, juicy flavor and vibrant red color. Growing them in a pallet planter is a smart choice for maximizing space and creating a vertical garden that’s both practical and visually appealing. In this article, we’ll explore how to make a superior strawberry pallet planter that will not only enhance your garden but also ensure a bountiful and delicious harvest. Whether you’re a seasoned gardener or a newbie, these steps will guide you through the process of creating an efficient and attractive strawberry planter.
Step 1: Selecting the Ideal Pallet
The foundation of a successful strawberry pallet planter begins with choosing the right pallet. Look for a sturdy, untreated wooden pallet to avoid exposure to harmful chemicals. Untreated wood is safer for your plants and helps ensure that the pallet will last longer. Make sure the pallet is in good condition, free from cracks and broken slats. A standard size pallet, usually 48 inches by 40 inches, works well for most garden spaces.
Step 2: Preparing the Pallet
Preparation is key to a successful pallet planter. Start by sanding the pallet to remove any rough edges or splinters. This will prevent injuries and create a smoother surface for planting. After sanding, clean the pallet thoroughly to remove any dust or debris. Next, apply a non-toxic wood sealant to protect the pallet from moisture and extend its lifespan. Allow the sealant to dry completely before proceeding to the next step.
Step 3: Adding Landscaping Fabric
To prevent soil from spilling out and to keep weeds at bay, line the back and sides of the pallet with landscaping fabric or weed barrier cloth. Cut the fabric to fit the pallet and secure it in place using staples or tacks. Make sure the fabric covers all the openings where you’ll be planting. Trim any excess fabric to ensure a neat and tidy appearance.
Step 4: Filling the Pallet with Soil
Fill the pallet with a high-quality potting mix or soil designed specifically for container gardening. Avoid using garden soil, as it may not drain well and can lead to root rot. Lightly pack the soil into the pallet, but be careful not to compact it too tightly. This will ensure that the soil remains loose and allows for proper root development.
Step 5: Planting Your Strawberries
Now comes the fun part—planting your strawberries! Choose healthy strawberry plants, preferably bare-root or young seedlings. Space the plants evenly in the pallet’s openings, making sure the roots are well spread out. Gently cover the roots with soil, pressing it down lightly to secure the plants. Ensure that the crown of each plant (where the roots meet the stem) is level with the soil surface to prevent rotting.
Step 6: Watering and Fertilizing
Once your strawberries are planted, water the pallet thoroughly to help the soil settle around the roots. It’s important to keep the soil consistently moist but not waterlogged. Use a balanced fertilizer designed for strawberries or general-purpose vegetable fertilizer. Follow the manufacturer’s instructions for application rates and frequency. Fertilize regularly to support healthy growth and fruit production.
Step 7: Placing the Pallet
Position your strawberry pallet planter in a sunny location where it will receive at least 6 hours of sunlight daily. Strawberries thrive in full sun, and ample light helps them produce sweet, flavorful fruit. Ensure the pallet is placed on a stable surface that can support its weight, including the soil and plants. If you’re placing it on a patio or deck, consider using a moisture barrier underneath to protect the surface from water damage.
Step 8: Maintenance and Care
Regular maintenance is essential for keeping your strawberry pallet planter in top shape. Monitor the soil moisture levels and water as needed. Check for pests, such as aphids or spider mites, and take action promptly if you notice any infestations. Prune any dead or damaged leaves to promote better airflow and reduce the risk of disease. Keep an eye on the overall health of your plants and adjust care as necessary to ensure a thriving crop.
Step 9: Harvesting Your Strawberries
As your strawberries mature, they will begin to turn red and sweeten. Harvest the berries when they are fully ripe for the best flavor. Gently twist or cut the berries from the plant, leaving a small stem attached. Regular harvesting will encourage the plants to produce more fruit and prevent overripening.
Step 10: Preparing for Next Season
At the end of the growing season, clean up your pallet planter by removing any dead plants and debris. You can refresh the soil by adding compost or a new layer of potting mix. If the pallet shows signs of wear or damage, make any necessary repairs before replanting for the next season. Consider rotating your crops or adding different types of plants to keep your garden diverse and productive.
Conclusion
Creating a superior strawberry pallet planter is a rewarding project that enhances your garden while providing a steady supply of delicious strawberries. By following these steps, you’ll ensure that your pallet planter is functional, attractive, and productive. Whether you’re growing strawberries for yourself or to share with family and friends, this method offers a practical solution for maximizing space and enjoying homegrown fruit. Embrace the process, and let your strawberry pallet planter become a focal point of your garden.
Motivation Sentence
Transform your garden with a stunning strawberry pallet planter and savor fresh, homegrown berries all season long! 🍓🌿 #StrawberryPalletPlanter #GardenHacks #VerticalGardening #FreshBerries #UrbanFarming #GreenThumb #GardenDIY #BerryGood