
Introduction
Rain barrels are an excellent addition to any home garden. They provide a cost-effective, eco-friendly way to collect and store rainwater for irrigation and other uses. Building your own rain barrel not only helps reduce your water bill but also contributes to conserving a precious natural resource. In this guide, we’ll walk you through the process of creating a rain barrel from scratch, including all the materials you’ll need and the steps to follow.
Why Build a Rain Barrel?
Before diving into the steps, it’s worth noting the benefits of a rain barrel:
- Water Conservation: Collecting rainwater helps reduce your reliance on municipal water supplies, especially important during droughts.
- Cost Savings: Using rainwater for irrigation can significantly lower your water bill.
- Plant Health: Rainwater is often better for plants than tap water, as it’s free of chlorine and other chemicals.
- Environmental Impact: Collecting rainwater reduces runoff and prevents erosion.
Materials Needed
To build a functional and effective rain barrel, you’ll need the following materials:
- Plastic Barrel: A large, clean plastic barrel (around 50 to 55 gallons) serves as the main container. Look for barrels that previously held food-grade products to avoid contamination.
- Spigot: A spigot or faucet for dispensing the water.
- Screen or Mesh Cover: To keep debris and insects out of the barrel.
- PVC Pipe: For the overflow and potentially for directing water into the barrel.
- Sealant: To prevent leaks around the spigot and other fittings.
- Drill: To make holes for the spigot and overflow pipe.
- Tools: A screwdriver, utility knife, and possibly a saw if you need to cut the PVC pipe.
Step-by-Step Instructions
1. Gather Materials
Start by assembling all the materials and tools you’ll need. Ensure that the plastic barrel is clean and free of any residues. If the barrel previously contained chemicals, make sure it’s thoroughly washed or use a different barrel.
2. Clean the Barrel
Clean the barrel thoroughly with soap and water. Rinse it well to remove any soap residue. Allow it to dry completely before proceeding to ensure that no mold or mildew will form.
3. Drill the Outlet Hole
- Location: Choose a spot near the bottom of the barrel for the spigot. This will allow you to use most of the water in the barrel.
- Drilling: Use a drill with a bit that matches the size of your spigot. Carefully drill a hole just big enough for the spigot to fit snugly.
4. Install the Spigot
- Preparation: Insert the spigot into the hole you drilled. Apply sealant around the edge of the hole to ensure that it’s watertight.
- Attachment: Secure the spigot in place by tightening the nut on the inside of the barrel. Allow the sealant to cure as per the manufacturer’s instructions before using the barrel.
5. Add the Overflow Pipe
- Drilling: Drill a hole near the top of the barrel for the overflow pipe. This prevents the barrel from overflowing and helps manage excess water.
- Installation: Insert the PVC pipe into the hole. You can extend the pipe away from the barrel to direct overflow water to a different area, such as a garden bed.
6. Attach the Screen
- Purpose: A screen or mesh cover will prevent leaves, insects, and other debris from entering the barrel and contaminating the water.
- Attachment: Secure the screen over the top of the barrel. You can use clamps or simply fit it tightly under the lid if the barrel has one.
7. Position the Barrel
- Placement: Place the rain barrel under a downspout or gutter. To maximize water collection, ensure that the barrel is positioned directly in the path of rainwater runoff.
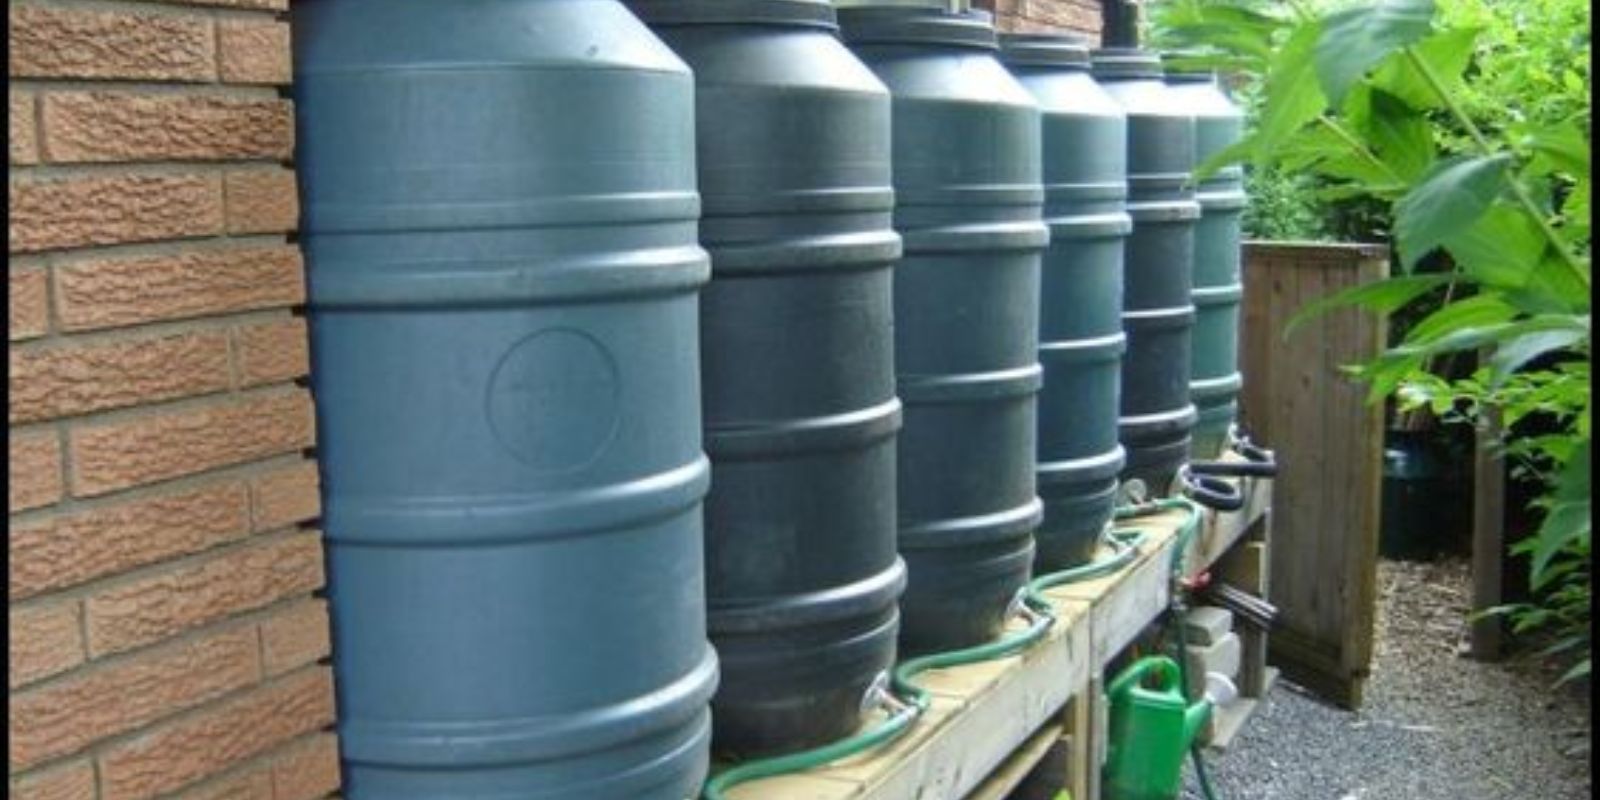
- Elevation: Consider raising the barrel on a stand or blocks to increase water pressure and make it easier to fill watering cans or hoses.
8. Test and Use
- Check for Leaks: After setting up the barrel, test it by allowing water to flow into it. Check all connections for leaks and make any necessary adjustments.
- Maintenance: Periodically clean the screen, check the overflow pipe, and ensure that the spigot is functioning correctly. Empty and clean the barrel at least once a year to prevent algae buildup.
Additional Tips
- Winter Care: In colder climates, be sure to empty the barrel before freezing temperatures to prevent cracking.
- Rain Barrel Stand: Building or buying a stand can make accessing the spigot easier and improve water flow.
- Water Quality: For drinking or cooking, it’s better to use filtered or treated water, as rainwater can pick up contaminants.
Conclusion
Building a rain barrel is a simple yet impactful way to contribute to water conservation and save money on your water bill. By following the steps outlined in this guide, you can create an effective and practical rain barrel that meets your gardening needs. Once your rain barrel is set up, you’ll enjoy the benefits of free, eco-friendly water for your garden, and contribute positively to the environment.
Have you built a rain barrel or have tips to share? Comment below with your experiences and ideas, and let’s inspire each other to make more sustainable choices! 🌧️🌿