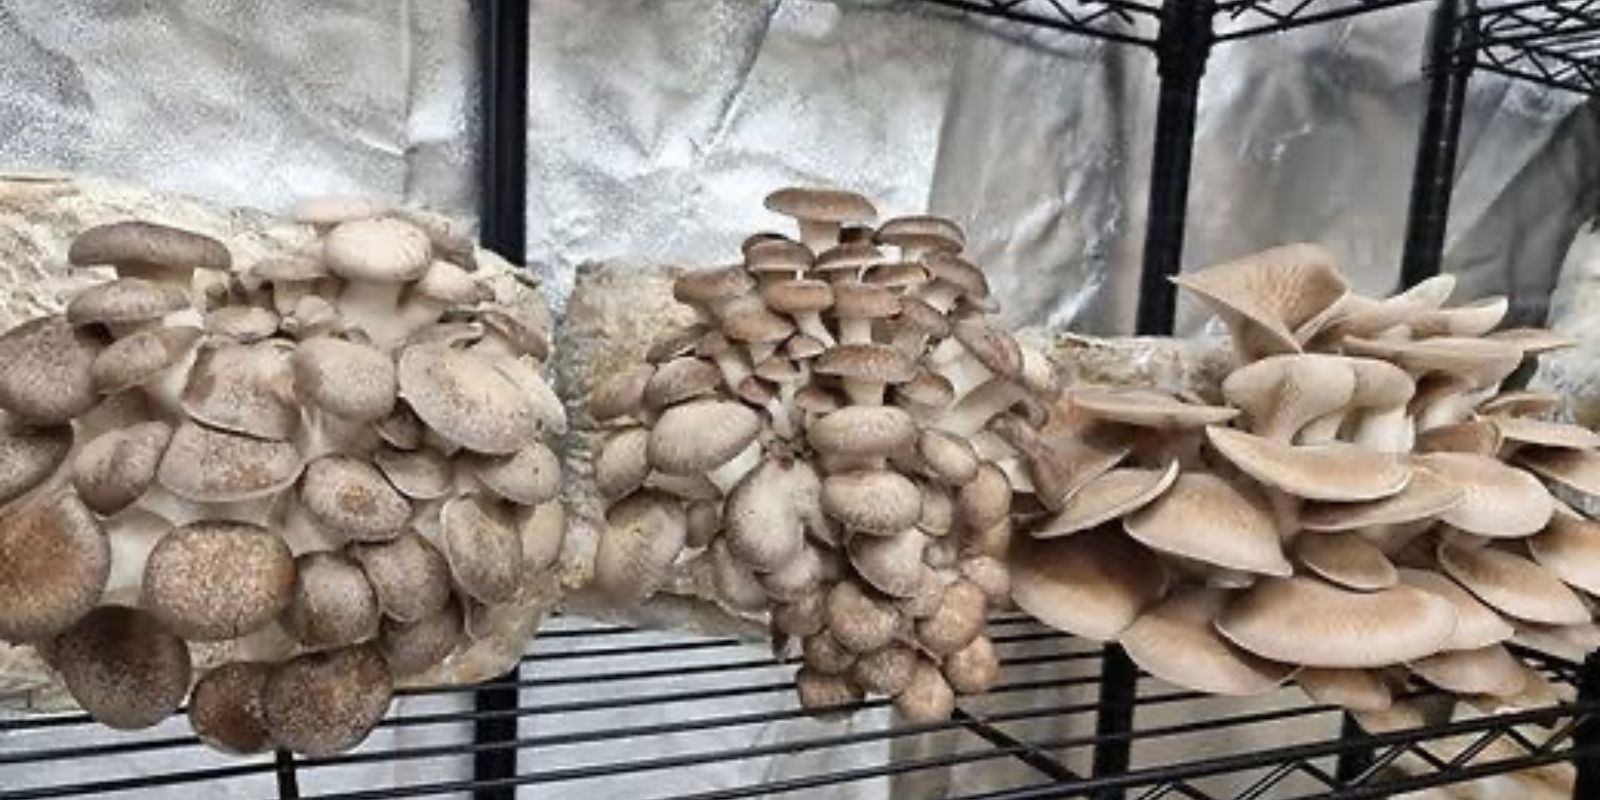
Mushrooms are a culinary delight, packed with nutrients and rich in umami flavor. Growing them at home not only ensures a fresh supply but also allows you to explore sustainable gardening techniques. If you’re tight on space, a mushroom tower is a fantastic solution. It’s a vertical structure designed to grow mushrooms efficiently, making it perfect for small spaces or urban gardens. In this guide, we’ll walk you through the process of building your own mushroom tower, from gathering materials to harvesting your delicious fungi.
Why Build a Mushroom Tower?
Mushroom towers are increasingly popular for several reasons:
- Space Efficiency: They take up minimal horizontal space, making them ideal for balconies, patios, or small gardens.
- Sustainability: Use recycled materials like old buckets or PVC pipes to create your tower.
- Continuous Harvests: A well-maintained mushroom tower can yield multiple harvests over time.
- Accessibility: Growing mushrooms at home reduces the need for store-bought varieties, saving money and ensuring freshness.
Let’s dive into the step-by-step process of creating your mushroom tower.
Materials Needed
Before you start, gather these materials:
- Containers: Use 5-gallon buckets, PVC pipes, or any stackable container with a sturdy structure.
- Mushroom Spawn: Choose the spawn of your preferred mushroom variety (oyster mushrooms are a great option for beginners).
- Substrate: Suitable substrates include straw, sawdust, or coffee grounds. Ensure they’re clean and free from contaminants.
- Drill: For creating airflow and exit points for mushrooms.
- Plastic Bags or Wrap: To maintain humidity during the initial colonization phase.
- Misting Bottle: For keeping the substrate moist.
Step 1: Preparing the Substrate
The substrate is the material mushrooms feed on. It must be sterilized to eliminate competing microorganisms. Here’s how:
- Heat Sterilization: Boil or steam the substrate in water for about an hour.
- Cool Down: Spread the substrate on a clean surface and let it cool to room temperature.
Step 2: Preparing the Tower Structure
- Containers: If using buckets, drill 1-inch holes around the sides and base. These holes allow mushrooms to grow out and ensure proper airflow.
- Stacking: If using multiple buckets, make sure they can stack securely without toppling.
Step 3: Layering the Tower
- Layering Process:
- Add a 2-inch layer of substrate to the bottom of the container.
- Sprinkle mushroom spawn evenly over the substrate.
- Repeat the layering process until the container is full, ending with a layer of substrate.
- Packing: Gently press each layer to ensure it’s compact but not overly dense.
Step 4: Cover and Colonize
- Seal the Tower: Cover the top of the container with a breathable material, like a plastic bag with small holes. This helps retain humidity while allowing air exchange.
- Colonization Period: Place the tower in a dark, warm space (around 65-75°F) for 2-3 weeks. Check periodically to ensure the substrate stays moist.
Step 5: Fruiting Stage
- Relocate the Tower: Once white mycelium covers the substrate, move the tower to a well-lit area with indirect sunlight.
- Increase Humidity: Remove the cover and mist the tower daily to keep it moist.
- Temperature and Ventilation: Maintain a temperature of 60-70°F and ensure good airflow.
Step 6: Harvesting Your Mushrooms
- Watch for Growth: Within a week or two, mushrooms will begin to sprout through the holes.
- Harvest Time: Harvest mushrooms when their caps are fully opened but before they flatten out completely. Gently twist and pull them off the substrate.
Maintaining Your Mushroom Tower
- Second Flush: After the first harvest, soak the tower in water for a few hours to rehydrate the substrate. This encourages a second flush of mushrooms.
- Regular Care: Keep misting and monitoring for signs of contamination. If you notice mold, remove the affected area immediately.
Tips for Success
- Choose Beginner-Friendly Mushrooms: Oyster mushrooms are forgiving and adapt well to various substrates.
- Recycle Materials: Use items like coffee grounds or shredded newspaper as part of the substrate.
- Avoid Overwatering: Too much moisture can lead to contamination. Keep the substrate damp but not soaking wet.
Why Mushroom Towers Work
- Nutrient-Rich Substrate: The layered setup ensures the mushrooms have a steady nutrient supply.
- Compact Design: Vertical growth maximizes output in a small footprint.
- Humidity Retention: The tower structure naturally retains moisture, creating the ideal environment for mushroom growth.
Benefits of Growing Mushrooms at Home
- Fresh Produce: Enjoy fresh, organic mushrooms without pesticides.
- Sustainability: Reduce food waste by repurposing coffee grounds or cardboard.
- Educational Experience: Great for teaching kids about sustainable gardening and the fungal life cycle.
Common Challenges and Solutions
- Contamination: Always sterilize your substrate and tools to prevent unwanted mold.
- Slow Growth: Ensure the tower stays humid and at the correct temperature.
- Uneven Fruiting: Rotate the tower periodically to ensure all sides receive equal airflow and light.
Final Thoughts
Building a mushroom tower is a rewarding project that combines creativity, sustainability, and gardening skills. Whether you’re a seasoned gardener or a curious beginner, this DIY setup allows you to grow nutritious mushrooms right at home. With minimal materials and a bit of patience, you’ll have a thriving mushroom tower that produces fresh harvests for months to come.
💬 Have you tried growing mushrooms at home? Share your experiences and tips in the comments below! 🌱🍄

