
In the realm of gardening, there exists a simple yet powerful technique that allows even the most novice gardeners to propagate plants effectively: rooting plant cuttings in water. This age-old method is not only cost-effective but also a reliable way to expand your garden without buying new plants. Whether you’re keen to multiply your favorite herbs, cultivate decorative houseplants, or propagate flowering shrubs, learning how to root cuttings in water opens up a world of possibilities. In this comprehensive guide, we’ll delve into the science behind water propagation, explore the tools and materials needed, and walk you through a step-by-step process to ensure success.
Understanding Water Propagation: The Science Behind It
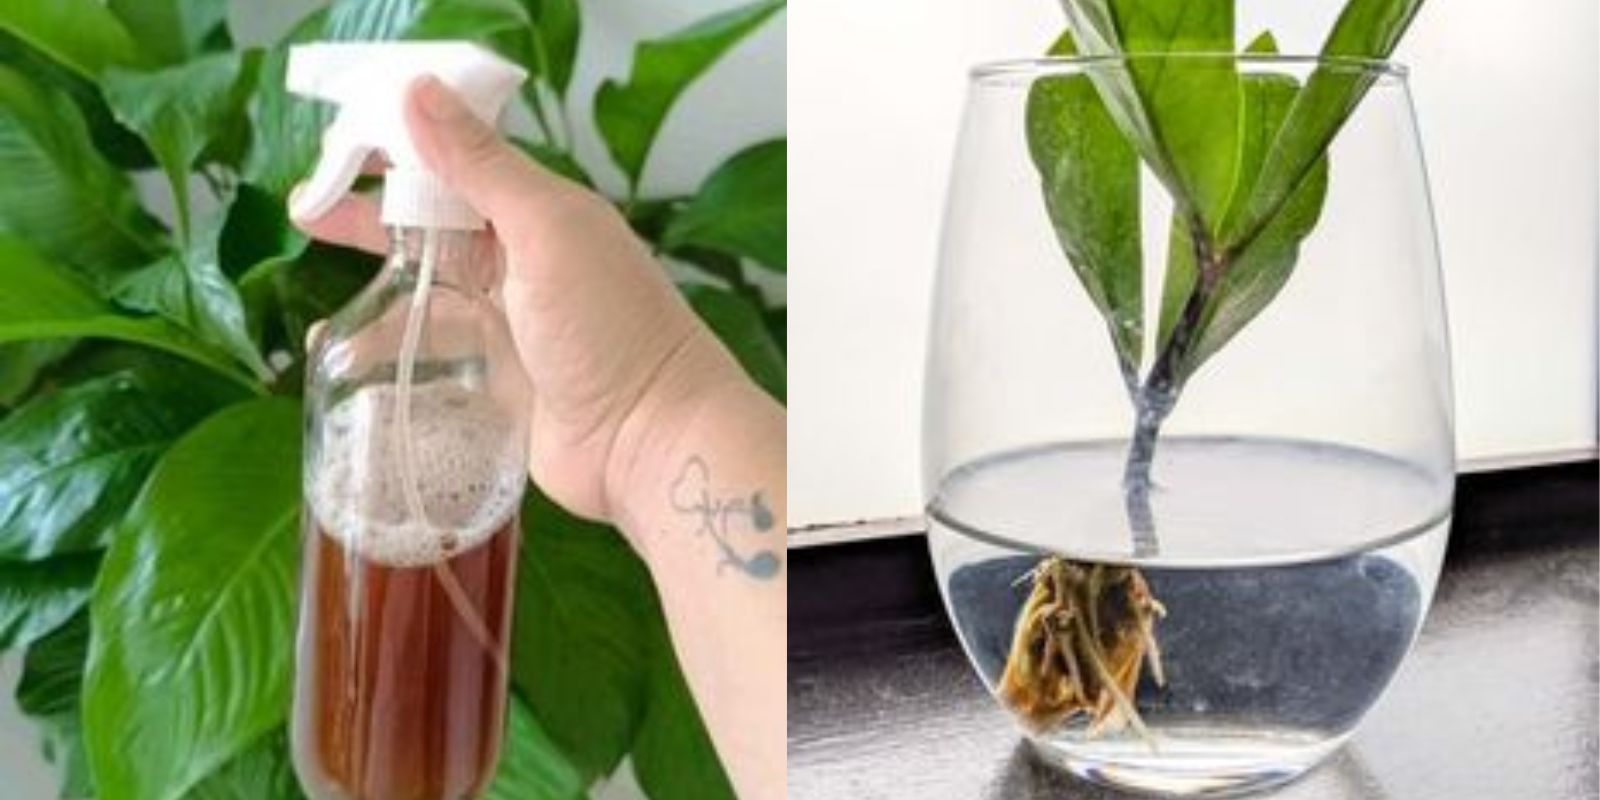
Water propagation capitalizes on the natural ability of plant cuttings to develop roots when exposed to water and favorable conditions. This method is particularly suitable for plants with soft, herbaceous stems that readily produce roots in moist environments. By submerging the lower portion of a cutting in water, you create an environment that encourages the growth of new roots, allowing the cutting to transition from a detached piece to an independent, thriving plant.
Benefits of Water Propagation
- Cost-Effective: Eliminates the need for purchasing new plants, saving money over time.
- Easy Monitoring: Allows visual inspection of root development, aiding in gauging propagation success.
- Universal Applicability: Works well with a wide range of plants, from common houseplants to ornamental shrubs and herbs.
Tools and Materials You’ll Need
Before diving into water propagation, gather the following essentials:
- Sharp Pruning Shears: For cleanly cutting plant stems without causing damage.
- Rooting Hormone (Optional): Helps stimulate root growth, though not always necessary.
- Clear Glass Jars or Vases: Allows for easy monitoring of root development.
- Clean Water: Use filtered or distilled water to avoid harmful chemicals or minerals.
- Natural Light or Indirect Sunlight: Place cuttings in a location with adequate light, but avoid direct sun exposure.
Step-by-Step Guide to Rooting Plant Cuttings in Water
Step 1: Selecting and Preparing the Cutting
- Choose Healthy Cuttings: Select a healthy stem cutting from a mature, disease-free plant. Ideally, choose a stem with at least two nodes (where leaves emerge) for optimal rooting potential.
- Trimming the Cutting: Use sharp pruning shears to cut the stem just below a node at a 45-degree angle. Remove any lower leaves to prevent them from rotting underwater.
Step 2: Applying Rooting Hormone (Optional)
- Dip in Rooting Hormone: If using rooting hormone, dip the cut end of the stem into the powder or gel to promote faster root development.
Step 3: Placing the Cutting in Water
- Selecting a Container: Choose a clear glass jar or vase filled with room temperature water. Ensure the water level covers the nodes where roots are expected to form while keeping any remaining leaves above water.
- Positioning the Cutting: Place the cutting in the water-filled container, ensuring stability with the cut end submerged. Avoid overcrowding multiple cuttings in one container to prevent competition for resources.
Step 4: Providing Proper Care
- Light and Temperature: Place the container in a location with indirect sunlight or filtered natural light. Avoid direct sun exposure, as it may overheat the water or cause algae growth.
- Water Maintenance: Monitor the water level regularly and replace with fresh water every few days to prevent stagnation and maintain oxygen levels for healthy root growth.
Step 5: Monitoring Root Development
- Patience and Observation: Root development typically begins within a few weeks, depending on the plant species and environmental conditions. Monitor the cutting regularly for signs of new root growth, which appear as white or translucent protrusions from the nodes.
- Transition to Soil: Once roots are well-developed (approximately 1-2 inches long), carefully transplant the cutting into a pot filled with well-draining potting mix. Handle the delicate roots with care to avoid damage during the transplanting process.
Common Challenges and Troubleshooting Tips
- Root Rot: If roots appear brown or mushy, trim away affected areas and change the water more frequently to prevent bacterial growth.
- Slow Root Development: Maintain consistent environmental conditions, including light, temperature, and water quality, to promote faster root growth.
- Leaf Yellowing: Remove any submerged leaves that show signs of decay to prevent them from contaminating the water.
Conclusion
Mastering the art of rooting plant cuttings in water is a gratifying journey that empowers gardeners to propagate plants sustainably and expand their green spaces. Whether you’re propagating for personal enjoyment, sharing plants with friends and family, or simply exploring new gardening techniques, water propagation offers a straightforward and effective method for nurturing new plant life. By following the steps outlined in this guide and adapting them to suit your specific plant species and conditions, you can cultivate healthy, thriving plants from cuttings with confidence.
Join the conversation and share your experiences with water propagation! Your insights, tips, and successes contribute to our collective knowledge and inspire fellow gardeners to embrace the joys of growing plants from cuttings. Let’s continue to cultivate green thumbs and foster a thriving community of plant enthusiasts!
Remember, each cutting tells a unique story of growth and resilience—may your gardening endeavors flourish abundantly! 🌱