
Growing a pickling garden is a rewarding endeavor that not only allows you to enjoy fresh vegetables but also gives you the opportunity to create delicious homemade pickles. Whether you’re an experienced gardener or a novice, this guide will walk you through the essential steps to cultivate a thriving pickling garden. By the end of this article, you’ll be ready to start your own garden and enjoy the flavorful rewards of your hard work.
Introduction to Pickling Gardens
Pickling is the process of preserving food in vinegar or brine, which not only extends the shelf life of vegetables but also enhances their flavors. Many gardeners choose to grow their own pickling vegetables to ensure quality and freshness. A pickling garden can include a variety of vegetables, from cucumbers to peppers, and even herbs, allowing for endless creativity in the kitchen.
Before diving into the specifics of growing your own pickling garden, it’s essential to understand the benefits of growing your own vegetables and pickling them:
- Freshness and Quality: Homegrown vegetables are often fresher and more flavorful than store-bought options.
- Cost-Effective: Growing your own food can save you money, especially if you regularly purchase pickles or pickling vegetables.
- Customization: You can experiment with different pickling recipes and flavors, tailoring them to your taste preferences.
- Sustainability: Growing your own food reduces your carbon footprint and promotes sustainable gardening practices.
Now, let’s explore the steps to create a successful pickling garden.
Step 1: Choosing Your Vegetables
The first step in establishing a pickling garden is selecting the right vegetables. Here are some popular pickling vegetables:
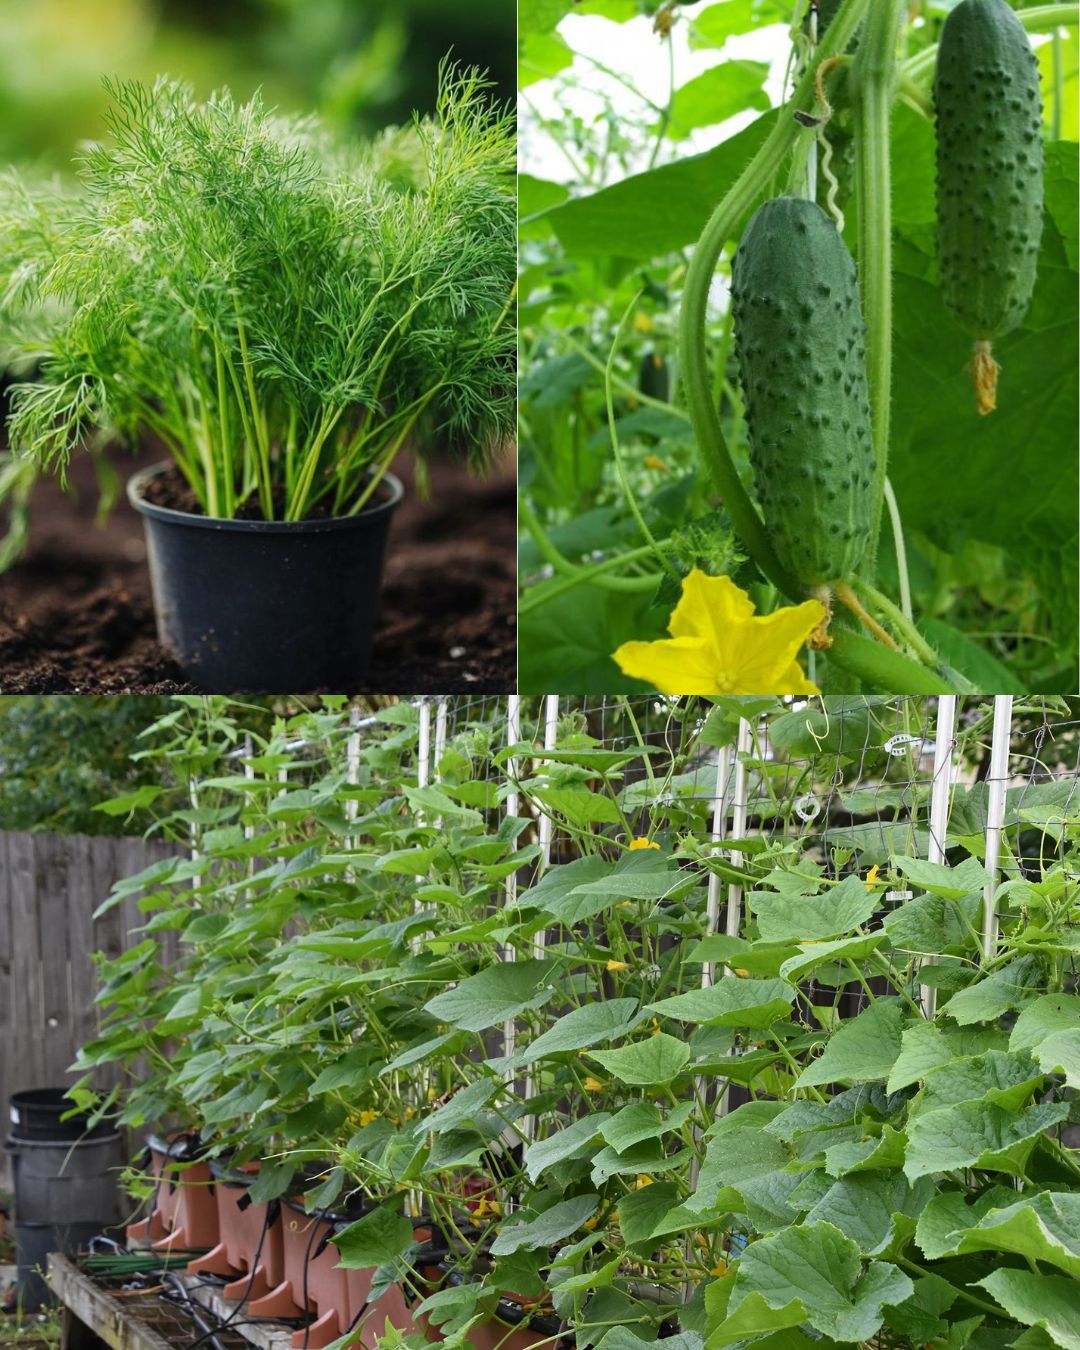
- Cucumbers: The most common vegetable for pickling. Look for varieties specifically bred for pickling, such as ‘Boston Pickling’ or ‘Kirby’.
- Carrots: Sweet and crunchy, carrots can be pickled whole or sliced.
- Radishes: These add a spicy kick to pickles and can be sliced or left whole.
- Green Beans: Perfect for pickling in brine, adding a crunchy texture.
- Peppers: Bell peppers and hot peppers can be pickled to add flavor to dishes.
Consider your climate and the space available in your garden when selecting your vegetables. Ensure you choose varieties that will thrive in your local conditions.
Step 2: Preparing the Soil
Once you’ve chosen your vegetables, it’s time to prepare the soil. Healthy soil is vital for robust plant growth. Follow these steps:
- Test Your Soil: Use a soil testing kit to determine the pH and nutrient levels. Most vegetables thrive in slightly acidic to neutral soil (pH 6.0 to 7.0).
- Amend the Soil: Add organic matter like compost or well-rotted manure to improve soil structure, enhance drainage, and provide essential nutrients.
- Tilling: Till the soil to a depth of about 12 inches to aerate it and mix in the organic amendments. This step also helps to break up compacted soil, allowing roots to penetrate more easily.
- Level the Soil: Rake the soil surface to create a smooth, even bed for planting.
Step 3: Planning Your Layout
A well-planned garden layout can optimize space and improve plant health. Here’s how to plan your pickling garden:
- Consider Companion Planting: Certain plants can benefit each other when grown together. For example, planting marigolds near your cucumbers can deter pests.
- Space Appropriately: Give each plant enough room to grow. Follow the recommended spacing for each vegetable type to avoid overcrowding.
- Designate Areas: If you’re growing different types of vegetables, consider designating specific areas for each. This organization makes harvesting easier.
- Accessibility: Ensure that your garden layout allows for easy access to all plants for watering, weeding, and harvesting.
Step 4: Starting Seeds Indoors
If you want to get a head start on your pickling garden, consider starting seeds indoors. This method can lead to earlier harvests and healthier plants. Here’s how:
- Select Containers: Use seed trays, biodegradable pots, or any container with drainage holes.
- Fill with Potting Mix: Use a quality seed-starting mix that retains moisture while allowing for proper drainage.
- Sow Seeds: Follow the package instructions for planting depth and spacing. Generally, sow seeds about ¼ to ½ inch deep.
- Water Gently: Moisten the soil using a spray bottle or a gentle watering can, being careful not to displace the seeds.
- Provide Warmth and Light: Place the containers in a warm location (around 70°F) or use a heat mat. Once seedlings emerge, provide plenty of light using grow lights or a sunny windowsill.
Step 5: Transplanting Outdoors
Once seedlings are ready and the danger of frost has passed, it’s time to transplant them into your garden. Follow these steps:
- Harden Off: Gradually acclimate your seedlings to outdoor conditions by placing them outside for a few hours each day, increasing the time over a week.
- Dig Holes: Prepare holes in the garden soil according to the spacing requirements for each type of plant.
- Transplant Carefully: Gently remove seedlings from their containers, being careful not to damage the roots. Place them in the holes and fill with soil.
- Water Thoroughly: Water the transplants well after planting to help settle the soil around the roots.
Step 6: Watering and Maintenance
Proper watering and maintenance are crucial for a successful pickling garden. Here are some tips:
- Watering: Keep the soil consistently moist, especially during dry spells. Aim for about 1 inch of water per week, adjusting for rainfall.
- Mulching: Apply a layer of organic mulch around the plants to retain moisture, suppress weeds, and regulate soil temperature.
- Weeding: Regularly check for weeds, as they compete for nutrients and water. Hand-pull or use a hoe to remove them before they go to seed.
- Fertilizing: Use organic fertilizers like compost or well-balanced fertilizers to provide essential nutrients. Follow the manufacturer’s instructions for application rates.
Step 7: Natural Pest Control
Pests can pose a significant threat to your garden, but you can manage them without harsh chemicals. Here are some effective natural pest control methods:
- Companion Planting: As mentioned earlier, planting certain crops together can deter pests. For example, basil can repel aphids when planted near cucumbers.
- Beneficial Insects: Encourage ladybugs, lacewings, and other beneficial insects that prey on common pests. You can attract them by planting flowers like marigolds or daisies.
- Neem Oil: This natural pesticide can help control a variety of pests. Dilute neem oil in water according to the label instructions and spray it on affected plants.
- Hand-Picking: For larger pests like caterpillars and beetles, manually removing them from plants can be effective.
Step 8: Harvesting Your Vegetables
The timing of your harvest is crucial for pickling vegetables. Here’s how to know when to harvest:
- Cucumbers: Pick cucumbers when they are about 4-6 inches long and still firm. Leaving them on the vine too long can result in bitterness.
- Carrots: Harvest carrots when they are about the size of a finger. They can be harvested throughout the growing season.
- Radishes: Radishes are typically ready within a month of planting. Harvest when they are about 1 inch in diameter.
- Green Beans: Pick green beans while they are still young and tender, before the seeds inside begin to bulge.
- Peppers: Harvest peppers when they reach the desired size and color. Green peppers can be picked earlier, while red and yellow varieties should be left longer on the vine.
Step 9: Preparing for Pickling
Once you’ve harvested your vegetables, it’s time to prepare them for pickling:
- Rinse Thoroughly: Wash the vegetables under running water to remove dirt and debris.
- Cut and Prepare: Depending on your pickling recipe, cut the vegetables into desired shapes (slices, spears, or leave them whole).
- Sterilize Jars: Before packing your vegetables, sterilize your jars by boiling them in water for 10 minutes.
- Prepare the Brine: Create a pickling brine by combining vinegar, water, and salt. You can also add spices like dill, garlic, or mustard seeds for extra flavor.
- Pack Jars: Pack the prepared vegetables into the sterilized jars, leaving some space at the top.
- Pour Brine: Pour the hot brine over the vegetables, ensuring they are fully submerged.
- Seal and Store: Seal the jars tightly and store them in a cool, dark place. Properly canned pickles can last for several months.
Step 10: Experimenting with Recipes
One of the joys of having a pickling garden is the ability to experiment with different recipes. Here are a few ideas to get you started:
- Classic Dill Pickles: A traditional recipe featuring cucumbers, garlic, dill, and a vinegar brine.
- Sweet Pickles: Use sugar and spices like cinnamon to create a sweeter flavor.
- Spicy Pickles: Add chili flakes or jal
apeños to your brine for a spicy kick.
- Pickled Carrots and Radishes: A quick pickle recipe that can be enjoyed in salads or as a snack.
Conclusion
Creating your own pickling garden is a fulfilling and delicious way to enjoy the fruits of your labor. By following these steps—from selecting the right vegetables to experimenting with pickling recipes—you’ll be well on your way to producing your own homemade pickles. Not only will you savor the fresh flavors of your garden, but you’ll also gain a deeper appreciation for the gardening process.
So, roll up your sleeves and start your pickling garden today! Enjoy the satisfaction of growing your own vegetables and preserving their flavors for future enjoyment.
Call to Action
Are you ready to dive into the world of pickling? Share your gardening journey and pickling creations with us! Use the hashtags #PicklingGarden #HomegrownGoodness #GardenToTable #PreservingFlavors #GardeningJoy #GrowYourOwn and let’s inspire each other! Happy gardening!