
Sage (Salvia officinalis) is an herb that stands out for its rich history, culinary uses, and medicinal properties. But beyond its practical applications, sage is also an incredibly beautiful and low-maintenance plant that can transform any garden, especially when it blooms in the fall. Whether you are a beginner gardener or an experienced horticulturist, sage is a perfect addition to your garden, offering fragrant leaves, attractive blooms, and easy care.
In this comprehensive guide, we will walk you through the best ways to grow and care for sage, from planting to pruning, watering, and fertilizing. By following these simple steps, you can create a thriving garden of sage that will not only enhance the aesthetics of your space but also provide you with a continuous supply of fresh leaves to use in cooking, teas, and more.
The Basics of Sage
Sage is part of the mint family, and like other members of this family, it thrives in sunny environments with well-drained soil. Native to the Mediterranean region, sage is an herb that thrives in areas with mild, dry conditions, making it a perfect choice for many garden types, from raised beds to container gardening.
While most commonly known for its culinary uses—especially in dishes such as stuffing, roast meats, and soups—sage also has a long history of medicinal use, being known for its potential benefits for digestion, cognition, and even as an anti-inflammatory. It’s a plant that has earned its place in both the herb garden and the kitchen.
Step 1: Choosing the Right Location for Sage
Before planting sage, it is essential to pick the right location. Sage is a sun-loving plant that thrives in areas with full sunlight. However, it can also tolerate some partial shade, which can be beneficial in hotter climates where full sun may lead to stress. Aim for at least 6 hours of direct sunlight daily.
Sage also prefers well-drained, slightly moist soil. While it can tolerate dry conditions once established, it’s important to ensure that the soil doesn’t remain too soggy, as this can lead to root rot. If your soil is clay-heavy or prone to poor drainage, consider adding organic matter such as compost or sand to improve soil structure and drainage.
Step 2: Planting Sage
Sage can be grown from seeds, cuttings, or young plants from a nursery. While growing from seed is possible, it can take longer, so starting with nursery plants or cuttings is often the best option for beginners. Here’s how to plant sage:
- Spring or Fall Planting: The best times to plant sage are in early spring or fall. In spring, plant after the last frost has passed, and in fall, plant a few weeks before the first frost to give the plant time to establish itself.
- Spacing: Sage plants can grow quite large, so it’s essential to give them enough space. When planting, space your sage plants about 18–24 inches apart to ensure they have room to spread and grow.
- Planting Depth: Plant your sage at the same depth as it was in its nursery container, ensuring the base of the plant is level with the surrounding soil. If planting from seed, follow the instructions on the seed packet, but typically, seeds should be lightly covered with soil.
Step 3: Watering and Maintaining Proper Moisture
Once planted, sage requires relatively low-maintenance watering. Although it enjoys a slightly moist environment during its early stages, it is well-adapted to drier conditions once it is established. Over-watering is one of the most common mistakes people make when caring for sage.
- Watering Guidelines: Water sage thoroughly when you first plant it to help it establish roots. After that, water it deeply but infrequently. Water only when the soil feels dry to the touch, ensuring that water penetrates deeply into the soil to reach the roots. Sage prefers dry conditions over soggy ones, so be cautious not to over-water.
- Avoid Wetting the Foliage: When watering, try to direct the water toward the base of the plant and avoid wetting the leaves. Wet foliage can promote fungal diseases, and sage prefers dry leaves.
Step 4: Pruning Sage for Healthy Growth
Sage is a relatively low-maintenance plant, but periodic pruning is essential for keeping it healthy and encouraging abundant growth. Pruning also helps prevent the plant from becoming woody, which can reduce its productivity and aesthetic appeal.
- Prune in Early Spring: The best time to prune sage is in early spring before new growth begins. Start by removing any dead or damaged stems, and trim back the remaining stems to about one-third of their height. This will encourage vigorous, bushy growth throughout the season.
- Remove Weak or Leggy Growth: As sage grows, it can sometimes develop weak or leggy branches that do not produce much foliage. Trim these branches back to promote stronger, more robust growth.
- Deadheading: If you want to prolong the blooming period and encourage more flowers, deadhead spent flowers regularly. This helps the plant focus its energy on producing more blooms rather than seeds.
Step 5: Fertilizing Sage
While sage is not a heavy feeder, it does benefit from some fertilization, especially if your soil is poor or lacks essential nutrients. However, it’s important to use a balanced, organic fertilizer and avoid over-fertilizing, as this can lead to excessive, leggy growth that reduces the plant’s overall flavor and fragrance.
- Fertilizing Guidelines: If you’re growing sage in nutrient-poor soil, consider adding a slow-release organic fertilizer or compost in early spring. This will provide a steady supply of nutrients to the plant as it grows. Use fertilizers that are high in nitrogen, phosphorus, and potassium to support healthy foliage and root development.
- Fertilizer Frequency: Fertilize your sage once or twice during the growing season. If the plant is growing vigorously and producing plenty of leaves, you may not need to fertilize at all.
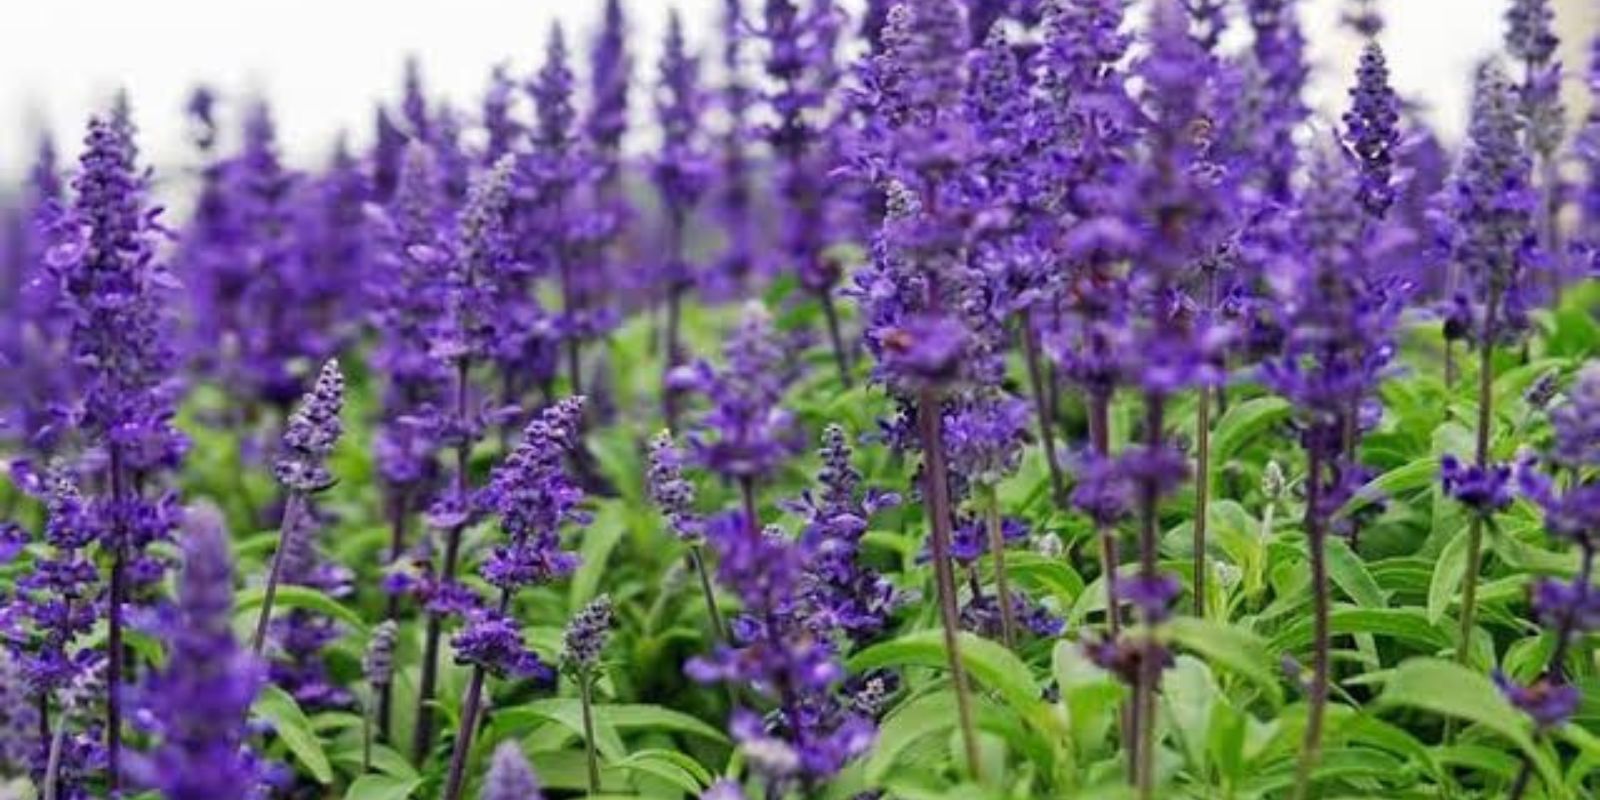
Step 6: Sage’s Fall Bloom
One of the most rewarding aspects of growing sage is its beautiful fall bloom. In late summer to fall, sage plants produce spikes of small, tubular flowers in shades of purple, blue, or pink. These flowers are not only attractive to pollinators like bees and butterflies but also add vibrant color to your garden during the fall months when many other plants have finished blooming.
- Encouraging Blooms: To promote blooms, make sure your sage receives adequate sunlight, water, and occasional pruning. Deadheading spent flowers also helps extend the blooming period.
Step 7: Harvesting and Using Sage
Sage leaves can be harvested throughout the growing season, but they are most flavorful just before the plant flowers. To harvest, simply snip off a few leaves at a time using clean, sharp scissors or pruning shears. Always leave a portion of the plant intact so it can continue to grow and thrive.
Sage is commonly used in culinary dishes such as roasted meats, soups, and stuffing. Fresh leaves can be chopped and added directly to dishes, or you can dry them by hanging the stems upside down in a warm, dry place. Dried sage leaves can be stored in an airtight container for long-term use.
Step 8: Managing Pests and Diseases
While sage is generally pest-resistant, it can occasionally be susceptible to certain insects like aphids or spider mites. It may also face fungal issues, particularly if it is over-watered or if air circulation around the plant is poor.
- Pest Control: Regularly check your sage for pests. If you notice aphids, spider mites, or whiteflies, treat your plant with insecticidal soap or a mixture of water and dish soap. You can also rinse pests off with a strong stream of water.
- Fungal Issues: Ensure your sage receives adequate spacing and air circulation to prevent fungal diseases. If your sage is affected by mold or mildew, remove the infected leaves and ensure proper watering practices.
Conclusion: Enjoying Your Sage Garden
Sage is an easy-to-grow, low-maintenance herb that will reward you with beautiful foliage, vibrant flowers, and fragrant leaves for culinary use. By following these simple steps—choosing the right location, proper watering, pruning, and occasional fertilizing—you can create a thriving sage garden that will flourish year after year.
Whether you’re a beginner or a seasoned gardener, adding sage to your garden is a great way to enhance both the beauty and functionality of your space. And with its ability to bloom throughout the fall, it’s a perfect plant to keep your garden colorful and alive even as other plants start to fade. Enjoy your garden, and may your sage flourish!