
Onions are among the most versatile and essential crops for any kitchen. They enhance the flavor of countless dishes and can be stored for long periods, making them a practical and rewarding addition to any garden. With proper care and attention, growing onions can be a straightforward process for gardeners of all levels. This guide will walk you through every stage of onion cultivation, from planting to harvest, ensuring a bumper crop.
Why Grow Onions at Home?
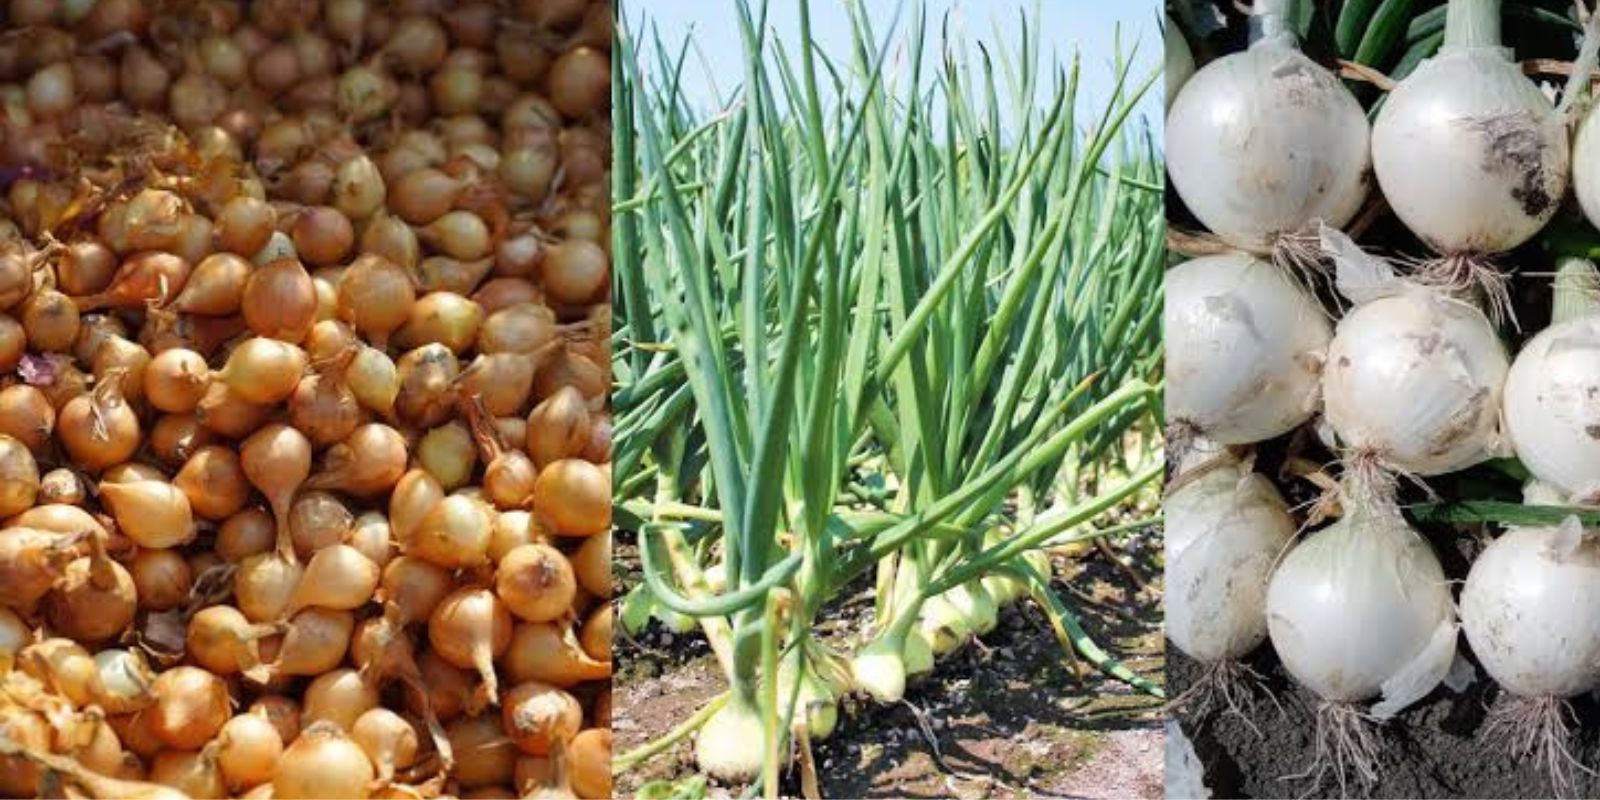
Growing your own onions allows you to enjoy fresh, organic produce while saving money. Homegrown onions are more flavorful than store-bought ones, and you have the freedom to choose from a variety of onion types, such as red, white, yellow, and sweet onions. Additionally, onions are relatively low-maintenance, making them an excellent choice for gardeners who want reliable results with minimal effort.
Step 1: Choosing the Right Onion Variety
Onions come in three main types based on the day length required to form bulbs:
- Short-Day Onions: Require 10-12 hours of daylight. Best for southern regions.
- Intermediate-Day Onions: Thrive with 12-14 hours of daylight. Ideal for central zones.
- Long-Day Onions: Need 14-16 hours of daylight. Perfect for northern climates.
Choose the variety that aligns with your region’s daylight hours to ensure optimal growth. You can grow onions from seeds, sets (small bulbs), or transplants. Sets are the easiest for beginners, while seeds offer more variety.
Step 2: Preparing the Soil
Onions grow best in loose, well-draining soil with a slightly acidic to neutral pH (6.0-6.8). Here’s how to prepare the soil:
- Loosen the Soil: Use a garden fork or tiller to break up compacted soil.
- Add Organic Matter: Mix in compost or well-rotted manure to enrich the soil with nutrients.
- Ensure Good Drainage: Avoid waterlogged areas, as onions are prone to rot in soggy conditions.
Raised beds or containers can be excellent options if your garden soil is heavy or clay-like.
Step 3: Planting Onions
When to Plant
- Spring Planting: Start as soon as the soil can be worked, usually 4-6 weeks before the last frost.
- Fall Planting: In mild climates, plant onions in the fall for an early harvest in spring.
How to Plant
- Seeds: Sow seeds directly into the soil, spacing them 1 inch apart and covering them lightly with soil. Thin seedlings to 4-6 inches apart once they grow.
- Sets: Push the small bulbs into the soil, pointed side up, with the tops just below the surface.
- Transplants: Space 4-6 inches apart in rows that are 12-18 inches apart.
Step 4: Watering and Mulching
Onions require consistent moisture but do not tolerate standing water. Water deeply once or twice a week, depending on rainfall, ensuring the soil stays evenly moist. Adding mulch around the plants helps:
- Retain moisture.
- Suppress weeds.
- Maintain even soil temperature.
Step 5: Feeding and Fertilizing
Onions are heavy feeders and benefit from regular fertilization. Use a nitrogen-rich fertilizer every 2-3 weeks during the growing season. Stop fertilizing once bulbs start forming to allow energy to shift toward bulb development. Organic options like fish emulsion or compost tea work well.
Step 6: Weed Management
Onions have shallow roots, so they compete poorly with weeds. Regular weeding is essential, but be gentle to avoid disturbing the roots. Mulching significantly reduces the need for frequent weeding.
Step 7: Monitoring for Pests and Diseases
While onions are relatively resistant to pests and diseases, some common issues to watch for include:
- Onion Maggots: Small larvae that feed on the roots. Use row covers or practice crop rotation to prevent infestations.
- Fungal Diseases: Such as downy mildew or purple blotch. Ensure good air circulation and avoid overhead watering to reduce the risk.
- Thrips: Tiny insects that suck sap from onion leaves. Insecticidal soaps or neem oil can help control them.
Step 8: Harvesting Your Onions
Onions are ready to harvest when:
- The tops turn yellow and fall over.
- The bulbs are firm and have a papery outer skin.
How to Harvest
- Use a garden fork to loosen the soil around the bulbs.
- Gently pull the onions out by hand.
- Shake off excess soil, but do not wash them immediately.
Step 9: Curing and Storing Onions
Curing Onions
Curing helps onions develop a protective outer layer for long-term storage. Follow these steps:
- Lay the onions in a single layer in a warm, dry, and well-ventilated area for 2-3 weeks.
- Ensure they are not exposed to direct sunlight.
- Once the necks are completely dry and papery, trim the tops and roots.
Storing Onions
Store cured onions in a cool, dark, and dry location. Mesh bags or baskets work well for proper air circulation. Sweet onions have a shorter shelf life and should be used within a few weeks.
Companion Planting with Onions
Onions make excellent companions for many garden plants due to their natural pest-repelling properties. They pair well with carrots, lettuce, and tomatoes, but avoid planting them near beans and peas, as they can stunt their growth.
Tips for Success
- Rotate your onion crops each year to prevent soil-borne diseases.
- Monitor soil moisture levels, especially during dry spells.
- Harvest at the right time to maximize flavor and storage potential.
- Experiment with different onion varieties to discover your favorites.
Conclusion
Growing onions is a fulfilling gardening endeavor that yields delicious, versatile produce for your kitchen. By following these steps, you can enjoy a thriving onion crop and the satisfaction of cultivating your own food. Whether you’re a seasoned gardener or just starting, onions are a fantastic choice for your garden.
Have you grown onions before? Share your tips and experiences in the comments!
#GrowOnions #GardeningTips #OrganicGardening #VegetableGardening #HomeGarden #HarvestSeason