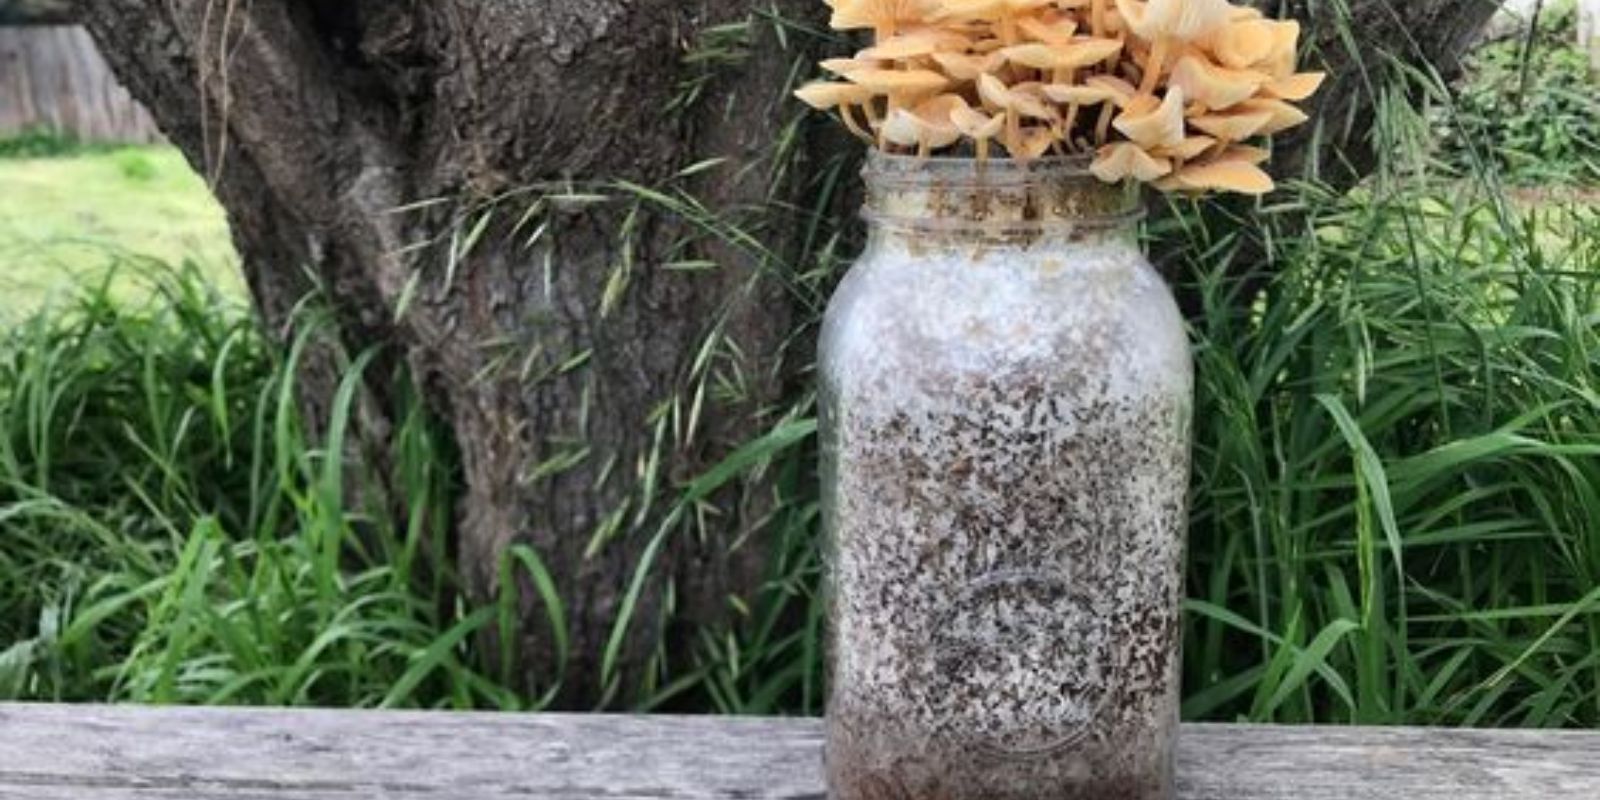
Mushrooms are a versatile, nutritious, and flavorful addition to any diet. Growing your own mushrooms at home can be a rewarding experience, providing a steady supply of fresh produce right from your kitchen. One of the most effective and space-efficient methods for home mushroom cultivation is using plastic bags. This method creates an optimal environment for mushroom growth, minimizes the risk of contamination, and allows for consistent, daily harvests. In this article, we will delve into the step-by-step process of growing mushrooms in plastic bags, ensuring that even beginners can achieve bountiful yields.
Introduction to Mushroom Cultivation
Mushrooms are fungi that thrive in dark, humid environments. Unlike plants, they do not require sunlight to grow, making them perfect candidates for indoor cultivation. The key to successful mushroom growing is creating a conducive environment for the mycelium—the vegetative part of the fungus—from which mushrooms will eventually sprout.
Benefits of Growing Mushrooms in Plastic Bags
- Space-Efficient: Ideal for urban gardeners and those with limited space.
- Controlled Environment: Reduces contamination risks and increases yield consistency.
- Daily Harvest: Ensures a regular supply of fresh mushrooms.
- Cost-Effective: Uses readily available materials, reducing the need for expensive equipment.
Step-by-Step Guide to Growing Mushrooms in Plastic Bags
1. Preparing the Substrate
The substrate is the material that will support the growth of the mycelium. Common substrates include straw, sawdust, and coffee grounds. The substrate must be sterilized to eliminate any competing fungi or bacteria. This can be done by boiling it or using a pressure cooker.
- Straw: Cut into small pieces and soak in hot water (160-180°F) for an hour.
- Sawdust: Ideal for wood-loving mushrooms like shiitake. Mix with bran and sterilize in a pressure cooker.
- Coffee Grounds: Easily accessible and rich in nutrients. Collect fresh or used coffee grounds and pasteurize them.
2. Inoculating with Mushroom Spawn
Mushroom spawn is the mycelium grown on a substrate such as grains. It acts as the seed for growing mushrooms. Mix the spawn thoroughly with the cooled substrate to ensure even distribution. The ratio of spawn to substrate typically ranges from 1:10 to 1:25.
- Spawn: Purchase from a reputable supplier. Common types include grain spawn and sawdust spawn.
3. Filling Plastic Bags
Use clear or white plastic bags that are large enough to hold the substrate but small enough to manage easily. Fill each bag with the inoculated substrate, leaving some space at the top for air circulation.
- Bag Size: 1-2 gallon bags are manageable and provide enough space for mycelium growth.
- Filling: Pack the substrate loosely to allow for mycelium expansion.
4. Sealing and Ventilation
Seal the bags using twist ties, rubber bands, or heat sealers. Poke small holes in the bags to allow for ventilation and provide a pathway for mushrooms to emerge.
- Hole Size: Small enough to prevent contamination but sufficient for air exchange and mushroom growth.
- Spacing: Evenly distributed holes around the bag.
5. Incubation
Place the sealed bags in a dark, warm area to allow the mycelium to colonize the substrate. This process can take anywhere from a few weeks to a couple of months, depending on the mushroom species and environmental conditions.
- Temperature: Maintain around 70-77°F (21-25°C).
- Darkness: Mycelium grows best in the absence of light during this phase.
6. Fruiting Conditions
Once the substrate is fully colonized, indicated by a white mycelium covering, move the bags to a well-lit, humid environment to trigger fruiting. Mushrooms require light, humidity, and fresh air to develop.
- Light: Indirect sunlight or fluorescent lights for 12 hours a day.
- Humidity: 80-90%, achieved with regular misting or a humidifier.
- Fresh Air: Ensure good air exchange to prevent CO2 buildup.
7. Harvesting
Mushrooms grow quickly once they start fruiting. Check your bags daily and harvest the mushrooms as they reach the desired size. Gently twist and pull the mushrooms from the substrate to avoid damaging the mycelium.
- Harvest Timing: Pick mushrooms just before the caps fully open for the best flavor.
- Regular Harvesting: Encourages continuous production and prevents over-mature mushrooms from spoiling.
Troubleshooting Common Issues
- Contamination: Sterilize substrate and tools thoroughly. Maintain a clean working environment.
- Slow Growth: Ensure optimal temperature and humidity levels. Increase ventilation if necessary.
- No Fruiting: Move to fruiting conditions with proper light, humidity, and fresh air.
Conclusion
Growing mushrooms in plastic bags is an accessible and rewarding method for home cultivation. By following these steps and maintaining the right conditions, you can enjoy a consistent supply of fresh, homegrown mushrooms. Whether you’re a seasoned gardener or a beginner, this method offers a practical way to incorporate mushrooms into your daily diet. Embrace the process, experiment with different substrates and mushroom varieties, and soon you’ll have a thriving mushroom garden right in your kitchen.
Transform your kitchen into a mushroom farm and enjoy the delicious, fresh mushrooms you can harvest every day—it’s easier than you think! 🌱🍄

