
Millet is a versatile, nutrient-rich grain that has been cultivated for thousands of years. This underappreciated grain is not only a staple in many parts of the world but is also gaining popularity in home gardens due to its adaptability, drought tolerance, and ease of cultivation. Whether you are looking to diversify your garden, introduce sustainable crops, or grow a gluten-free grain, millet is an excellent choice. In this comprehensive guide, we’ll walk you through everything you need to know to successfully grow, care for, and harvest millet in your garden.
What is Millet?
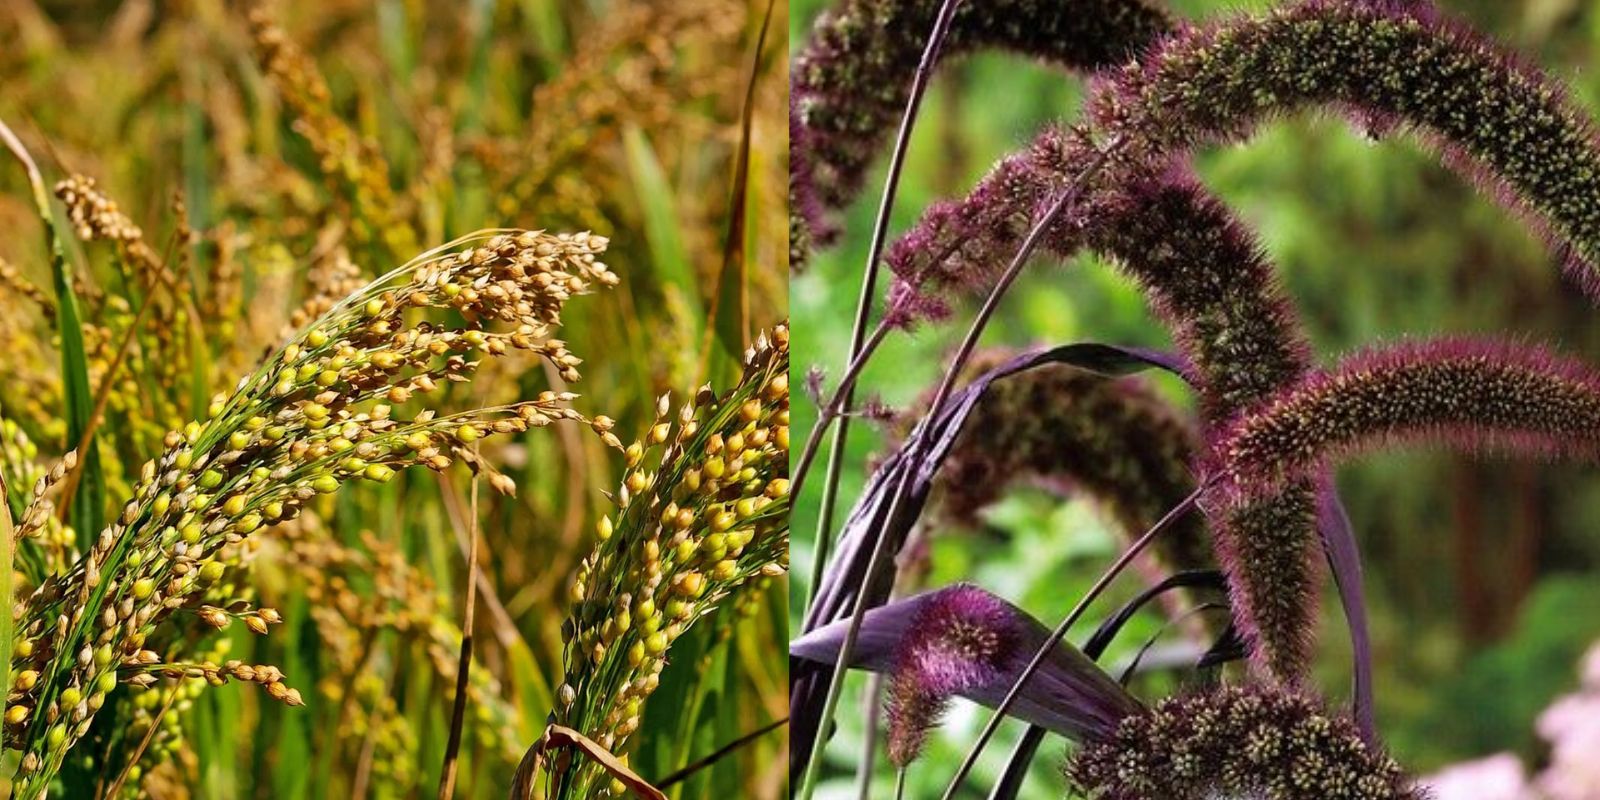
Millet is a small-seeded grass that has been grown for food and fodder for centuries. There are several types of millet, including pearl, proso, foxtail, and finger millet. The plant thrives in warm climates, is drought-resistant, and can grow in poor soils, making it a highly sustainable and resilient crop. Millet is rich in fiber, protein, and essential nutrients, and it can be used in a variety of dishes from porridges and salads to gluten-free baked goods.
Why Grow Millet?
Growing millet in your garden has several advantages:
- Drought-resistance: Millet requires less water compared to other grains, making it an ideal crop for regions with limited rainfall.
- Low maintenance: Once established, millet requires minimal care and attention.
- Short growing season: Millet matures quickly, with most varieties ready for harvest in about 60-90 days.
- Nutrient-rich: Millet is packed with essential nutrients like magnesium, calcium, and B vitamins, and it’s gluten-free, making it a healthy addition to your diet.
- Soil health: Millet helps improve soil structure and fertility, making it an excellent crop for crop rotation or intercropping.
Step 1: Choosing the Right Millet Variety
There are several types of millet, each with slightly different growing requirements and uses. It’s important to choose the right variety for your climate and needs:
- Pearl Millet: The most commonly grown millet variety, known for its larger seeds and drought resistance. It’s ideal for warmer climates.
- Proso Millet: A fast-growing millet variety that requires less water and is typically grown in cooler regions.
- Finger Millet: Known for its nutritional value, this variety is commonly grown in Africa and Asia and is used to make porridge and fermented foods.
- Foxtail Millet: A high-protein millet variety that grows quickly and is well-suited for areas with poor soil fertility.
Step 2: Preparing the Soil
Millet grows best in well-draining, loamy soil with a slightly acidic to neutral pH (around 6.0 to 7.0). While millet is tolerant of poor soils, it will produce better yields if grown in fertile soil. Here’s how to prepare your garden for planting millet:
- Clear the area: Remove any weeds, rocks, or debris from the planting area.
- Loosen the soil: Use a garden fork or tiller to loosen the soil to a depth of about 8-10 inches. This allows the roots to penetrate the soil easily.
- Add compost: Work in a few inches of organic compost or well-rotted manure to improve soil fertility and drainage.
Step 3: Planting Millet
Millet is best planted directly in the garden after the last frost when the soil temperature has warmed to at least 60°F (15°C). Follow these steps for planting:
- Sow seeds: Scatter the seeds evenly over the prepared soil or plant them in rows. Seeds should be sown about 1/2 inch deep.
- Spacing: If planting in rows, space the rows 12-18 inches apart. If scattering seeds, thin the plants to about 10-12 inches apart once seedlings emerge.
- Watering: Water the seeds gently after planting to ensure good soil contact. Keep the soil consistently moist until the seeds germinate, which usually takes 7-10 days.
Step 4: Caring for Millet Plants
Once millet is established, it requires minimal care. However, there are a few things you can do to ensure a healthy, productive crop:
- Watering: While millet is drought-resistant, it’s important to keep the soil moist during the early stages of growth. Once the plants are established, they can tolerate dry conditions, but regular watering will improve yields.
- Weeding: Keep the planting area free of weeds, especially during the early stages of growth when millet plants are small and vulnerable to competition.
- Fertilizing: Millet doesn’t require heavy fertilization, but adding a balanced fertilizer or compost during the growing season can boost plant health and productivity. Avoid over-fertilizing with nitrogen, as this can lead to excessive leaf growth at the expense of seed production.
Step 5: Protecting Millet from Pests and Diseases
Millet is relatively pest-resistant, but like any crop, it can be susceptible to certain pests and diseases. Keep an eye out for:
- Birds: Birds are attracted to millet seeds and can cause significant damage to your crop. To protect your plants, consider using bird netting or scare tactics like reflective tape or garden scarecrows.
- Insects: Pests like aphids, armyworms, and grasshoppers can attack millet plants. Use organic pest control methods, such as neem oil or insecticidal soap, to keep these pests at bay.
- Diseases: Millet is generally resistant to most diseases, but fungal infections like downy mildew or rust can occur in humid conditions. Ensure good air circulation by spacing your plants properly and avoid overhead watering.
Step 6: Harvesting Millet
Millet is ready to harvest when the grains have turned a golden color and are hard to the touch. This typically occurs 60-90 days after planting, depending on the variety. Here’s how to harvest millet:
- Cutting: Use garden shears or a sickle to cut the millet stalks at the base.
- Drying: Bundle the stalks together and hang them upside down in a warm, dry, well-ventilated area to allow the grains to fully dry. This usually takes about two weeks.
- Threshing: Once the grains are dry, rub them between your hands or use a threshing tool to separate the seeds from the stalks.
- Storing: Store the harvested millet grains in an airtight container in a cool, dark place. Properly stored millet can last for several months to a year.
Step 7: Using Millet in the Kitchen
Millet is a highly versatile grain that can be used in a variety of dishes. It has a mild, slightly nutty flavor and can be cooked similarly to rice or quinoa. Here are a few ideas for using millet in the kitchen:
- Porridge: Cook millet with water or milk for a nutritious breakfast porridge.
- Salads: Use cooked millet as a base for grain salads with fresh vegetables and herbs.
- Baked goods: Add millet flour to gluten-free baked goods like muffins, breads, or pancakes.
- Side dish: Serve cooked millet as a side dish with roasted vegetables or grilled meats.
Final Thoughts
Millet is a highly rewarding grain to grow, offering a low-maintenance and nutrient-dense addition to your garden. Its drought-resistance and adaptability to various soils make it a fantastic option for gardeners looking to diversify their crops or experiment with growing their own grains. With the right care and attention, millet can provide a bountiful harvest that’s both delicious and nutritious.
Get Involved! 🌾
Have you grown millet before, or are you excited to try it for the first time? Share your gardening experiences, tips, and photos with us!