
Hollyhocks (Alcea rosea) are classic garden plants renowned for their towering spires and vibrant blooms. With their rich history and impressive stature, hollyhocks can transform any garden into a showcase of beauty and color. This comprehensive guide will walk you through the essential steps of growing hollyhocks, from planting to maintenance, ensuring you achieve a garden full of these striking flowers.
Introduction: The Allure of Hollyhocks
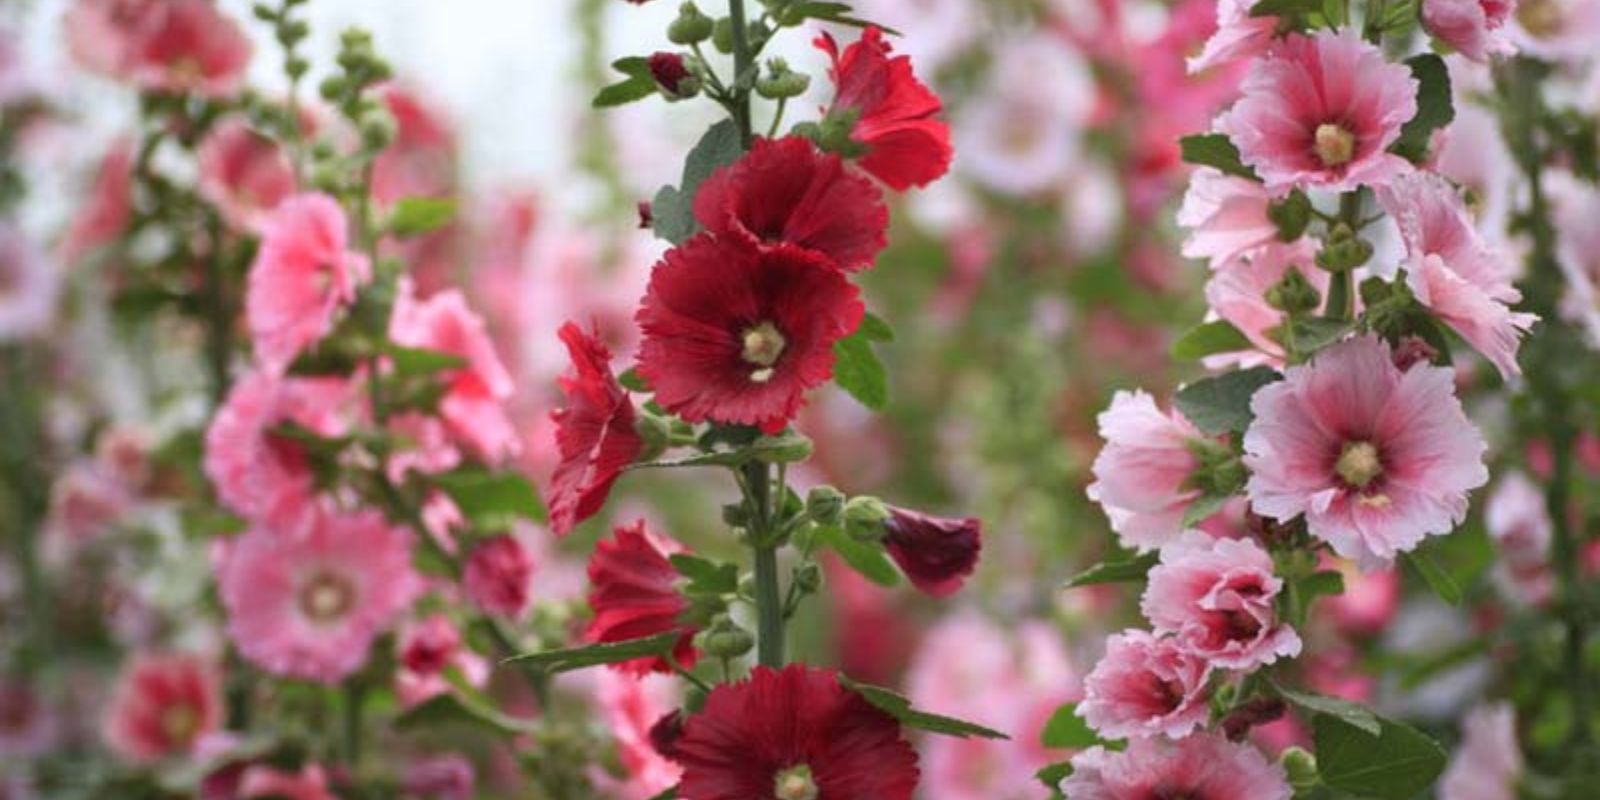
Hollyhocks have been cherished for centuries for their dramatic, showy flowers that come in a wide array of colors, including pink, red, white, and yellow. These plants, native to Asia and Europe, can reach impressive heights of 5 to 8 feet, creating a vertical focal point in the garden. They are particularly valued in cottage gardens, where their tall, columnar growth adds dimension and elegance.
Hollyhocks are relatively easy to grow and care for, making them an excellent choice for both novice and experienced gardeners. By following a few straightforward guidelines, you can cultivate a stunning display of hollyhocks that will grace your garden with vibrant colors and towering beauty.
Step 1: Choose the Right Location
Selecting a Sunny Spot
Hollyhocks thrive in full sun, meaning they need at least 6-8 hours of direct sunlight each day. Choose a location in your garden that receives ample sunlight to ensure robust growth and abundant blooming.
Ensuring Well-Drained Soil
Hollyhocks prefer well-drained soil. Heavy, clayey, or waterlogged soil can lead to root rot and other problems. If your soil is heavy, consider amending it with organic matter, such as compost or aged manure, to improve drainage and soil structure.
Step 2: Prepare the Soil
Enriching the Soil
Before planting, prepare the soil by incorporating compost or organic matter. This enriches the soil with nutrients and improves its texture, creating a more favorable environment for hollyhocks. Aim to work the compost into the top 6-8 inches of soil.
Testing Soil pH
Hollyhocks prefer slightly acidic to neutral soil (pH 6.0 to 7.0). You can test your soil’s pH using a soil test kit. If your soil is too acidic, you can amend it with lime to raise the pH.
Step 3: Sow Seeds
Direct Sowing
Hollyhocks can be sown directly into the garden bed in early spring, as soon as the soil is workable and temperatures begin to warm up. Scatter the seeds on the soil surface and lightly rake them in, covering them with a thin layer of soil.
Starting Indoors
Alternatively, you can start hollyhock seeds indoors 6-8 weeks before the last expected frost. Sow the seeds in seed trays or pots filled with seed-starting mix. Keep the soil moist and maintain a temperature of around 65-70°F (18-21°C). Transplant the seedlings outdoors once they are strong enough and the danger of frost has passed.
Step 4: Water Regularly
Maintaining Moisture
Hollyhocks require consistent moisture, especially during dry periods. Water the plants regularly, aiming to keep the soil evenly moist but not waterlogged. Avoid overhead watering, which can lead to fungal diseases; instead, water at the base of the plants.
Avoiding Overwatering
While hollyhocks need moisture, they do not tolerate soggy soil. Ensure good drainage and avoid overwatering to prevent root rot and other moisture-related issues.
Step 5: Support the Plants
Using Stakes
Hollyhocks can grow quite tall, often reaching heights of 5-8 feet. To prevent the plants from flopping over, use stakes or supports. Insert stakes early in the growing season to avoid disturbing the roots later on. Tie the plants to the stakes using soft garden ties or twine.
Ensuring Stability
If your hollyhocks are prone to bending or falling, consider using additional supports such as cages or rings to help them maintain an upright position. Proper support will keep the flower spikes from collapsing and ensure a more attractive display.
Step 6: Prune and Deadhead
Removing Spent Blooms
Deadheading, or removing spent flowers, encourages hollyhocks to produce more blooms and extends the flowering period. Regularly trim off the faded flower spikes to promote continuous blooming throughout the growing season.
Pruning for Shape
In addition to deadheading, you can prune hollyhocks to maintain a tidy appearance and improve air circulation. Remove any damaged or diseased leaves and stems as needed.
Step 7: Protect from Pests and Diseases
Common Pests
Hollyhocks can be susceptible to pests such as aphids, spider mites, and snails. Monitor your plants regularly for signs of infestation and take action as needed. For aphids and mites, insecticidal soap or neem oil can be effective treatments. For snails, use snail bait or barriers to keep them away.
Managing Diseases
Hollyhocks can also be affected by fungal diseases like rust and powdery mildew. Ensure proper spacing between plants for good air circulation, and avoid overhead watering to minimize disease risk. If fungal issues occur, remove infected plant parts and consider using fungicides if necessary.
Conclusion: Embrace the Beauty of Hollyhocks
Hollyhocks are a delightful addition to any garden, offering height, color, and elegance. By following these seven steps, you can ensure that your hollyhocks grow strong, healthy, and produce an impressive display of blooms. With a little care and attention, these majestic flowers will become a highlight of your garden, providing beauty and enjoyment for years to come.
Ready to transform your garden with the grandeur of hollyhocks? Start planting and share your vibrant results with fellow gardeners. Enjoy the process and celebrate the stunning display that hollyhocks will bring to your outdoor space! 🌺