
Microgreens are a delightful addition to any kitchen, offering a burst of flavor, color, and nutrients in every bite. These tiny plants pack a punch, containing up to 40 times the nutrients of their mature counterparts. Whether you’re a seasoned gardener or a beginner, growing microgreens using sprouting trays is one of the easiest and most rewarding gardening projects you can undertake. This guide will take you step by step through the process, ensuring your success in cultivating vibrant, healthy microgreens at home.
Why Grow Microgreens?
Microgreens are not only a superfood but also incredibly versatile. They can be used in salads, sandwiches, smoothies, and garnishes to enhance the flavor and nutritional content of your meals. Additionally, growing them at home ensures they’re fresh, organic, and cost-effective. With minimal space and effort, you can enjoy a continuous supply of these healthy greens.
What Are Microgreens?
Microgreens are young plants harvested at an early stage, just after the first true leaves develop. They differ from sprouts, as they are grown in soil or a growing medium and are exposed to light, resulting in fuller flavors and a higher nutrient density. Popular microgreens include sunflower, broccoli, radish, arugula, pea shoots, and basil.
Equipment Needed
Growing microgreens at home requires minimal equipment:
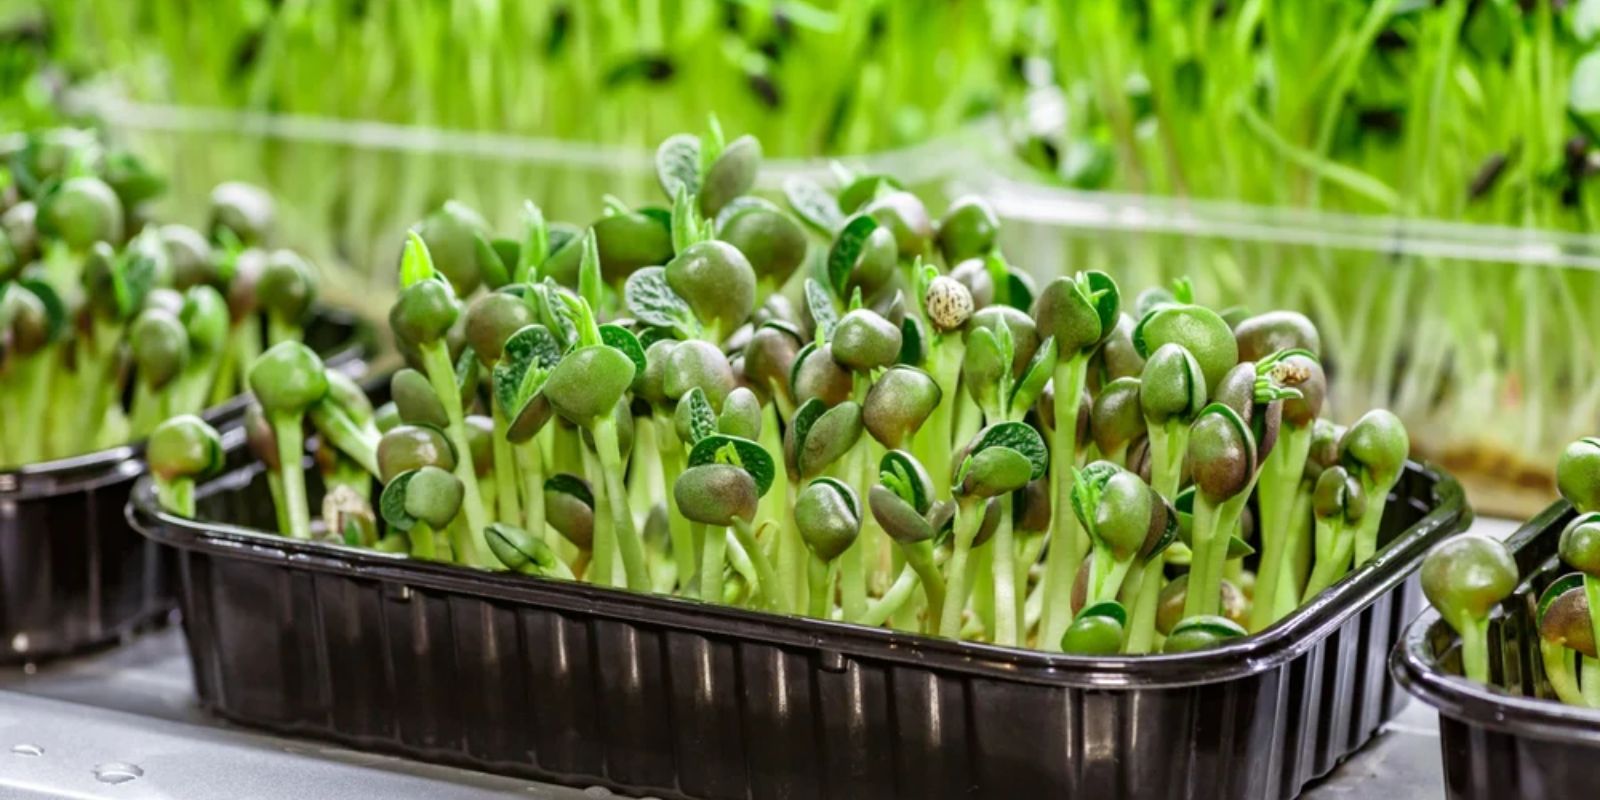
- Sprouting Trays: Shallow trays with drainage holes are ideal for proper air circulation and water drainage.
- Growing Medium: Use organic potting soil, coco peat, or hydroponic grow mats.
- Microgreen Seeds: Choose untreated, organic seeds labeled specifically for microgreens.
- Spray Bottle: For gentle watering without disturbing seeds.
- Light Source: Natural sunlight or grow lights to encourage healthy growth.
- Cover or Lid: Helps retain moisture during the germination process.
Step-by-Step Guide to Growing Microgreens
1. Choose the Right Seeds
Selecting the right seeds is the first step. Popular options include:
- Sunflower: Crunchy and nutty.
- Radish: Spicy and tangy.
- Broccoli: Mild and slightly sweet.
- Pea Shoots: Tender and sweet.
Choose organic seeds free from chemicals or treatments for the best results.
2. Prepare the Sprouting Tray
- Select a shallow tray with good drainage. If using trays without pre-drilled holes, ensure excess water doesn’t pool at the bottom, as this can lead to mold.
- Fill the tray with a thin, even layer of potting soil or coco peat, about 1–2 inches deep. Smooth the surface to prepare for seed sowing.
3. Sow the Seeds
- Spread seeds evenly across the soil surface. Ensure they are not overcrowded, as this can inhibit airflow and lead to uneven growth.
- Lightly press the seeds into the soil to ensure contact but avoid burying them too deeply.
4. Mist and Cover
- Gently mist the seeds with water using a spray bottle. The soil should be moist but not waterlogged.
- Cover the tray with a lid, cloth, or another tray to create a humid environment, which promotes germination.
5. Germinate in the Dark
- Place the covered tray in a warm, dark location for 2–3 days. During this time, seeds will begin to sprout. Check daily to ensure the soil remains moist, misting as needed.
6. Expose to Light
- Once sprouts appear, remove the cover and place the tray in a location with indirect sunlight or under grow lights. A south-facing windowsill works well for natural light.
- Ensure the tray receives at least 4–6 hours of light daily.
7. Water Regularly
- Continue misting the microgreens daily to keep the soil consistently moist. Avoid overwatering, as this can lead to root rot or mold.
- If using a hydroponic mat, ensure it remains damp throughout the growing process.
8. Harvest Your Microgreens
- Microgreens are typically ready to harvest within 7–10 days, depending on the seed variety. Look for 2–3 inches of growth and fully developed first leaves.
- Use sharp scissors to snip the greens just above the soil line.
Tips for Success
- Start Small
If you’re new to growing microgreens, begin with one or two varieties to familiarize yourself with their growth patterns. - Prevent Mold
Maintain proper air circulation and avoid overwatering to reduce the risk of mold. Use a fan or open windows to improve airflow if needed. - Rotate Trays
If using artificial lights, rotate trays daily to ensure even light distribution. - Stagger Planting
For a continuous supply, sow new trays of seeds every week.
Benefits of Growing Microgreens at Home
- Nutritional Powerhouse
Microgreens are rich in vitamins, minerals, and antioxidants. For example, broccoli microgreens are high in sulforaphane, a compound linked to cancer prevention. - Cost-Effective
Growing microgreens at home costs a fraction of store-bought options, and you have control over the growing conditions. - Eco-Friendly
Growing your food reduces packaging waste and transportation emissions. Plus, you can reuse trays and compost leftover growing medium. - Convenience
With a small setup, you can grow fresh microgreens year-round, regardless of the weather.
Common Challenges and How to Overcome Them
- Poor Germination
Ensure seeds are fresh and consistently watered during the germination period. - Leggy Growth
If microgreens appear thin and stretched, they may not be receiving enough light. Move trays closer to the light source. - Mold Issues
Avoid overcrowding seeds, improve airflow, and water only as needed to keep mold at bay.
Culinary Uses for Microgreens
Microgreens are versatile and can be used in various ways:
- Salads: Add a handful for a crunchy, nutrient-rich topping.
- Sandwiches and Wraps: Use them as a fresh, flavorful filler.
- Smoothies: Blend with fruits and vegetables for a health boost.
- Garnishes: Elevate the presentation of soups, omelets, and pasta dishes.
Sustainable Practices
Incorporate eco-friendly practices when growing microgreens:
- Compost spent growing medium and roots.
- Reuse sprouting trays for future planting.
- Use organic seeds and avoid chemical fertilizers.
Conclusion
Growing microgreens using sprouting trays is a simple and rewarding way to enhance your diet and gardening skills. Whether you’re looking for a fun indoor gardening project or a way to eat healthier, microgreens offer endless possibilities. Start your microgreen journey today and experience the joy of growing fresh, nutritious greens right in your home.
What’s your favorite microgreen variety to grow? Share your tips and experiences below! 🌱
#Microgreens #UrbanGardening #GrowYourOwn #HealthyEating #IndoorGardening #GardeningTips #SustainableLiving #HomeGarden