
Cress is one of the easiest and most rewarding crops to grow, perfect for both novice and experienced gardeners. It’s fast-growing, nutrient-packed, and can be cultivated almost anywhere, including windowsills, gardens, and small containers. Whether you’re looking to spice up your salads, add some greenery to your meals, or simply enjoy the satisfaction of growing your own food, cress is an excellent choice.
In this comprehensive guide, we’ll explore the best varieties of cress, how to plant and care for it, common problems you may encounter, and tips for harvesting this nutritious and delicious leafy green.
Introduction to Cress: Why Grow It?
Cress is an often-overlooked member of the mustard family that deserves a spot in every garden. Known for its peppery flavor, cress has been a culinary staple for centuries, thanks to its versatility and health benefits. It’s rich in vitamins A, C, and K, as well as minerals like calcium and potassium. But what really sets cress apart from other leafy greens is how quickly and easily it grows—sometimes in as little as a week.
Growing cress is a fun project for gardeners of all skill levels. Whether you’re looking for a small gardening project or trying to add fresh greens to your meals regularly, cress is a plant that delivers in flavor, nutrition, and ease of cultivation.
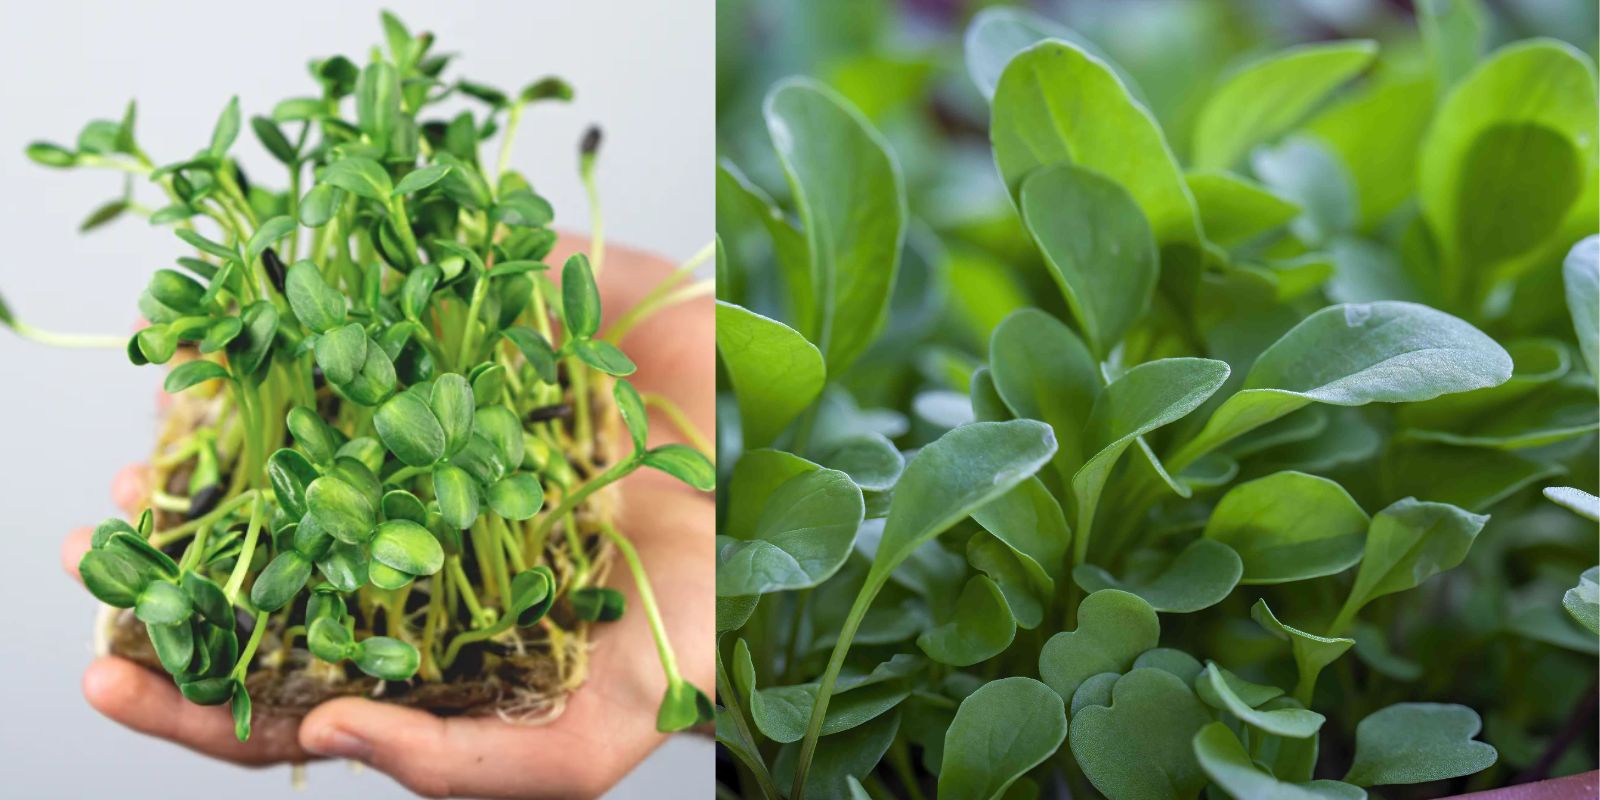
The Best Varieties of Cress
When it comes to growing cress, there are a few different varieties to consider. Each type has unique characteristics in terms of growth, taste, and planting conditions. Let’s take a look at the three most popular varieties:
- Garden Cress:
- Description: Also known as peppergrass, garden cress is the most common type of cress. It has small, peppery-flavored leaves that are ideal for salads and garnishing dishes.
- Growing Conditions: Garden cress grows best in moist, well-drained soil with partial shade or full sun.
- Time to Harvest: Typically ready for harvest in 7-14 days, making it one of the fastest-growing greens available.
- Watercress:
- Description: Watercress is a semi-aquatic plant that thrives in wet environments. It has a milder flavor compared to garden cress but retains a slight peppery bite.
- Growing Conditions: As the name suggests, watercress needs a constant supply of water and is often grown in shallow water beds or along the edges of streams.
- Time to Harvest: Harvest watercress within 14-21 days of planting for the best flavor and texture.
- Upland Cress:
- Description: Upland cress, also called American cress, is similar in taste to watercress but grows in dry soil, making it an ideal choice for gardeners without access to water beds.
- Growing Conditions: Upland cress prefers well-drained soil and thrives in partial shade. It’s more drought-tolerant than other varieties of cress.
- Time to Harvest: This variety is ready for harvesting in about 20-25 days, making it slightly slower-growing than garden cress.
How to Plant Cress: A Step-by-Step Guide
Now that you’ve chosen the variety of cress that suits your gardening conditions and taste preferences, it’s time to start planting. Fortunately, cress is a forgiving plant that thrives in many environments, whether in your garden, pots, or even indoors on a windowsill.
Step 1: Prepare the Soil or Growing Medium
- Cress thrives in nutrient-rich, moist, but well-drained soil. If planting in pots, a good-quality potting mix will do. If growing watercress, you’ll need to provide a consistently wet environment, such as shallow water beds or trays of water.
Step 2: Sow the Seeds
- Scatter the seeds lightly over the prepared soil surface, spacing them about 1-2 inches apart. Cress seeds are very small, so no need to bury them deep—just lightly press them into the soil and cover with a fine layer of compost or soil.
- If planting indoors, cress can be grown in a shallow dish with a thin layer of potting soil or even on damp paper towels.
Step 3: Water Regularly
- Keep the soil or growing medium consistently moist. Garden cress and upland cress should be watered lightly but regularly, ensuring the soil remains damp but not waterlogged. Watercress, on the other hand, thrives in very wet conditions, so you may need to maintain a shallow pool of water around the plant.
Step 4: Provide Light
- Cress grows well in both partial shade and full sun, but providing a bit of sunlight will encourage quicker growth and better flavor. A sunny windowsill or a spot in your garden that receives a few hours of direct sunlight each day is ideal.
Step 5: Thin Out the Seedlings
- Once the seedlings reach about 2 inches tall, thin them out so that they’re spaced 3-4 inches apart. This gives the plants enough room to grow and ensures good air circulation, which helps prevent fungal diseases.
Caring for Cress Plants
Caring for cress is relatively simple. Here are a few tips to ensure a healthy, bountiful harvest:
- Watering: Keep the soil moist at all times. Don’t allow it to dry out, as cress plants are particularly sensitive to water stress.
- Fertilizing: Cress doesn’t require much fertilizer, but you can give it a light feeding with a balanced organic fertilizer if your soil is poor. For watercress, ensure the water supply is constantly refreshed.
- Weeding: If growing cress outdoors, be sure to keep the area free of weeds. This will help reduce competition for nutrients and water.
Common Problems and Solutions
Even though cress is easy to grow, it can still face a few challenges. Here are some common issues gardeners may encounter:
- Aphids: These tiny pests can infest your cress plants, sucking the sap and weakening the plants. To control aphids, try using insecticidal soap or a homemade mixture of water and mild soap.
- Fungal Diseases: Overwatering or poor air circulation can lead to fungal diseases. Be sure to thin out seedlings, avoid waterlogging, and provide good airflow around the plants.
- Snails and Slugs: These pests can be particularly troublesome for watercress. Use natural deterrents such as crushed eggshells or copper tape around the garden to keep them at bay.
When and How to Harvest Cress
One of the best things about growing cress is how quickly it’s ready to harvest. You can begin harvesting cress when the leaves reach about 2-3 inches in height, typically within 7-14 days for garden cress and 14-21 days for watercress and upland cress.
- Cutting Method: Use scissors to snip the stems just above the soil line. Cress is a cut-and-come-again crop, meaning you can often get multiple harvests from a single planting.
- Continuous Harvesting: For a continuous supply of fresh cress, consider sowing new seeds every 10-14 days.
Health Benefits of Cress
Cress is not just a flavorful green; it’s also packed with nutrients. It’s particularly high in:
- Vitamin C: Supports immune health and helps combat free radicals.
- Vitamin K: Important for blood clotting and bone health.
- Calcium: Strengthens bones and teeth.
- Potassium: Helps maintain fluid balance and support muscle function.
Incorporating cress into your diet is an excellent way to boost your overall nutrient intake. It pairs well with a variety of dishes, from salads to soups and sandwiches.
Conclusion
Growing cress is one of the simplest ways to add fresh, nutritious greens to your diet year-round. Whether you’re growing garden cress for its peppery flavor or experimenting with watercress for a crisp, watery bite, this versatile plant can thrive in your garden, on a windowsill, or in containers.
By following the planting, care, and harvesting tips outlined in this guide, you’ll be able to enjoy a bountiful harvest of cress in no time. Start your cress-growing journey today, and don’t forget to share your progress using the viral gardening hashtags below!
Motivation to Interact: Have you tried growing cress yet? Share your progress, photos, and tips in the comments! Let’s grow together! 🌱 #GrowYourOwn #CressLove #GardenFresh #HomegrownGreens #GardeningCommunity #QuickHarvest #SustainableGardening #GreenThumb